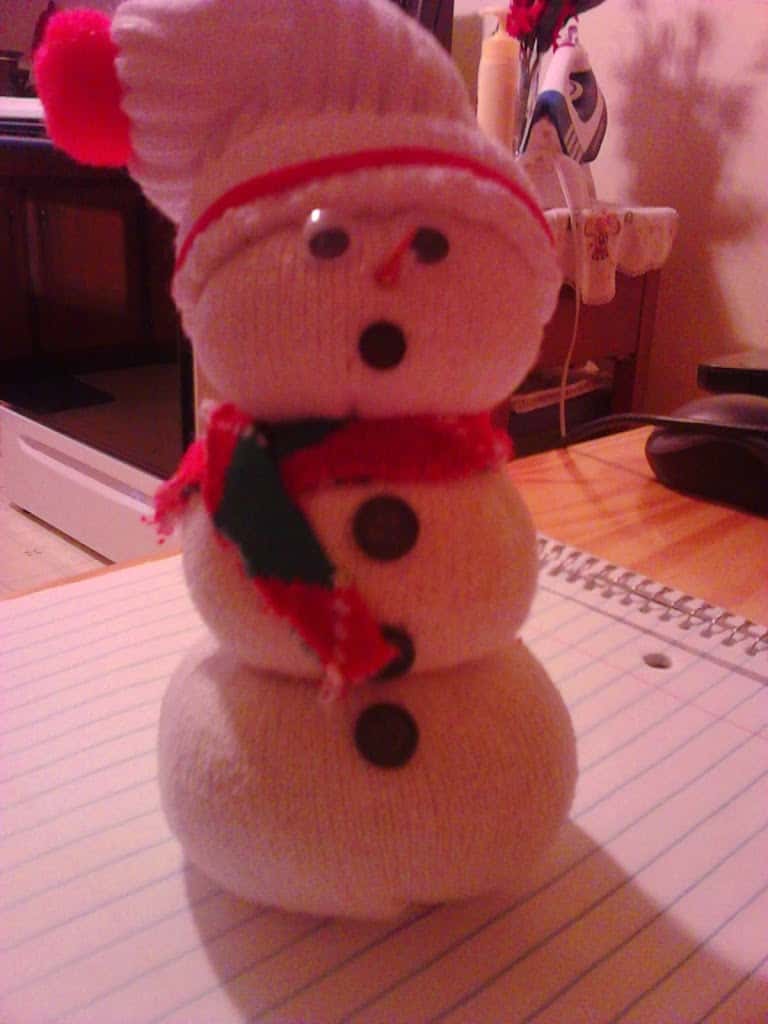
The Holiday season will be here before we know it! I know it is only mid-July, but lets face it July got here so quick the rest of the year is going to just fly right by. So why not get started with your Christmas crafts now and be a little ahead of the game? We started making these adorable sock snowmen last year when we wanted to make something home made for gifts, that didn’t look like a cheesy homemade gift. Also something that would be craft fair worthy. I think we achieved our goal with these sweet little sock snowmen. And you can definitely dress them up to match the person you are giving them to.
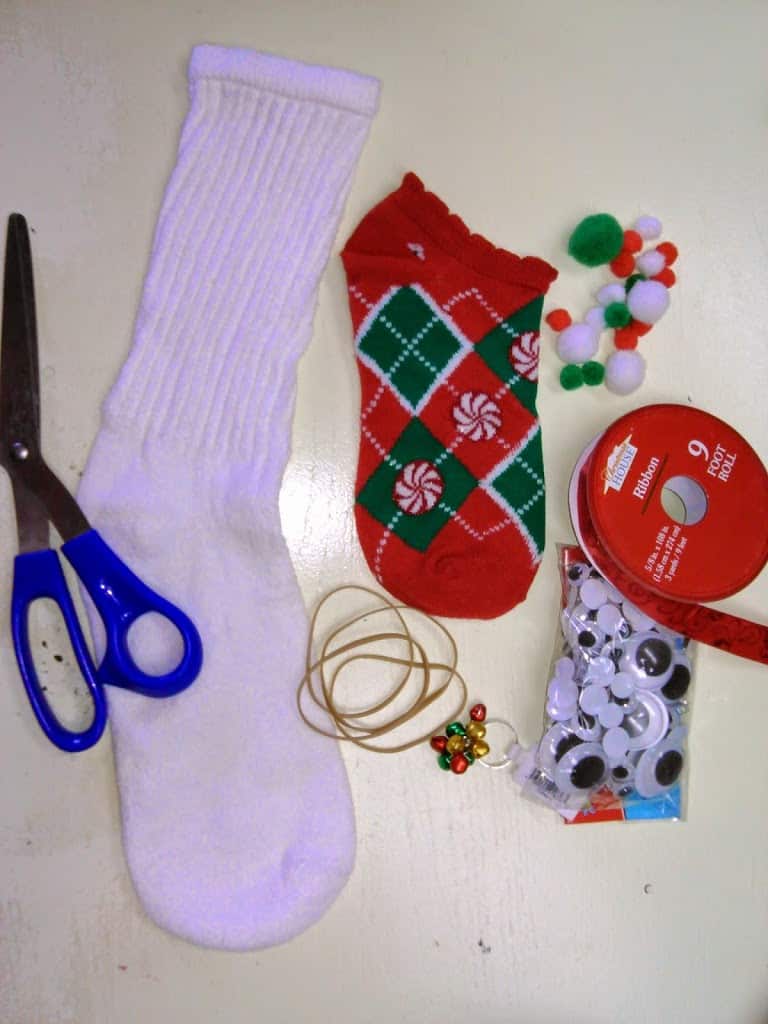
Here is what you will need to get started:
Crew socks – Using old socks will work, unless they are little Jimmy’s old football practice socks – That might not be good unless your making the snowmen that have been melting for 2 weeks and the dirt n rocks are now showing through (If you live in a cold climate you know the kind of snowmen I’m talking about 🙂 )
White rice
Scissors
Rubber bands
Hot glue or tacky glue
Decorative accents – buttons, googly eyes, ribbons, pom poms, paint, beads (You can find so much at the dollar store to accessorize with)
Lets get started:
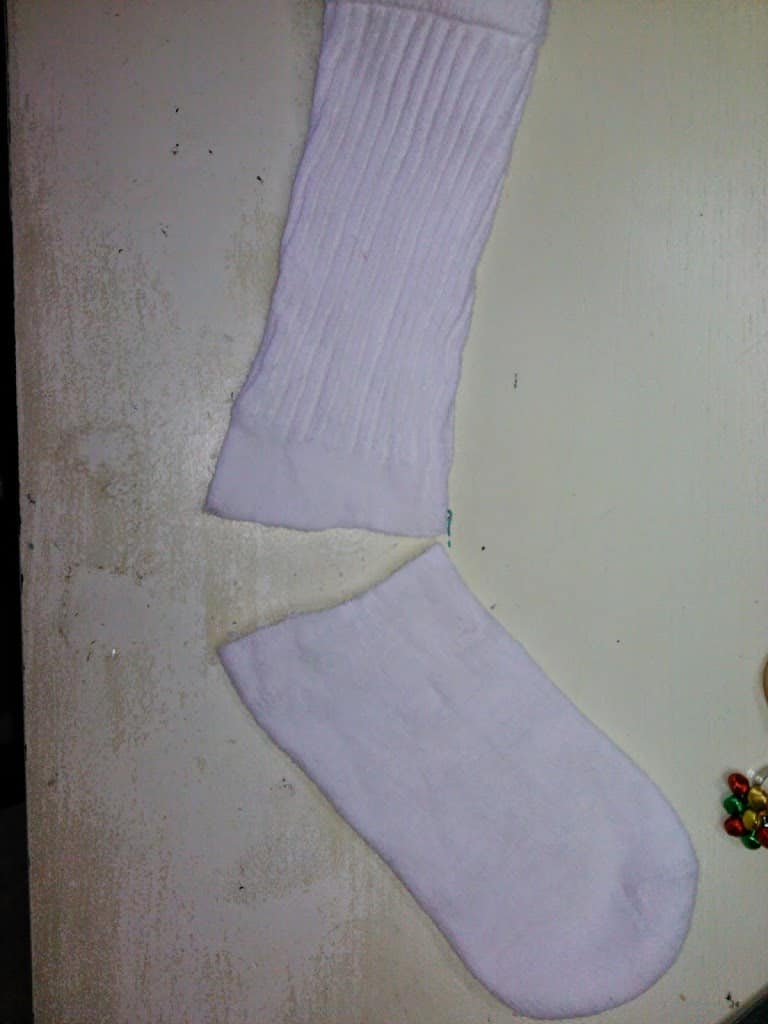
Cut the crew sock just above the heel. The top piece will be your body, the bottom piece will be your hat. (Please excuse the used and abused craft table in the back ground. I covered it up after the first picture LOL)
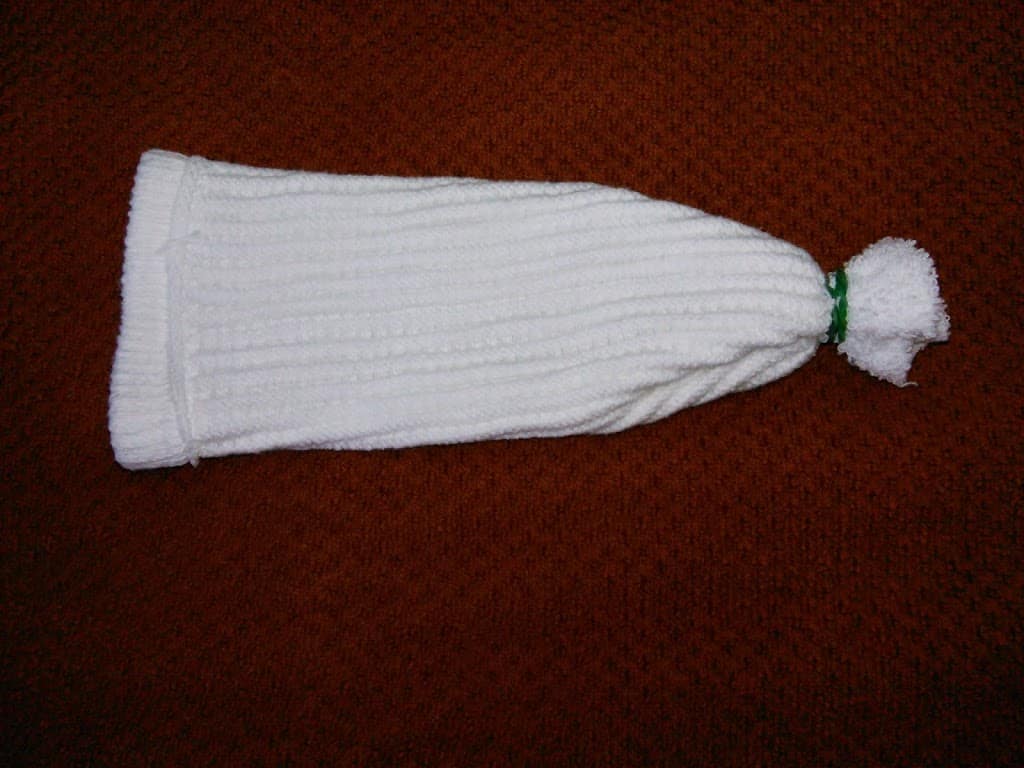
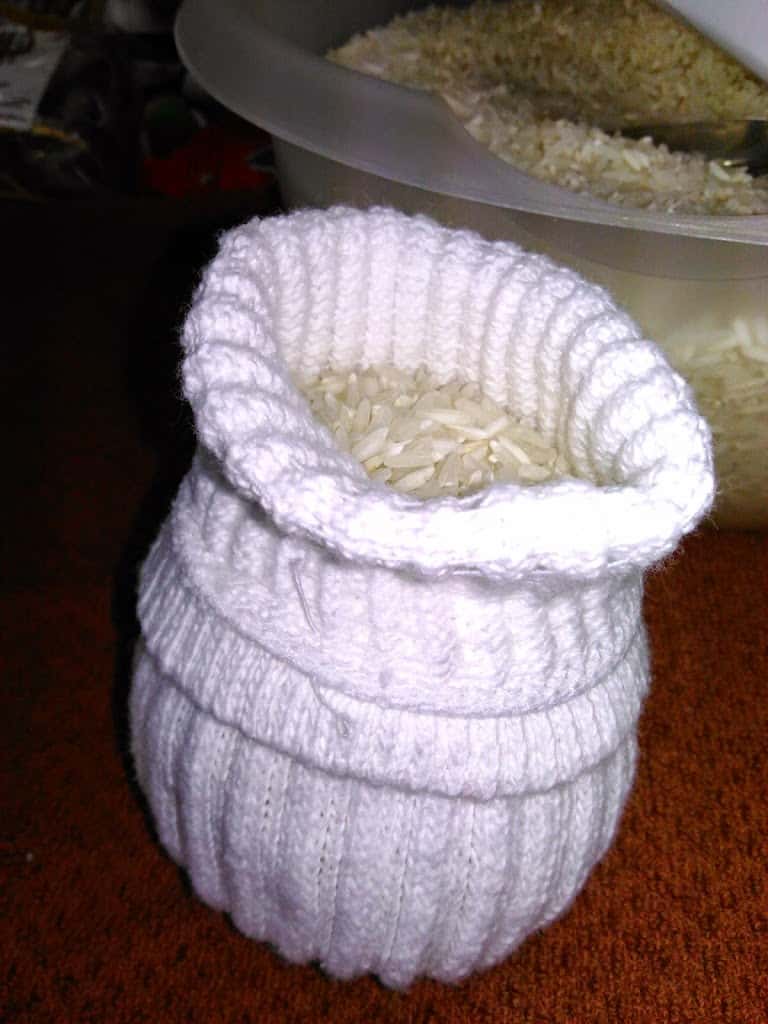
Turn the top piece inside out and close the end with out the band off with a rubber band. Make sure it’s tight or your snowman will be pooping rice 🙂 Turn it back inside right.
Start filling your sock with rice. I used a funnel with a wider opening just to avoid the mess. But you don’t have to. Keep filling until it is plump enough for a head and a body.
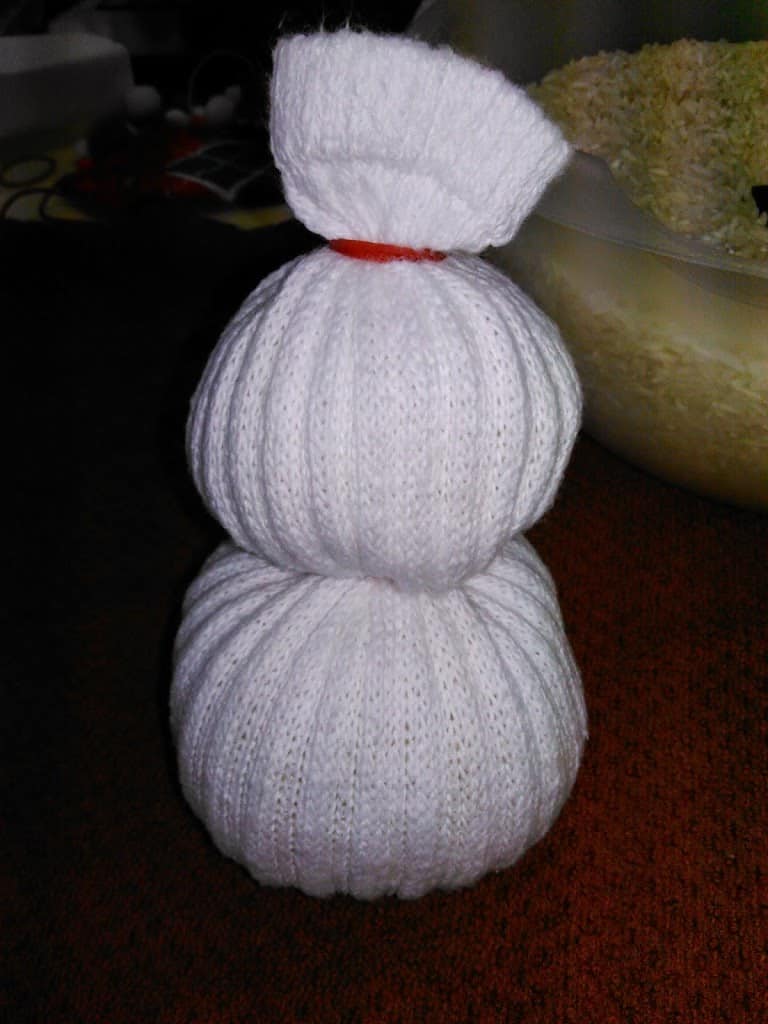
Attach a rubber band to the top to close him up. then add one rubber band around the middle to create the head/body. I use a few drops of hot glue to secure the head to the body to make it a bit more stable but this is optional.
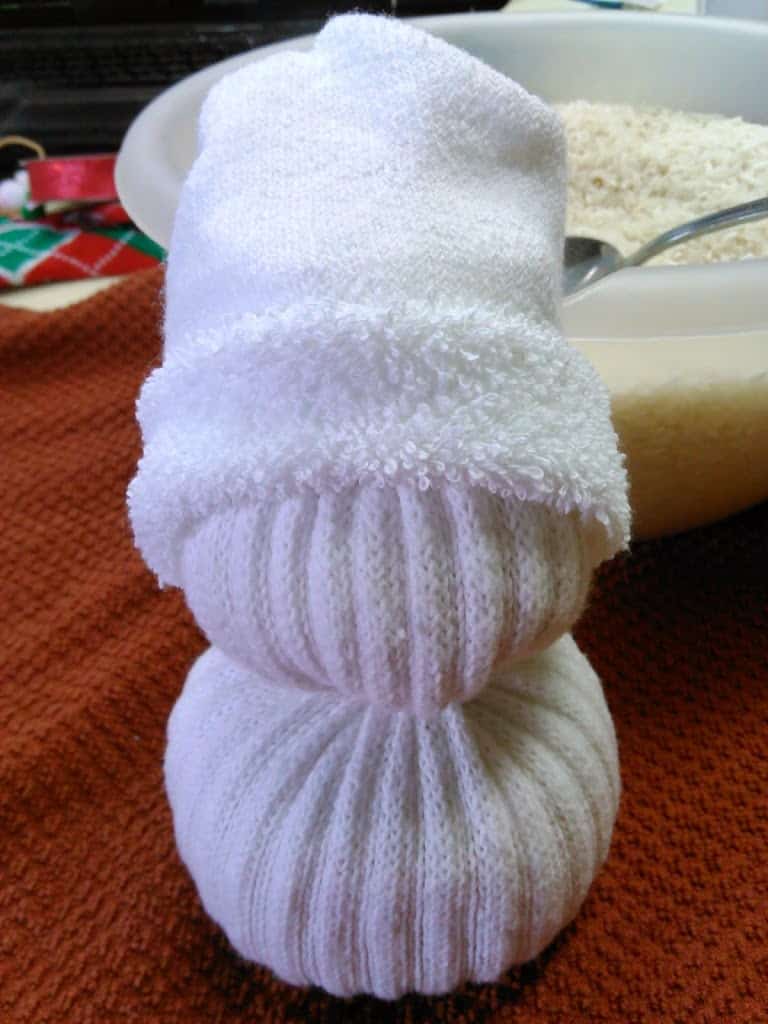
Place the bottom part of the sock onto his head to for a stocking cap. Roll the ends up to look like “fur” Use a few drops of hot glue or tacky glue to secure the hat in place.
————————————————–
Your snowman is now complete! He even looks cute as a ghost snow man LOL But I think he would be much cuter with a face!
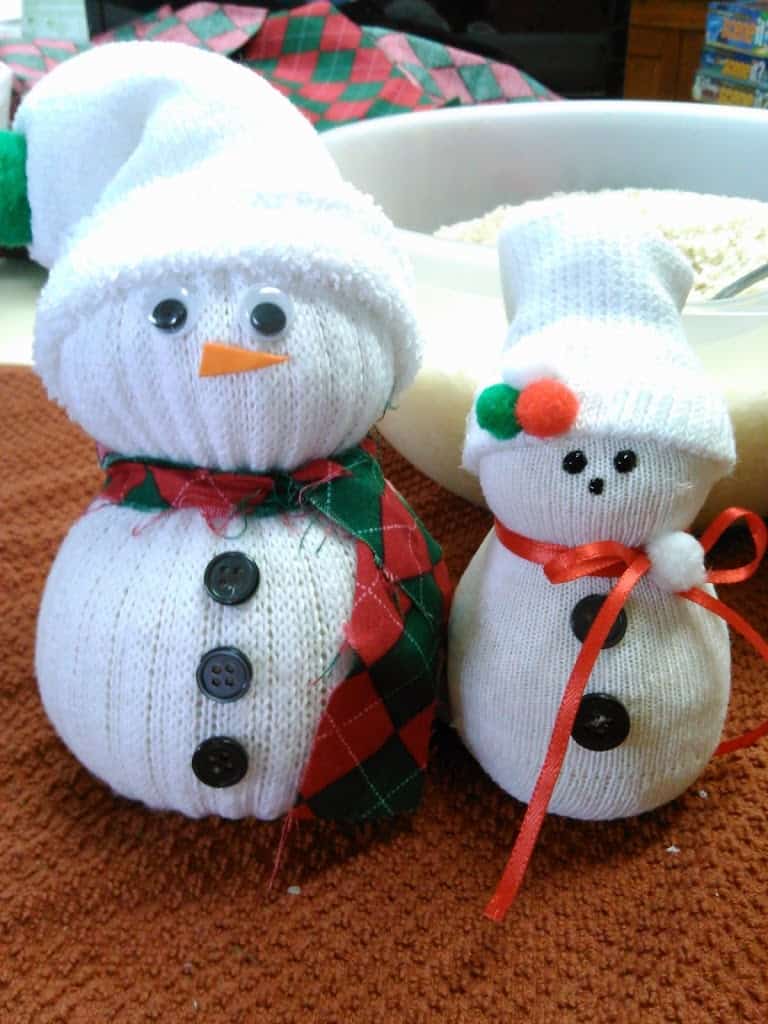
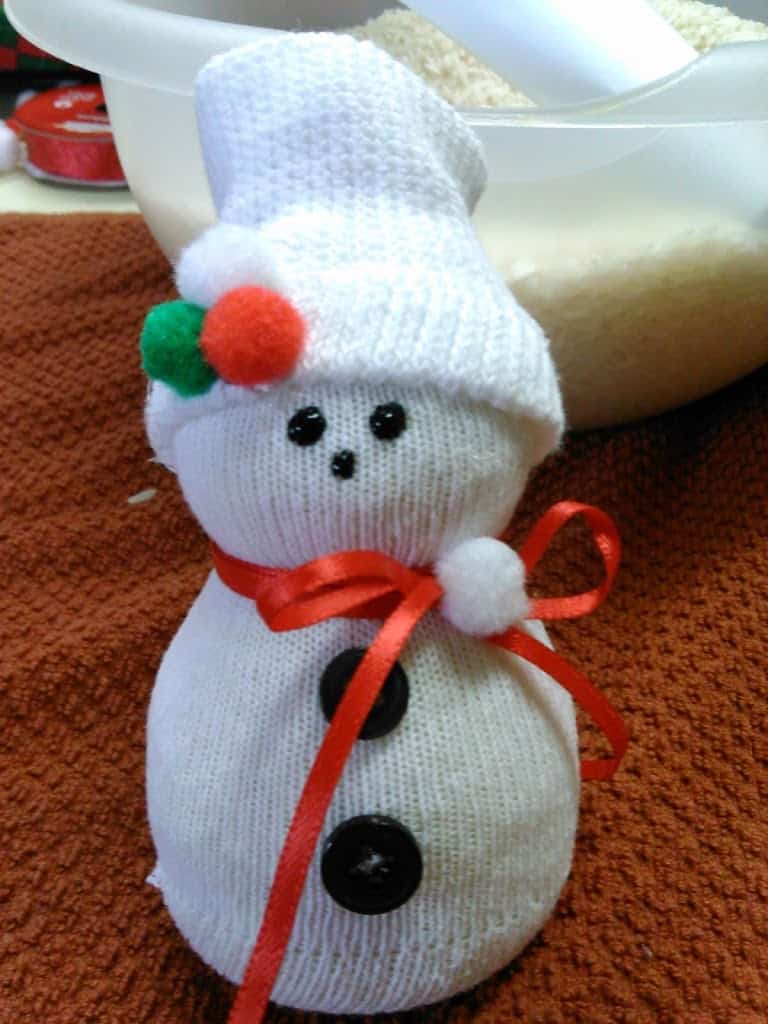
It’s time to decorate. Using ribbons and buttons, give him some character. Maybe a scarf, a sweater (that’s what I was going to use the Christmas sock in the photo above for, but I changed my mind last minute) The dots inside of the googly eyes make cute little open mouths (see picture below)
You can really dress them up any way you would like.
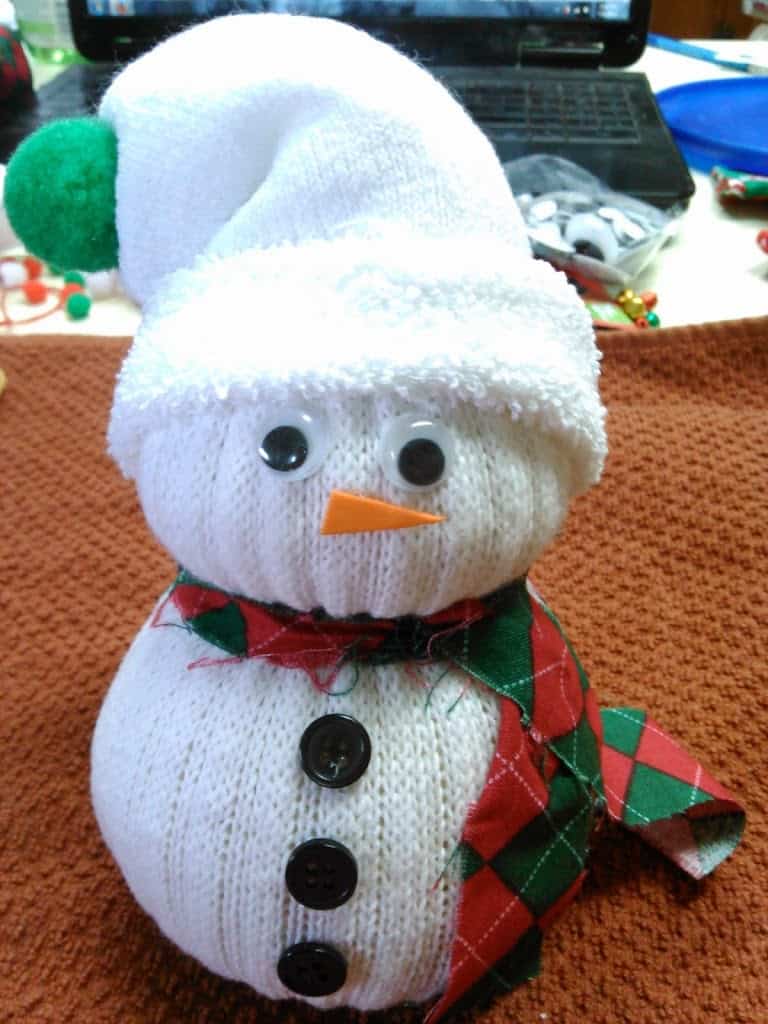 And here is the finished product! Snowman #1 was made using a mans crew sock. Snowman #2 was made using a baby crew sock.
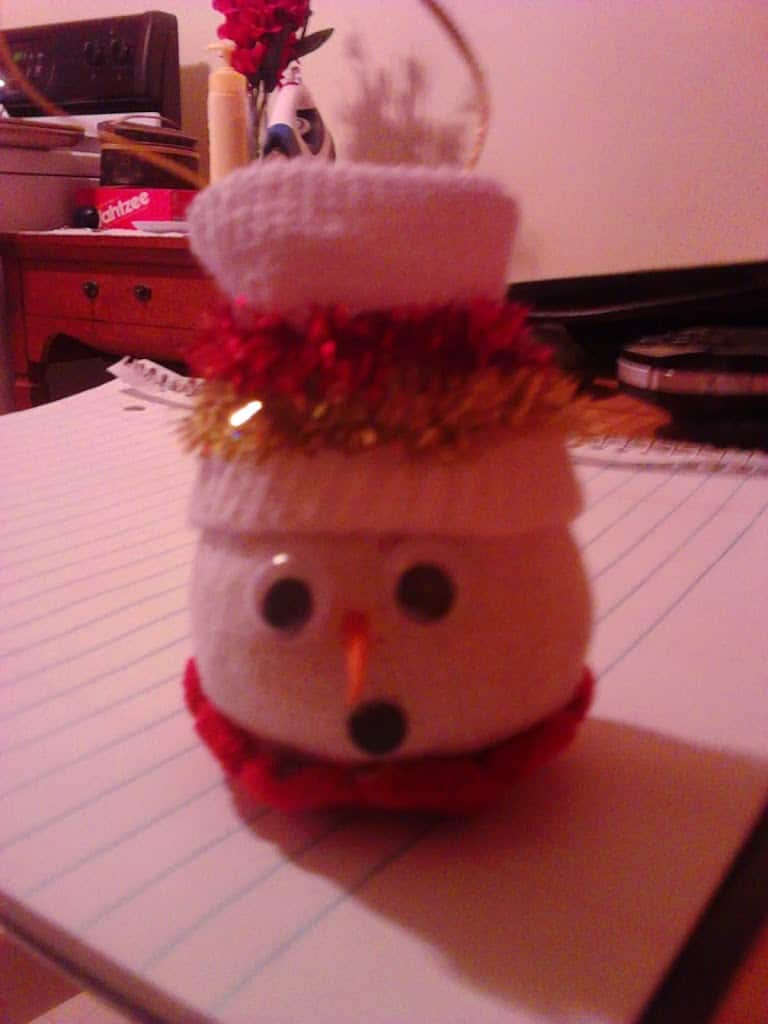 These are the first 2 that I ever made. The smaller one, I just did a snowman head using a baby crew sock and attached a loop to it to make it an ornament. It was super cute but a little heavy for the Christmas tree. Maybe hanging on a hook, or even a door knob,
I hope you enjoyed this tutorial as much as I did making it for you! These snowmen come together pretty quickly, and like I said before the skys the limit on what you can do to personalize them. They really are a lot of fun and easy enough for the kids to get involved in.
C’mon …show your Christmas spirit! 🙂
Looking for other Christmas crafts?
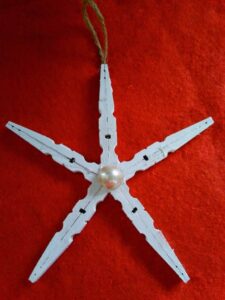
Try making this simple yet elegant Clothes Pin Star Ornament!
I hope you have enjoyed todays CRAFT project! If you would like to see more Daily DIY Life CRAFTS be sure to visit the CRAFTS PAGE HERE!
You can get Daily DIY Life updates right to your E-mail box every week! Sign up for our NEWSLETTER HERE!
We are also onLIKE US ON FACEBOOK and TWITTER! Never miss a project or recipe again!

