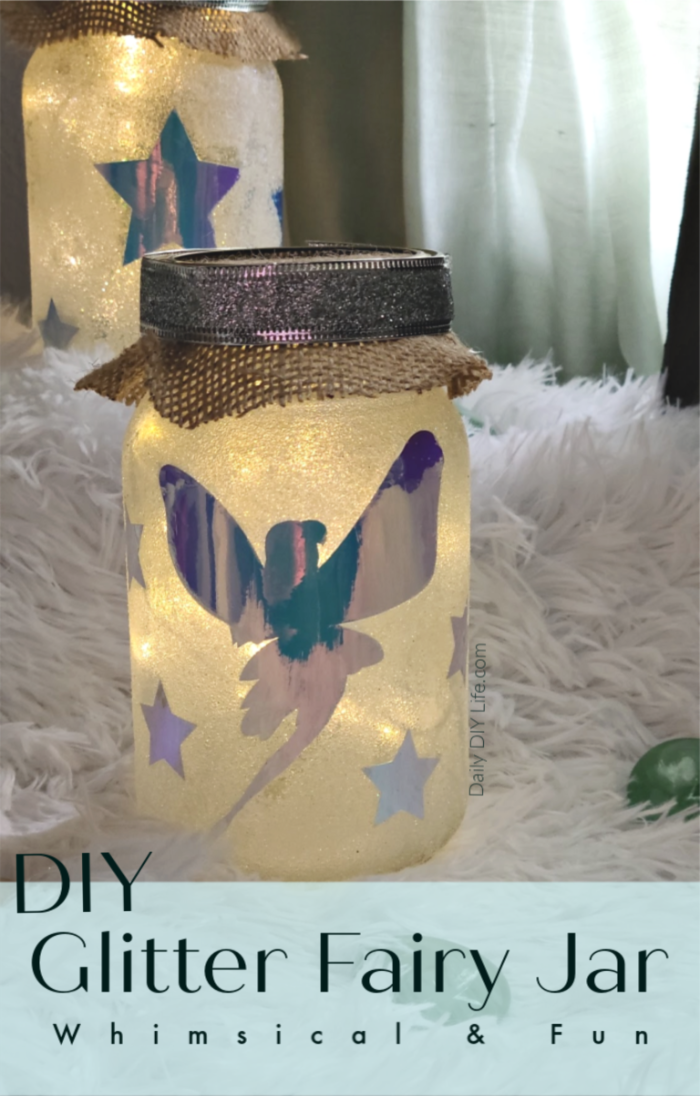
Whimsical DIY Glitter Fairy Jars have just the right amount of twinkle and imagination. We used Opal Vinyl for the accents so these glitter fairy jars look wonderful during the day as well as sparkle and shine all through the night. A fairy nightlight perfect for any room or campsite. Use a battery-operated set of twinkle lights, and you can take it anywhere, anytime.
DIY Glitter Fairy Jars – Pin It For Later!
Follow Daily DIY Life on Pinterest!
As part of the 2020 StyleTech Craft design team, this post is sponsored by StyleTech Craft. Product and compensation have been provided for this post. All opinions and ideas are 100% my own.
This post contains affiliate links for your convenience. That means that if you click a link within this post and a purchase is made, I will receive a small commission at no extra cost to you. For details, please see our disclosure page.
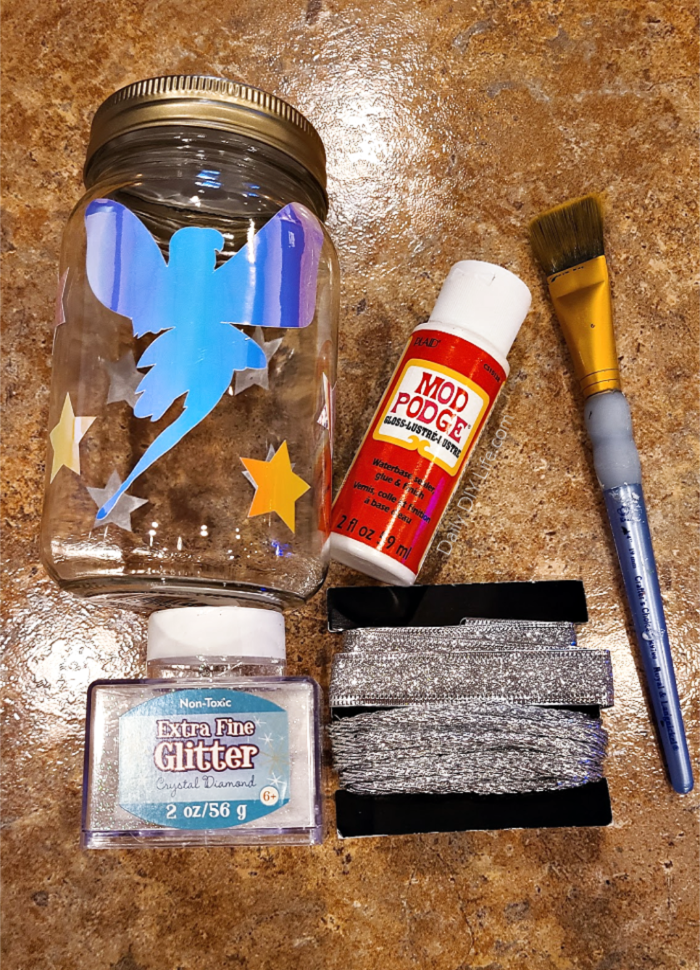
What you will need to make a Whimsical DIY Glitter Fairy Jar
Supplies:
- Glass Jar with a lid – I used a smooth mason jar
like this one.
- StyleTech Craft Opal Vinyl
- Mod Podge
- Foam Brush
- Fine Glitter
- Ribbon or other embellishments
- Battery Operated Fairy Lights
How To Assemble DIY Glitter Fairy Jar
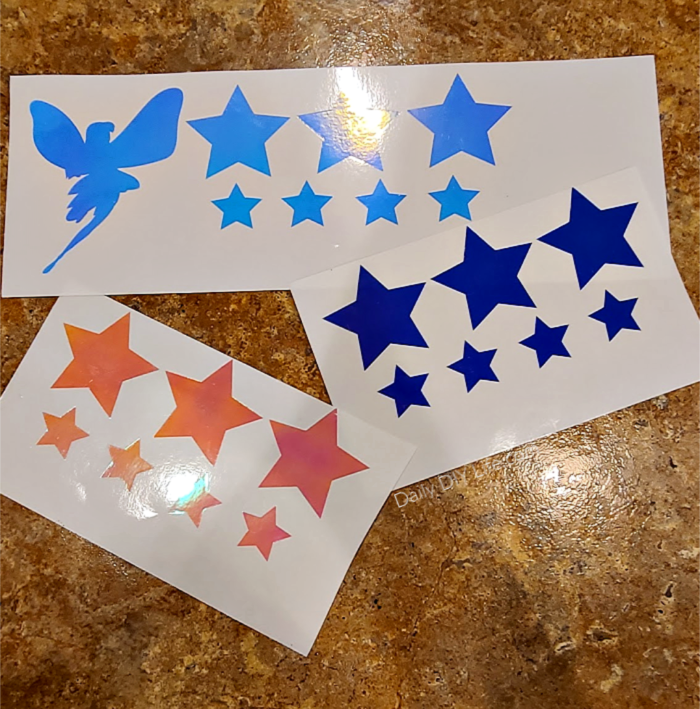
to cut simple shapes out of the Opal Vinyl
. A fun fairy silhouette and stars. I placed them all around the jar in a random pattern. I put the vinyl cutouts on before the mod podge/glitter because I want to leave them on permanently, unlike the Snow Covered Mason Jar that I made at Christmas time.
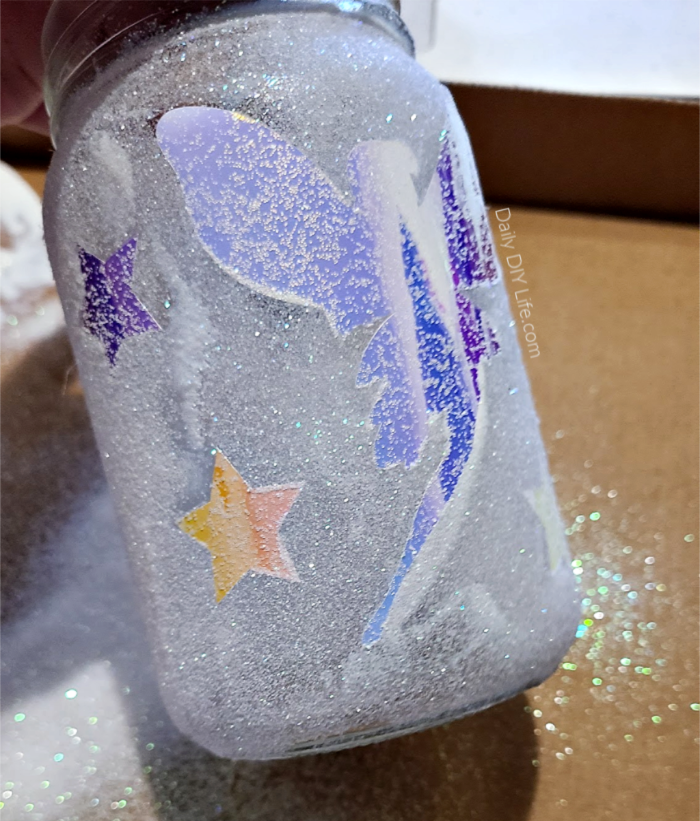
Once all of the vinyl cutouts where were I wanted them, I used a small paintbrush to apply a thin coat of mod podge all around the vinyl. Be careful not to cover the vinyl with mod podge, it may dull the shine of the Opal Vinyl.
Sprinkle glitter over the mod podge while it is still wet. Don’t be stingy with the glitter! The more sparkle the better. Once the first layer of mod podge/glitter is dry go over the glitter area with another coat of mod podge. This will seal the glitter, and you won’t have it sprinkling all over your house.
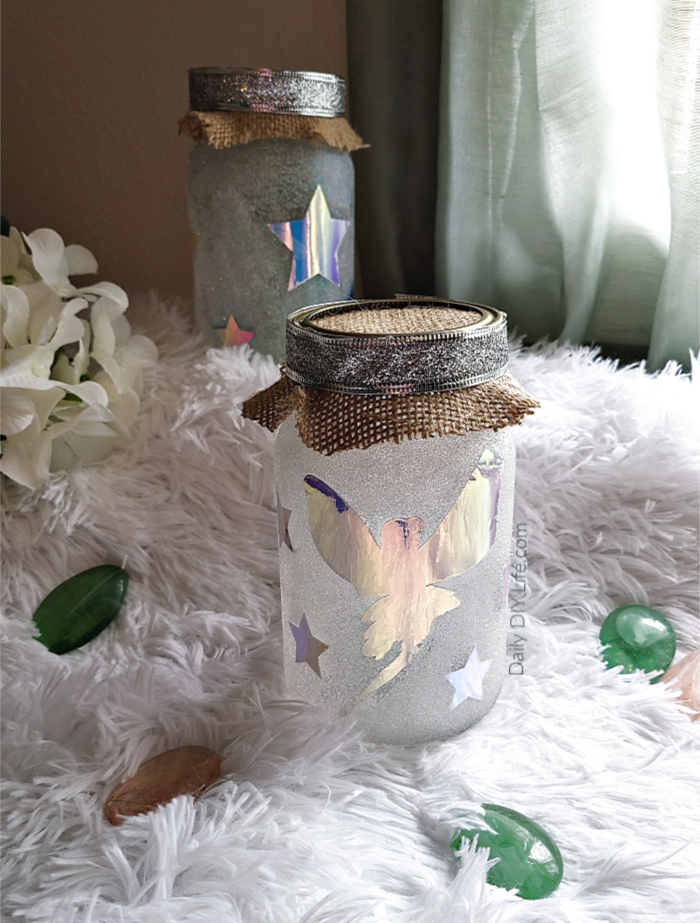
While you are waiting for the glitter to dry, you can decorate the lid if you choose to. I went with a simple circle of burlap fabric, then a silver ribbon around the edge for even more bling.
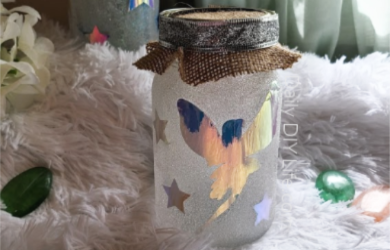
Such a fun, whimsical piece for anywhere in your home. You can decorate it with anything you like, it doesn’t have to be fairies. I even did one with just stars. It came out just as cute.
Related Projects:
Handmade Cards Using Opal Vinyl
If you like this post, be sure to Pin It For Later!





This fairy jar is just magical! I know my kids would steal it, but I really want to make one for myself.
Such a fun project! It would be darling in a little girl’s nursery!