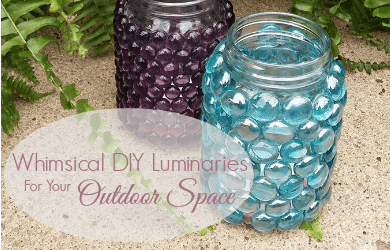
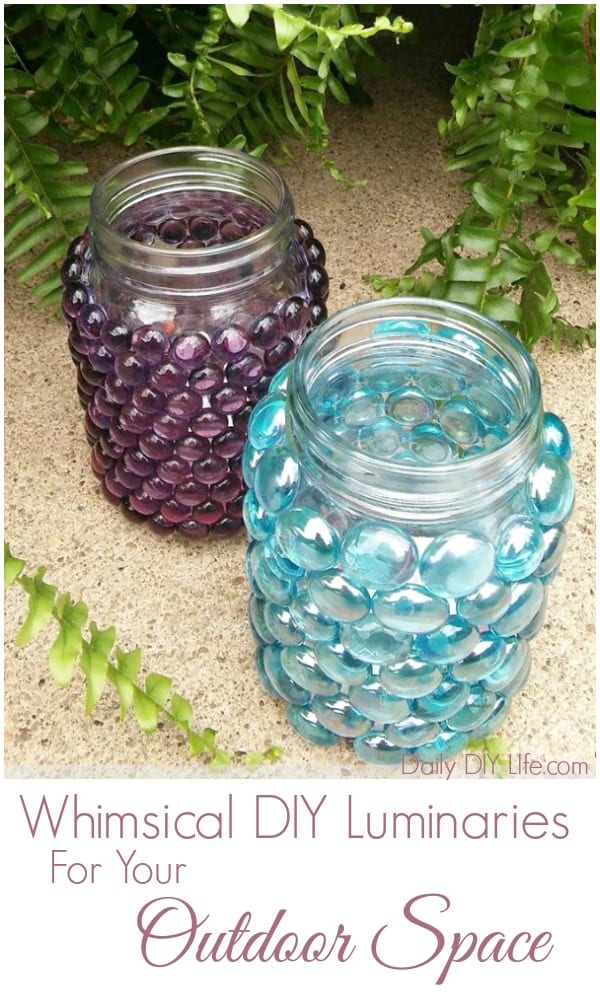
Whimsical DIY Mason Jar Luminaries will light up any indoor or outdoor space. If you are looking for a quick and easy craft to spruce up the patio, look no further. You may even have all of the materials for this outdoor garden craft, and if not, your local dollar tree will have everything you need.
Whimsical DIY Mason Jar Luminaries – Pin it for Later!
Follow Daily DIY Life on Pinterest!
What is a luminary?
A luminary is a light or group of lights that can enhance any occasion in which multiple lights will guide, celebrate or beautify. They are beautiful to look at and easy to make.
Luminary or luminaria means “festival light” in Spanish.
Outdoor Decorating
When it comes to decorating my back porch in the summer months, I am always looking for a few must-have items. If we can DIY it or make it ourselves for less, even better. That is why these Whimsical DIY Mason Jar Luminaries are perfect for our back porch or any indoor or outdoor space. When they are lit up, they shimmer and shine from the colorful glass gemstones.
With the right gems, you can make this quick & easy DIY garden craft look like something from an expensive catalog. It will be our little secret on how EASY and cost-effective it is to make. Here is what you will need.
Mason Jar Monthly Craft Challenge!
This post is part of the Monthly Mason Jar Craft Challenge. At the end of this post, you will see all four fabulous mason jar craft projects. Take a minute to visit each one, I am sure you will find great inspiration in each one of the beautiful projects.
Related Content: DIY Herb Garden Upcycle
Related Content: Stuffed Animal Mason Jars
This post contains affiliate links for your convenience. That means that if you click on a link in this post, and a purchase is made, we will receive a small commission at no extra cost to you. For more details, please see our disclosure page. disclosure page.
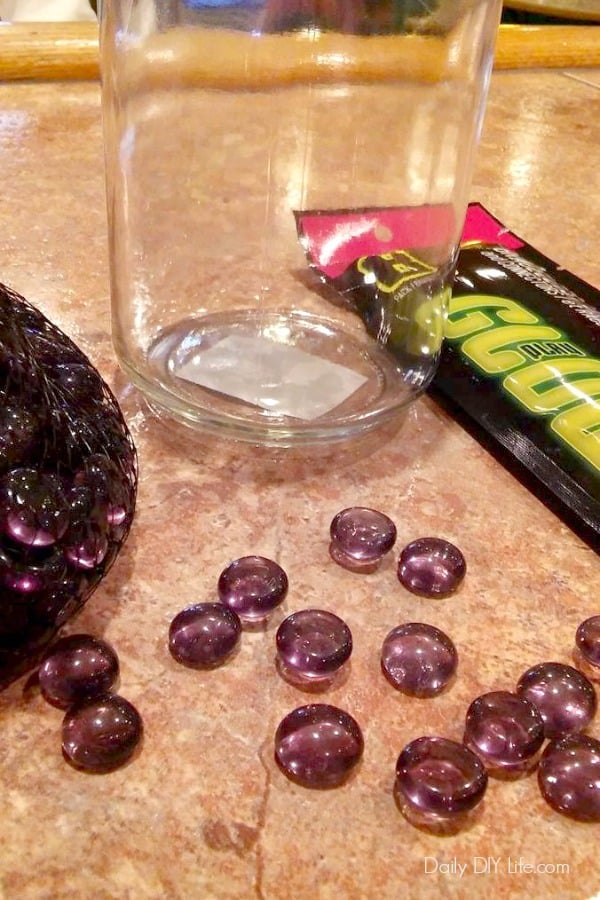
Supplies You Need To Make A Mason Jar Luminary:
- Mason Jars
- Glass Gemstones in your favorite color (I chose purple and sea blue)
- Hot glue gun & glue sticks
- Electric Candle or Glow Sticks
- E6000 Glue
(See notes at the end of the tutorial)
How to assemble A Mason Jar Luminary
Start with a clean mason jar with a smooth finish (I found them at the Dollar Tree). Starting from the bottom glue a row of glass gemstones all the way around.
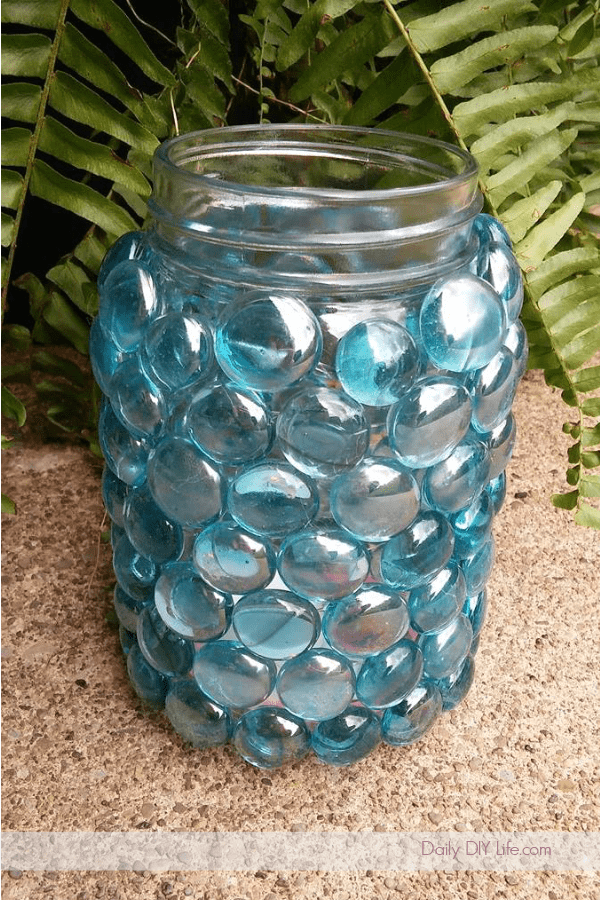
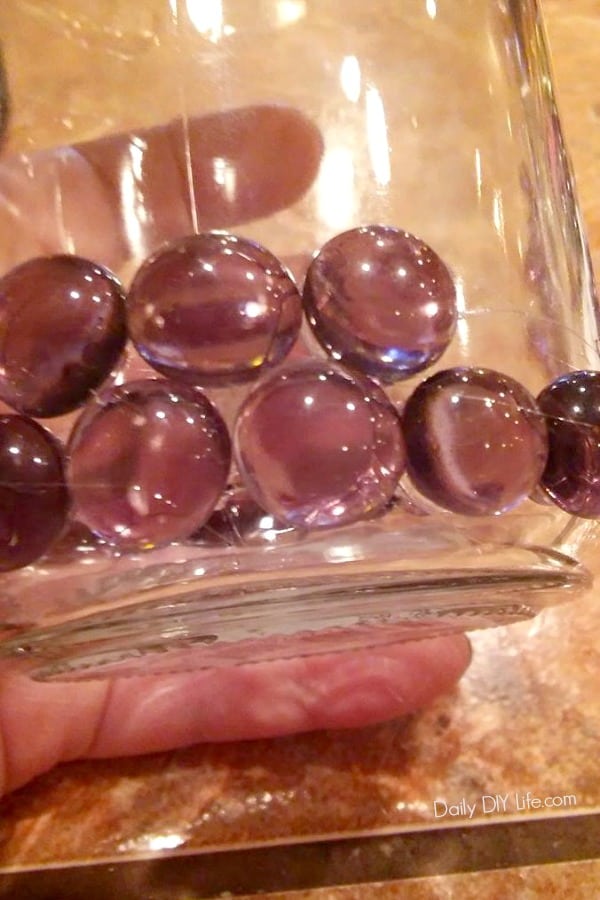
When starting the next row, and all others after the first one, you want to stagger the glass gemstones between 2 from the previous row as shown in the picture below. As a result, this will make the application of the beads go on smooth and they will fit much nicer when they are nestled between 2 others in the row below.
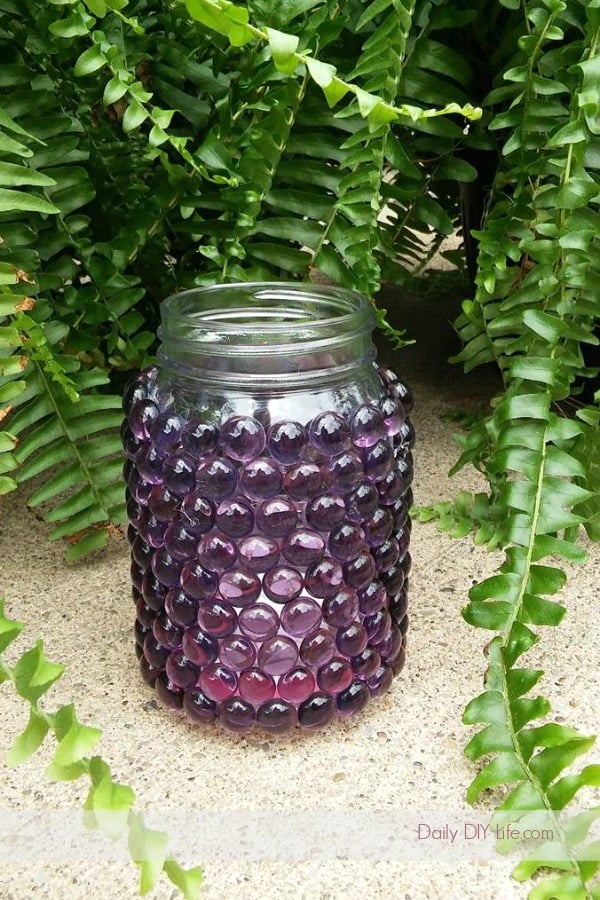
Continue adding the stones one row at a time, until your entire mason jar is covered. Insert an electric candle or a few glow sticks to complete the luminary.
That is all there is to it. Because they were so simple, I had 2 of them put together in less than an hour. The glass stones come in every color imaginable so you can customize these great luminaries to match any decor.
Note: Using hot glue is not a permanent solution, and it may melt if left out in the sun. For a more permanent solution, attach the gemstones with E6000 glue.
Recycle Glass Jars To Make A Luminary
You can add this effect to any glass jar you may have. Just make sure the glass is clean and free of any labels. Check out my post on How to Remove Labels From Glass Bottles Easily!
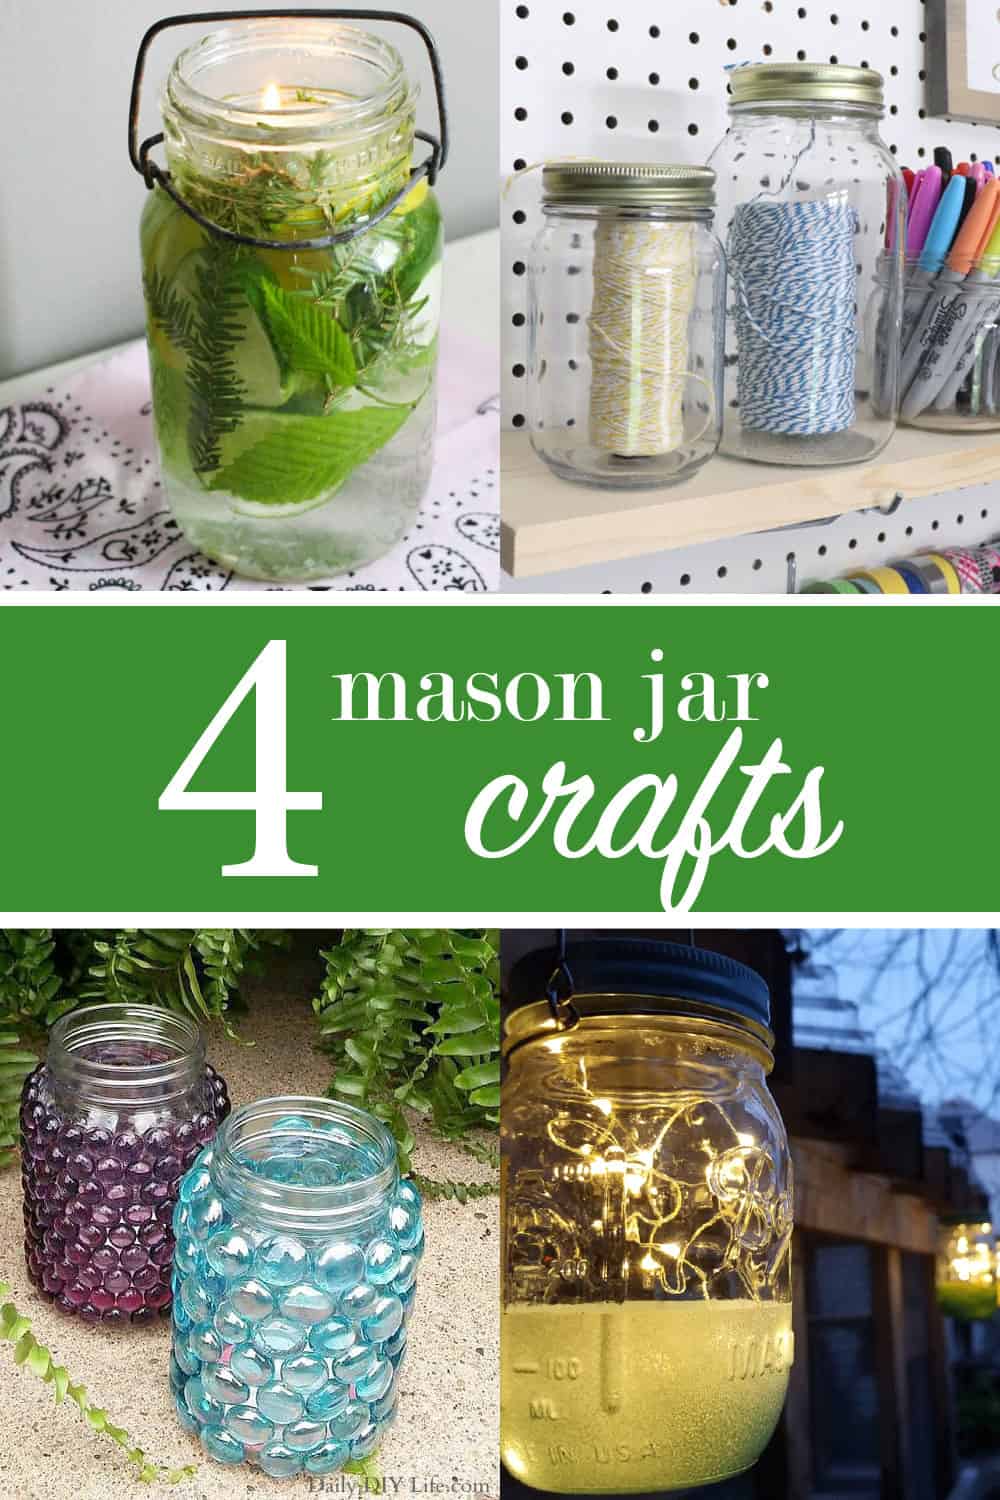
As promised, here are FOUR beautiful mason jar crafts for this months challenge. I hope you enjoy them and find lots of inspiration to create your own projects.
Mosquito Repellent Mason Jar Hack from Our Crafty Mom • Mason Jar Organization for your Craft Room from Creative Ramblings • Whimsical DIY Mason Jar Luminaries from Daily DIY Life • How To Create Hanging Mason Jar Fairy Lights from Michelle James Designs
Pin It For Later!
If you like this post, don’t forget to Pin It For Later!




I love your Luminaries Heather! I bet they look beautiful at night!! Thank you for letting us link our projects up!
Thanks so much! I tried to get a good pic. at night but it was so hard lol maybe at dusk will be easier. They look nice, but I would love them to be a bit brighter. Maybe a higher quality or brighter electric candle. Maybe even a solar light would look cool in there.
I agree with Sam I bet these look magical at night. Thanks for hosting the party!
Those are so pretty! I just love the colors!!
Thanks Susanne! Two of my favorite colors too.
Fabulous job on this project Heather. Even though you think this was just a quick-ie this is so a project I want to duplicate thanks so much for the wonderful inspiration.
Aww thanks Anj! I’m so glad you like them!
Love these Heather. I have so much fun working with glass beads too. What a great idea. So great for the backyard!
Thank you Carolann! They are beautiful to work with, love them
I want the blue one please. I love these plus they could be a vase too. I need to find my glue gun and make one too.
Thanks so much Sue 🙂 A vase is a lovely idea!!
Have you ever tried a votive candle inside of one of these? Does it get too hot for the hot glue? I know it would be difficult, but I would love to see one of these lit when it’s getting dark outside. I bet they look absolutely fabulous!!
To be completely honest, this was my first time making these. after some feedback and talking to others the hot glue won’t hold if they get too hot. Mine are in the shade and havent moved since I made them. Other readers have suggested using E6000 or DAP Silicone. If that is the case, and mine start falling off .. I will be revising my post. So I don’t think the gems will hold up to the heat of a real candle 🙁 I hope that helps.
Am I the last to the luminary party? Geez……these are the cutest things! I’m so glad to have learned this sweet how-to…
Those are beautiful and easy to make, my kind of project! Thanks for sharing the how to, I have a box full of empty jars waiting for “something”
These are really fun and they would be easy peasy to make. Thanks!
Oh , i love these, and look how easy they are to make , these are my kind of crafts cause their easy6 , thank you sooo much.
Habe eine Lichterkette mit flachem Batteriefach in den Deckel geklebt (Klebeband) sieht am Abend besser aus als Teelichter.