Adorable Rae Dunn inspired Halloween decorations are a fun way to add a little sparkle and class to your holiday decor. Using StyleTech Craft Ultra Metallic Glitter Vinyl adds some bling and pizzaz to everything. DIY Halloween ornaments get a fun makeover with some paint and a little bling. They are super easy to make, you will want to make them all. Here is how we did it.
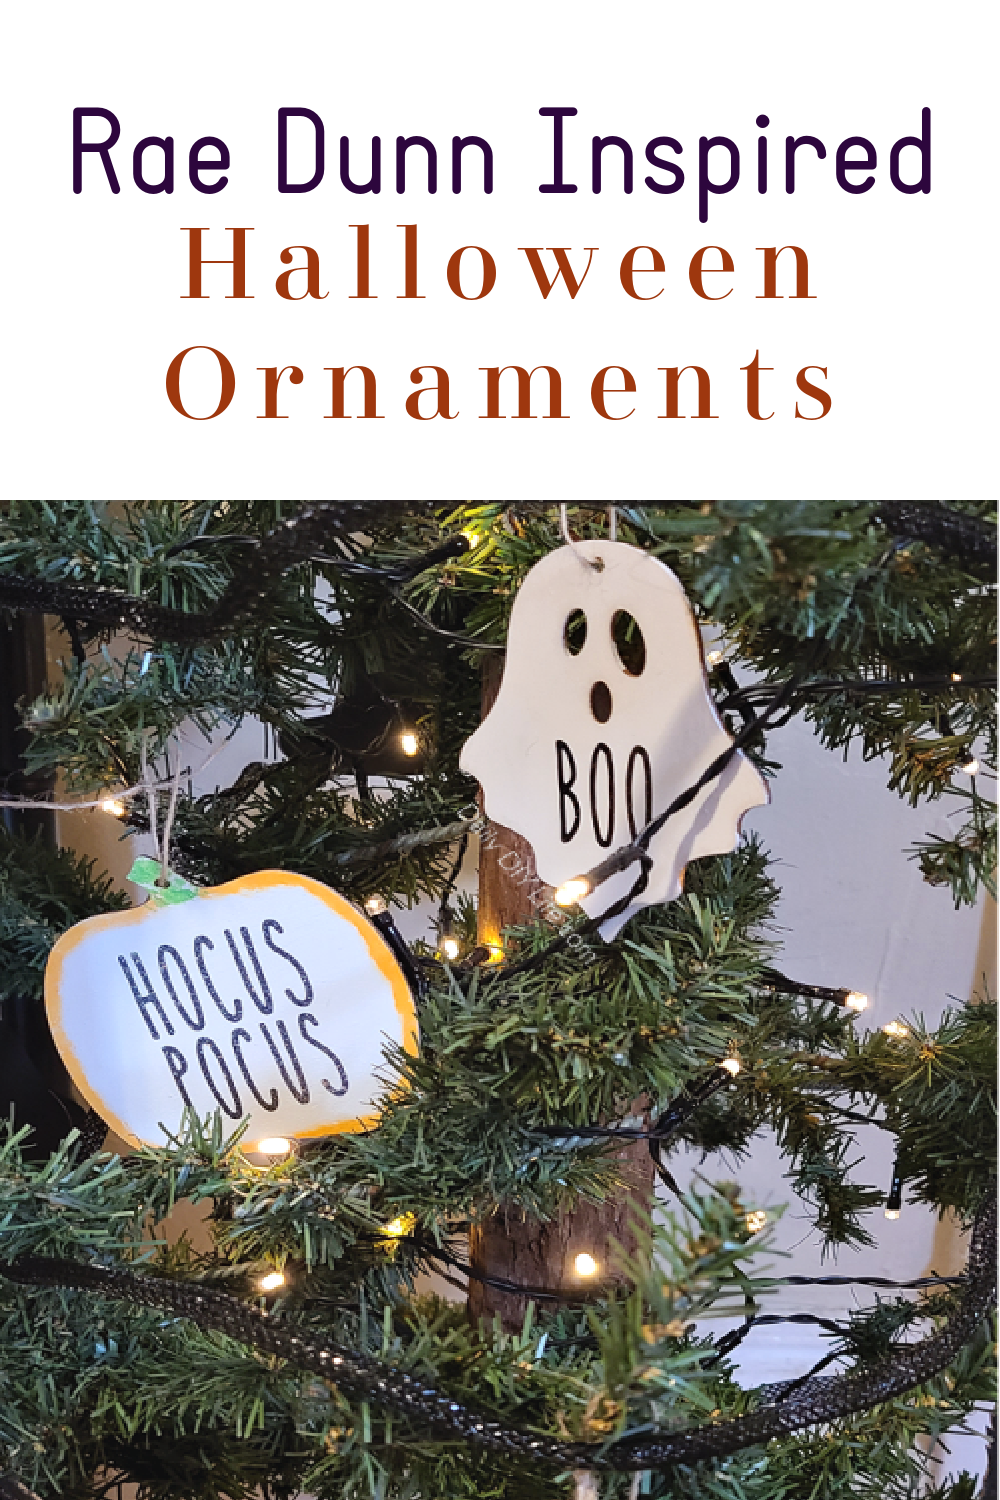
Rae Dunn Inspired Halloween Decor! – Pin It For Later!
Follow Daily DIY Life on Pinterest!
As part of the 2020-21 StyleTech Craft design team, this post has been sponsored by StyleTech Craft. I have received compensation and supplies for the purpose of this post. All opinions and ideas are 100% my own.
This post also contains affiliate links for your convenience. That means that is you click on a link within this post and a purchase is made, I will receive a small commission at no extra cost to you. For more details, please see our disclosure page.
DIY Rae Dunn Inspired Halloween Decor!
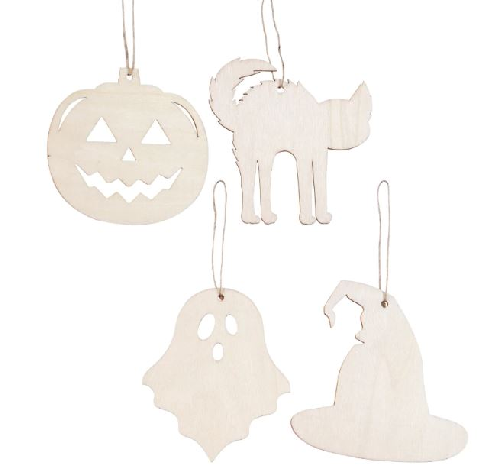
I found some adorable wood blanks in fun Halloween shapes. You can find similar ones HERE from Amazon. I knew I wanted to paint them and add a little shiny bling to make them stand out a little more.
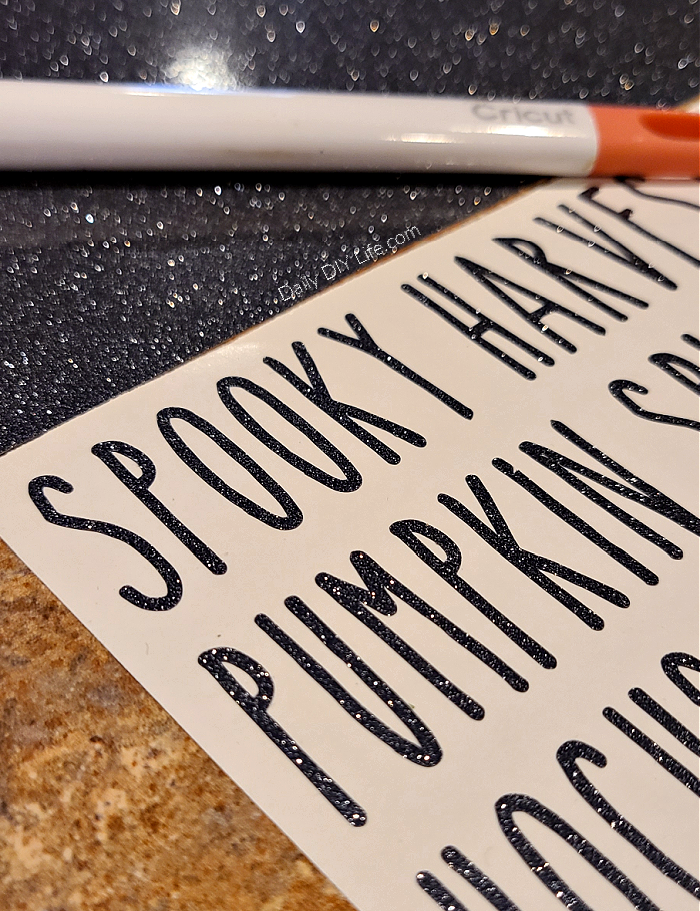
Using my Cricut cutting machine, I typed out the words I wanted on each shape. BOO for the ghosts, Trick or Treat for the pumpkins, etc. You can get creative and add whatever you would like to the front of the wood cutouts. Family names, student names, or funny saying could also be cut to fit on the cute wood cutouts.
The font I used that is very similar to the Rae Dunn font is called The Skinny Bold. You can download it free for personal use on Dafont (dot) com. Please read the terms and conditions on their website for personal and commercial use.
Assembling Halloween Ornaments!
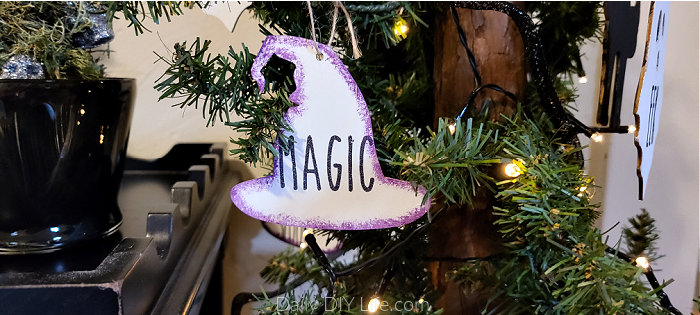
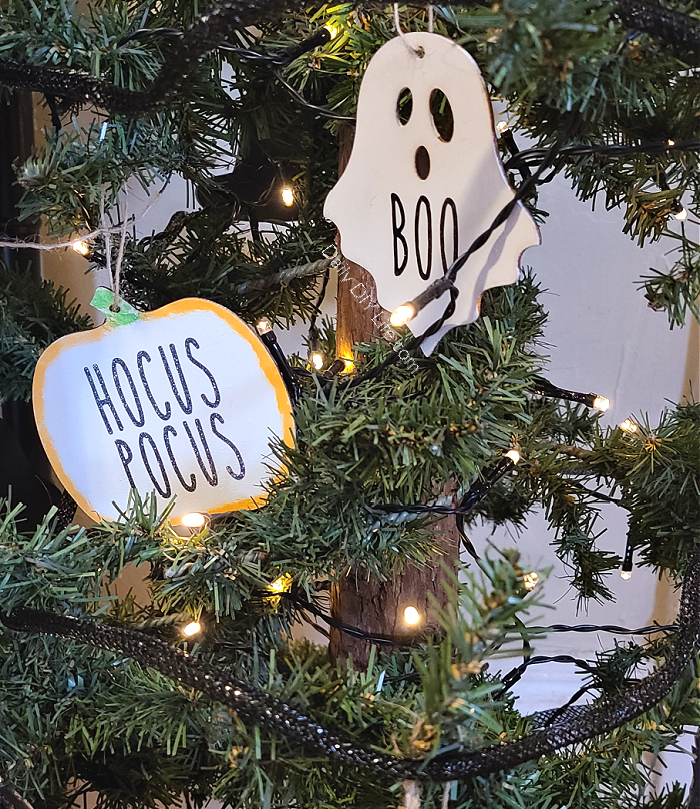
The assembly of your Rae Dunn Inspired Halloween Ornaments is very simple. Paint all the ornaments in your favorite Halloween colors. Once your words are cut on your Cricut or Silhouette cutting machine, apply them to the center of each wood ornament. I loved the look of the StyleTech Craft Ultra Metalic Vinyl against the matte chalk paint, it gave it the sparkle that it was missing.
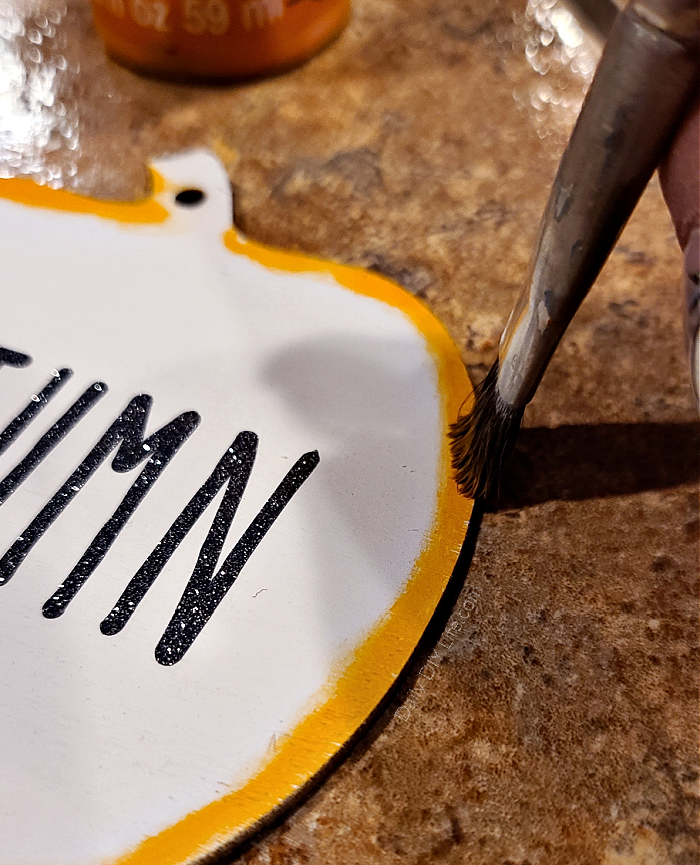
I chose to add a pop of color around the edges of each Halloween ornament with a quick dry brush technique. Simply dip the end of your dry brush in your craft paint, wipe off almost all of the paint from your brush leaving just a small amount. Swirl the paintbrush around the edges of each ornament until you achieve the look you like. It’s that simple!
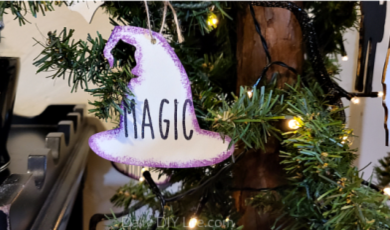
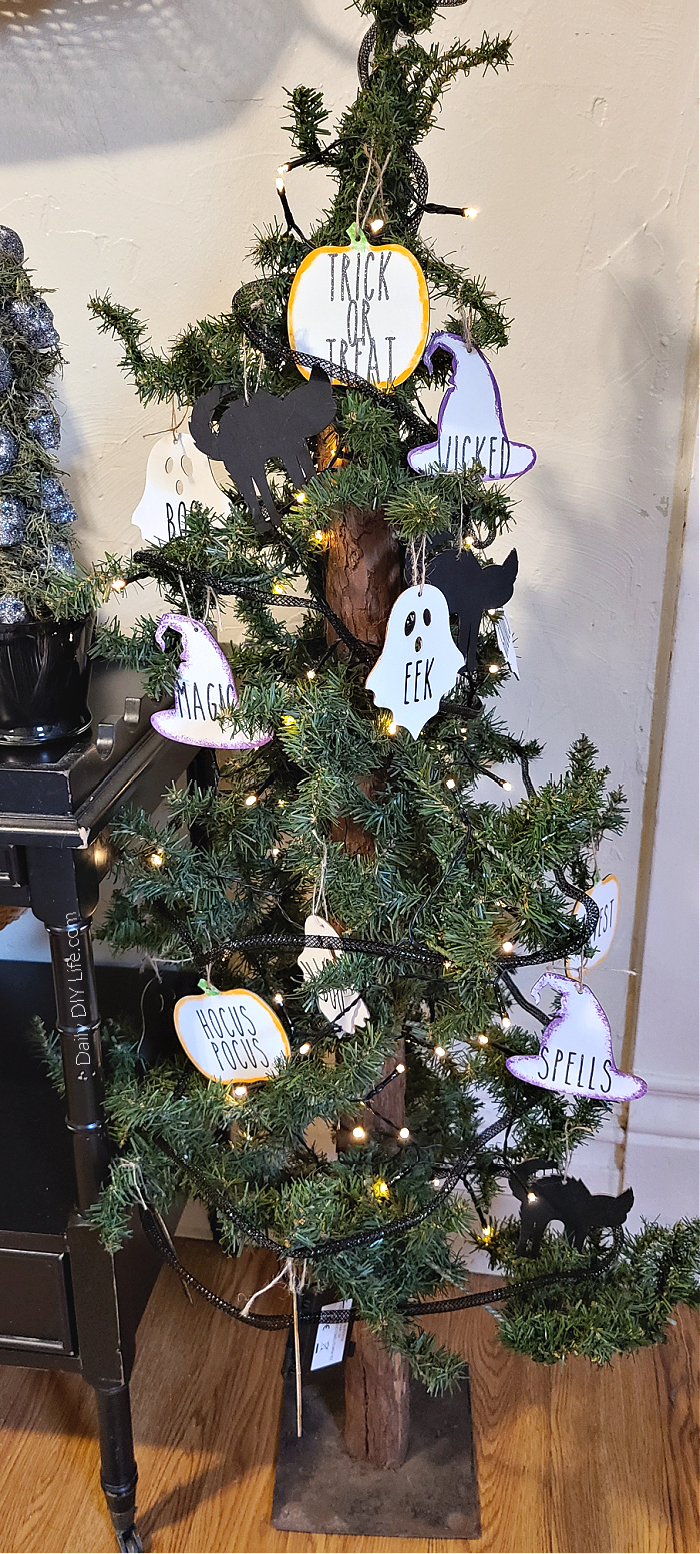
Here is is in all it’s Halloween glory!
If you love this Halloween project, don’t forget to pin it for later using the image below!
You may also love these other fun Halloween DIY’s!
Dollar Tree Skeleton Decor
Fall DIY Dollar Tree Pumpkins!
Thanks so much for stopping by! If you try this project, drop a comment below and let me know how it turned out!



Love your Halloween Tree – the ornaments are wonderful!
These are so cute!!