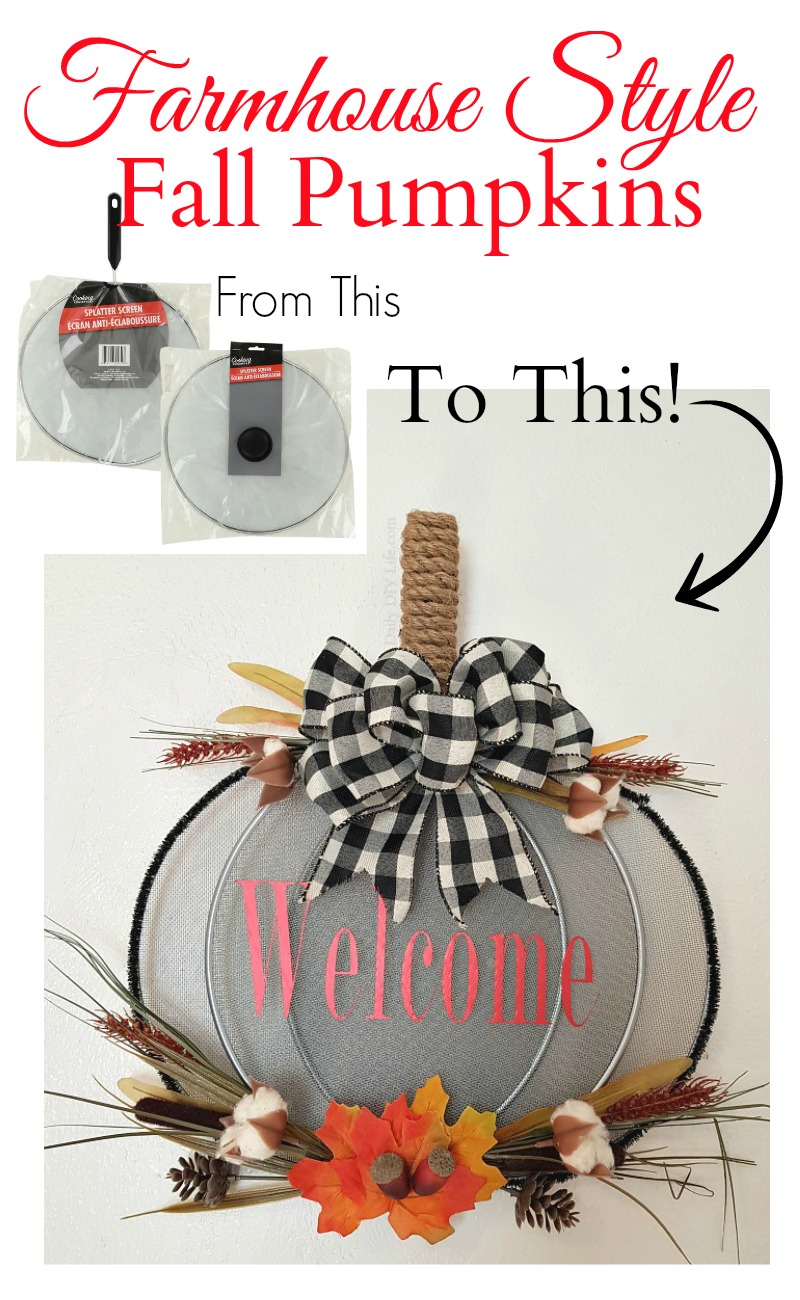
We are having so much fun creating fun and unique DIY Fall Decor this year. Using untraditional or everyday items, making dollar tree crafts is so much fun. You can add a personal touch to all of your craft projects with custom decals using vibrant StyleTech Craft vinyl. In this fall pumpkin project, I chose to use shimmering luster vinyl in purple and red. Everything is better with bling, am I right?
Farmhouse Style DIY Fall Decor – Pin It!
Follow Daily DIY Life on Pinterest!
This post also contains affiliate links for your convenience. That means that if you click on a link within this post and a purchase is made, I will receive a small commission at no extra cost to you. For more details, please see our disclosure page.
Related Content You May Like
Beautiful Fall Decor Using Dollar Tree Items
Decorative Fall Plate Using Your Cricut
Plaid Painted Mason Jar For Fall
DIY Fall Decor/DIY Halloween Decor
When I started this fun craft project, I was only going to make one of these adorable pumpkins. When I was finished with the Halloween pumpkin, I couldn’t resist making one for Fall as well. I have included photos from both and a short video on how to assemble and decorate the DIY Fall Decore piece. Here is how we put it all together.
Supplies Needed:
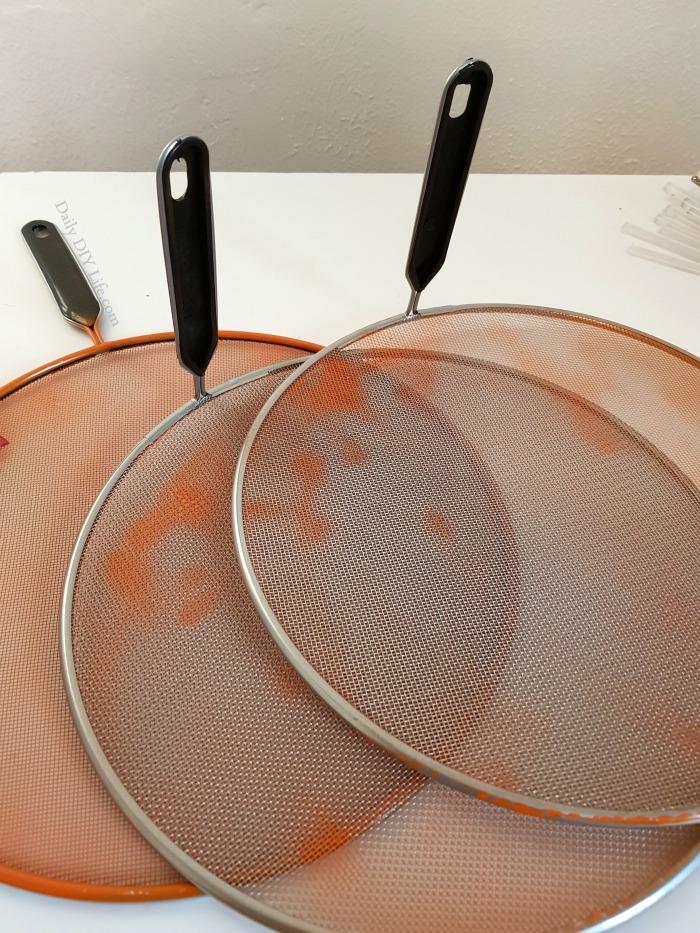
- 3 Grease Splatter Screens
- Spray Paint – Rustoleum American Accents – Real Orange
- Thin Floral Wire
- Decorative Ribbon
- Chenille Stems
- Glue Gun & Hot Glue Sticks
- Nautical Rope
- Decorations (plastic spiders, floral picks, fall leaves, etc.)
- StyleTech Craft Luster Vinyl
(I used Purple and Red)
Watch The Video
xx video coming soon xx
Step by Step Photos To Make A DIY Fall Pumpkin
I have made two different versions of this fun fall craft. One to display on a stand, and one to hang on the wall or door. I love them both, and I hope you do too.
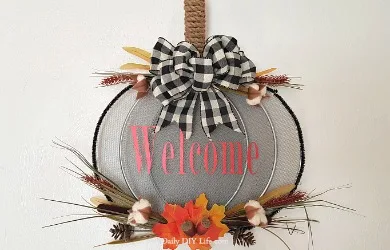
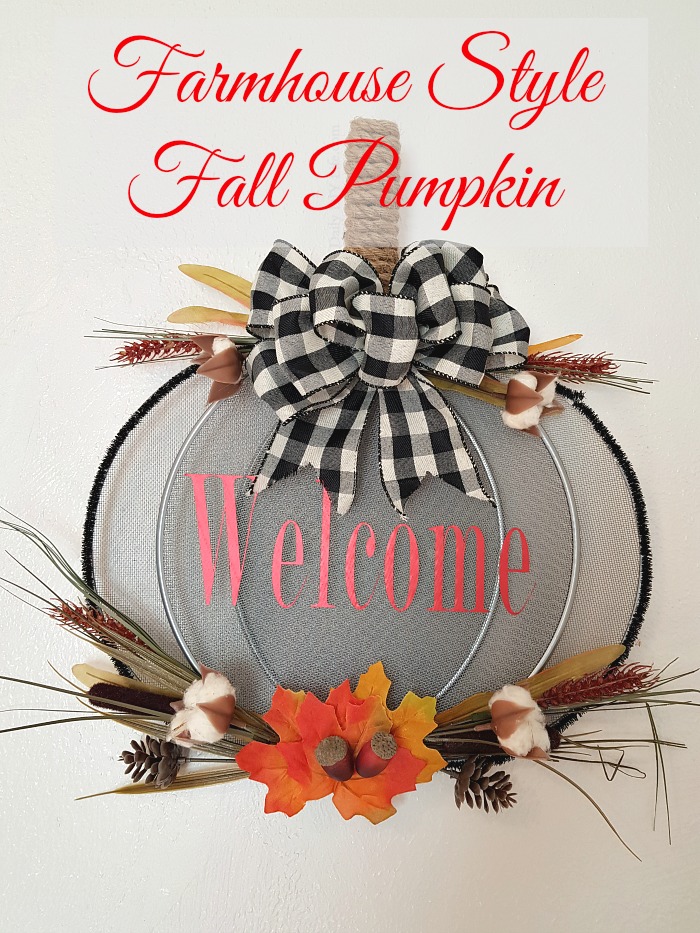
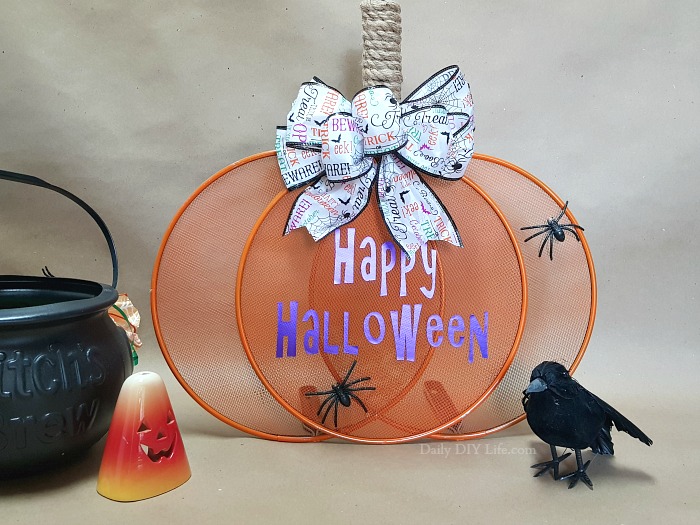
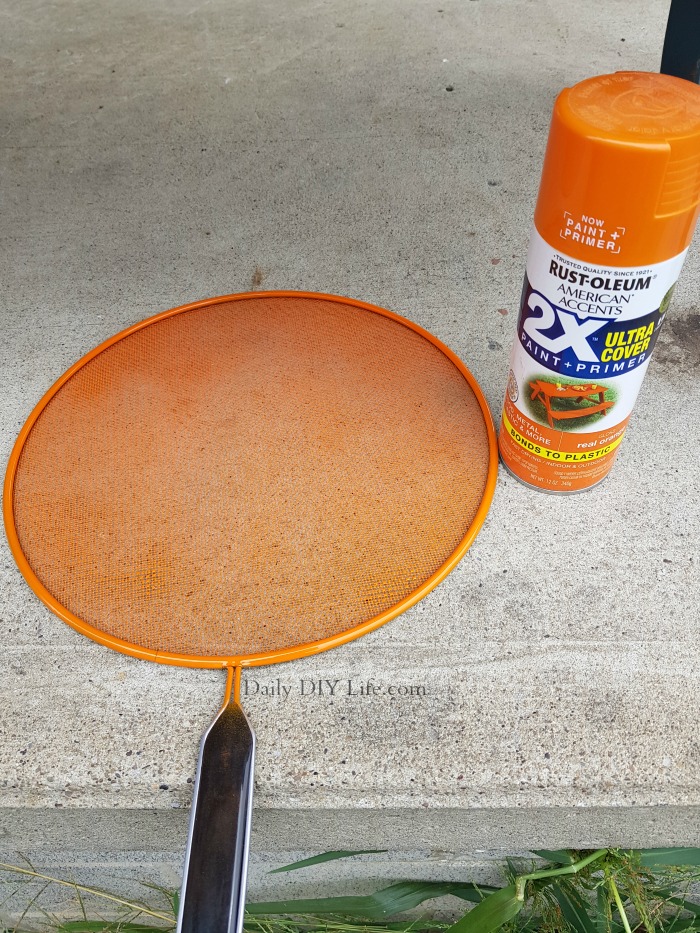
Begin by spray painting your screens in a vibrant orange if you are going with a traditional pumpkin look. I used Rustoleum American Accents 2x ultra coverage in Real Orange. For the wall hanging, I left the screens silver and just outlined the edge with black chenille stems.
To make your pumpkin stand on its own, use three splatter screens with handles. Gently bend two of the handles backward before moving on to the attaching step. For the wall hanging, use one screen with a handle and two screens with a knob. Remove the knob with a screwdriver. You can toss the knob or save it for another craft. You won’t need it for the fall pumpkin craft.
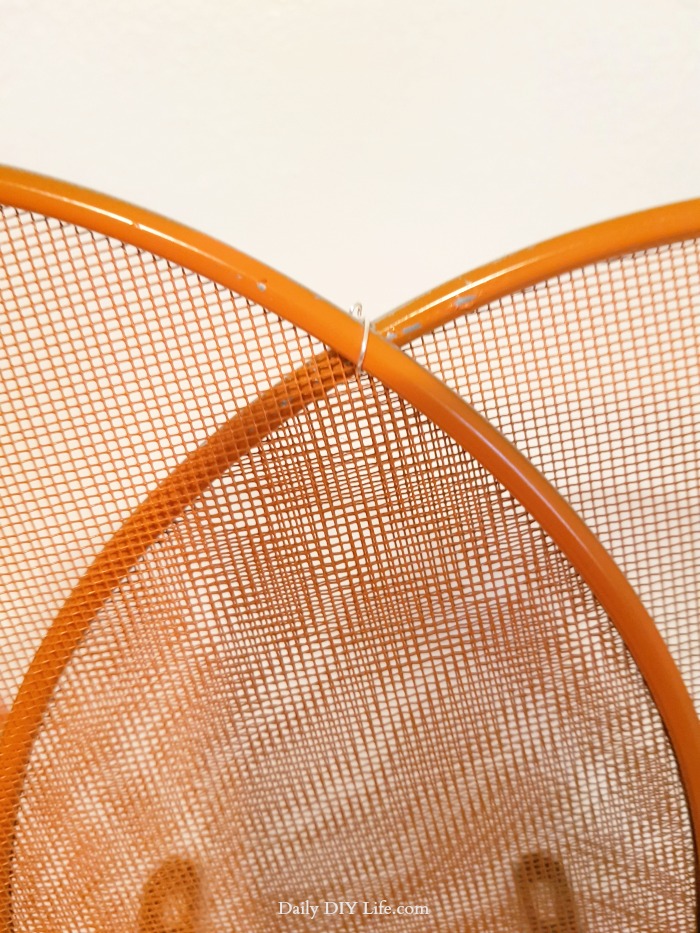
overlap the two flat screens slightly and attach them together using thin floral wire as shown in the picture above.
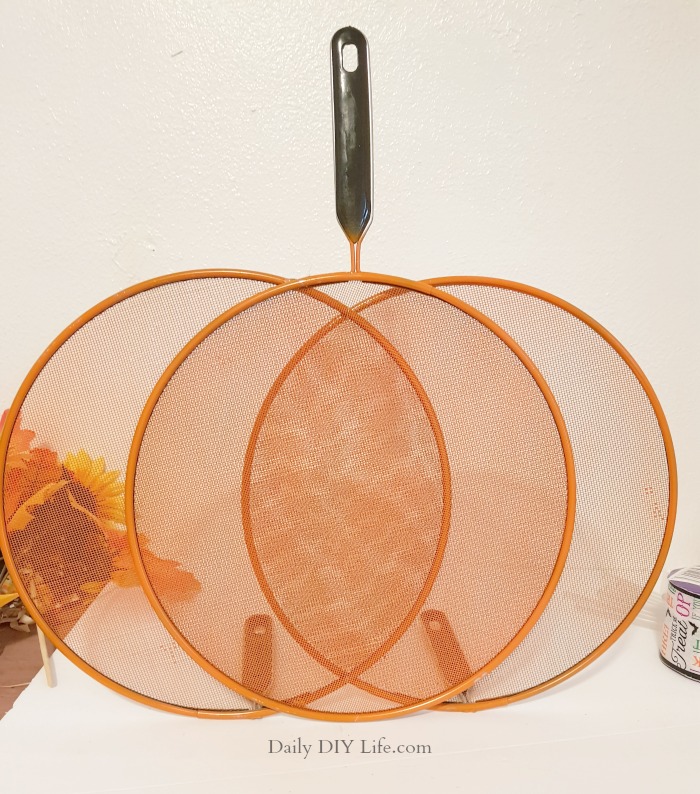
place the screen with the handle in the center and attach that one with floral wire as well.
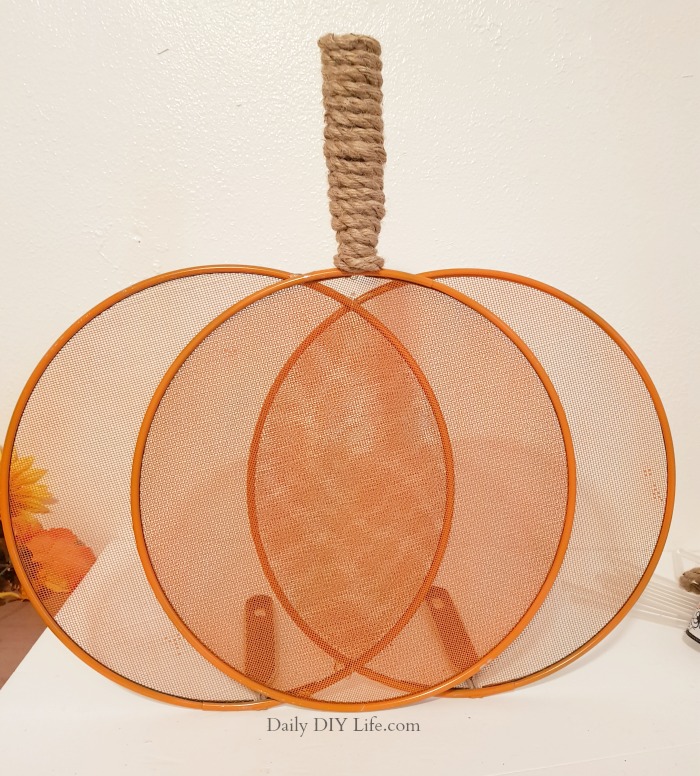
Wrap the handle with nautical rope to make your pumpkin stem.
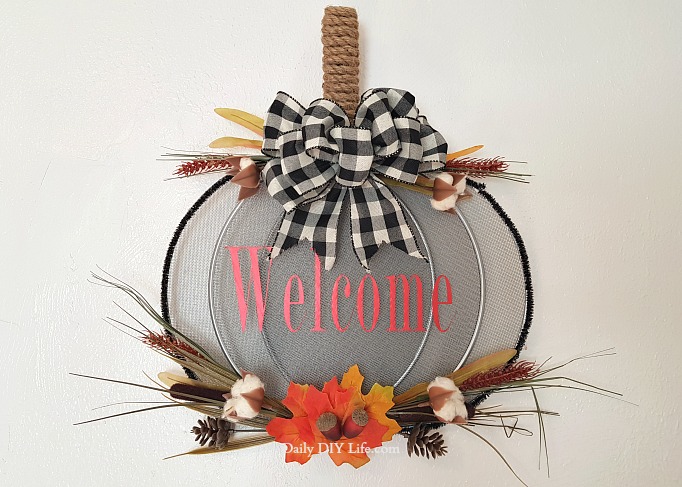
Decorate your pumpkin with your favorite ribbon, flowers, or spooky Halloween decorations.
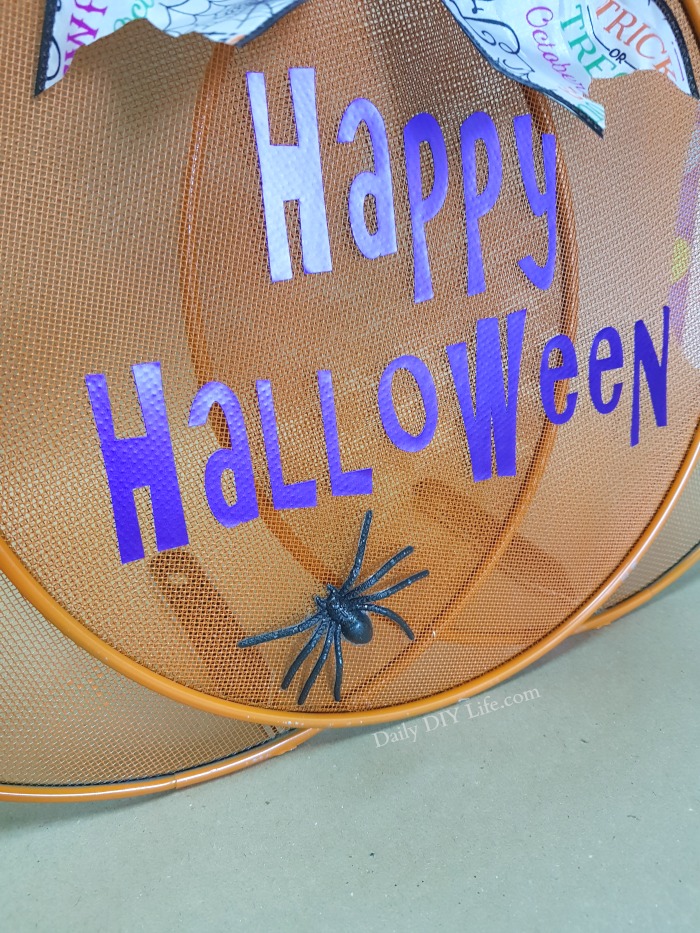
If you want to add a personal touch, you can use StyleTech Craft Luster Vinyl and your Cricut Explore Air cutting machine to create some fun words for the center of your DIY Fall pumpkin.
StyleTech Craft Luster Vinyl
For the Happy Halloween Pumpkin, I used Purple Luster Vinyl and for the Fall Wall Decor, I used Red Luster Vinyl, both from StyleTech Craft. Luster Vinyl comes in 13 vibrant colors. Based on the same film used in vehicle wraps, luster offers a satin finish that isn’t quite glossy but not quite matte. This film offers a deep, rich look to your projects.




awesome idea; love it xxoo
Thank you Cheryl! I love it so much. It is on my front door, I get comments on it from everyone that comes to visit.
I love this idea. Fall decorating is my favorite. I can’t wait to make this!!