
Creating an image transfer does not need to be as complicated as it looks. If you have the right tools and a little imagination, the possibilities are endless. Most of the designs you see are very intricate and look extremely complicated. You might be surprised to know that it is actually very simple to transfer just about any image using your home office printer and a very basic No. 2 pencil.
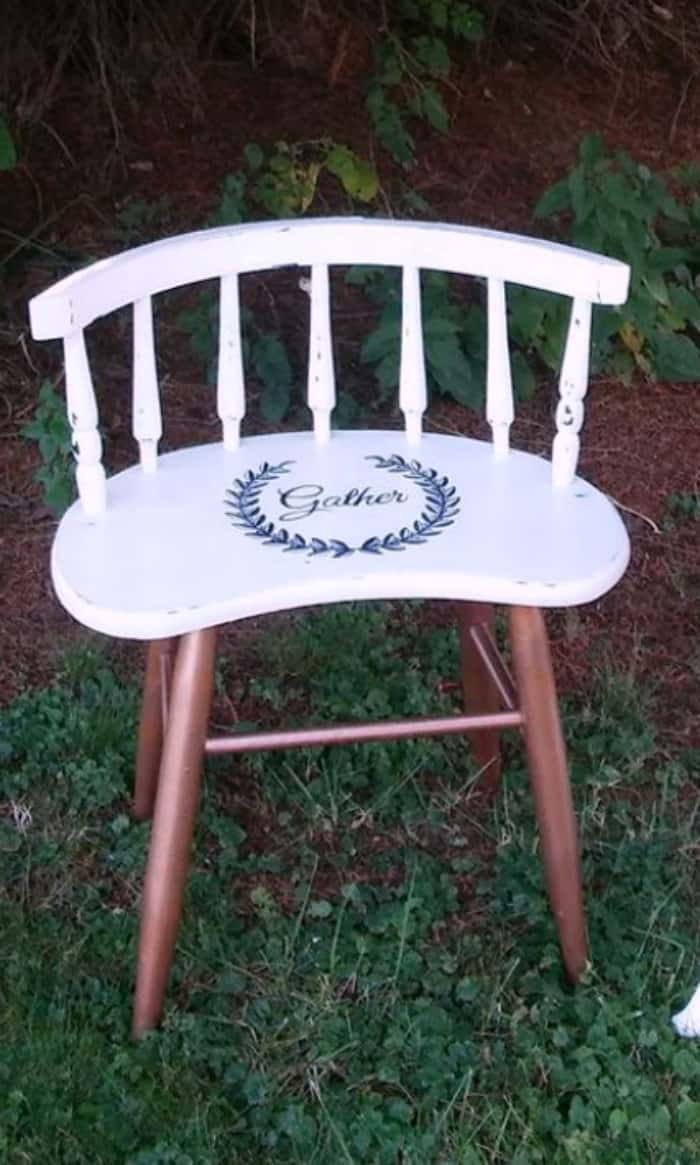
When I first found this sad, neglected little stool, it was lacking style, charm, and pizzaz. It had loads of potential for such a tiny piece of furniture. Just a few coats of paint and a fun graphic I created using picmonkey was all it took to bring this drab piece back to life.
This post contains affiliate links. Which means if you click on a link and make a purchase, we receive a small commission at no extra cost to you. For more information, please see our Disclosure Policy.
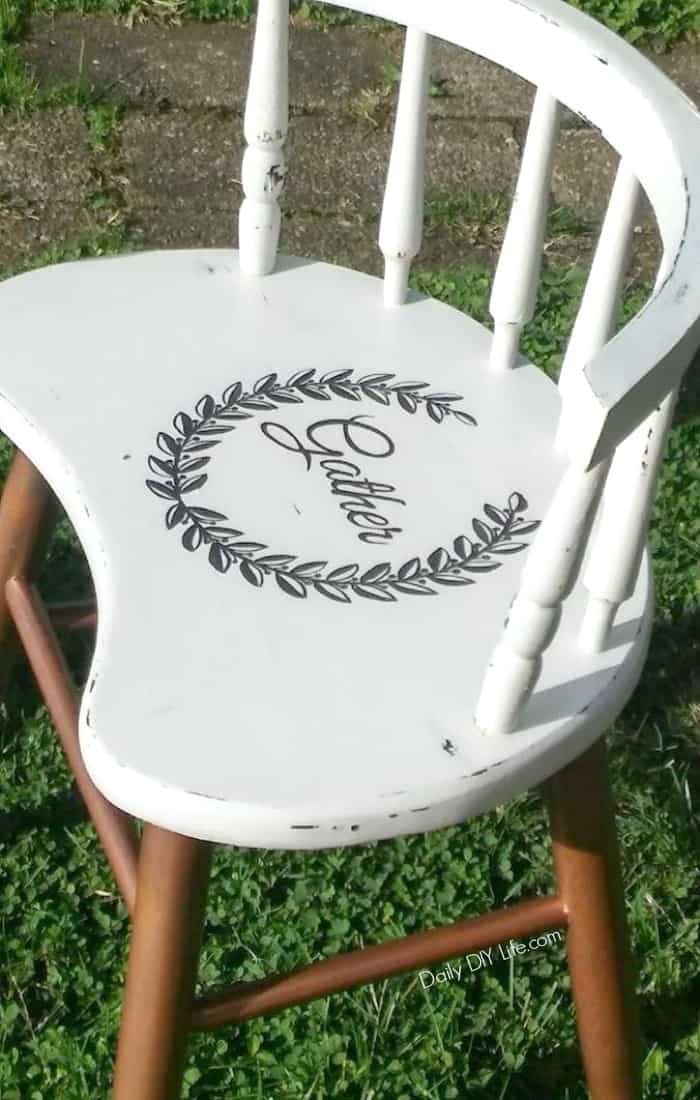
Image Transfer Made Easy Using Only A Pencil – Pin It For Later!
Follow Daily DIY Life on Pinterest!
I stumbled across this stool at a yard sale last summer. With a price tag of just $2, of course, I had to bring it home with me.
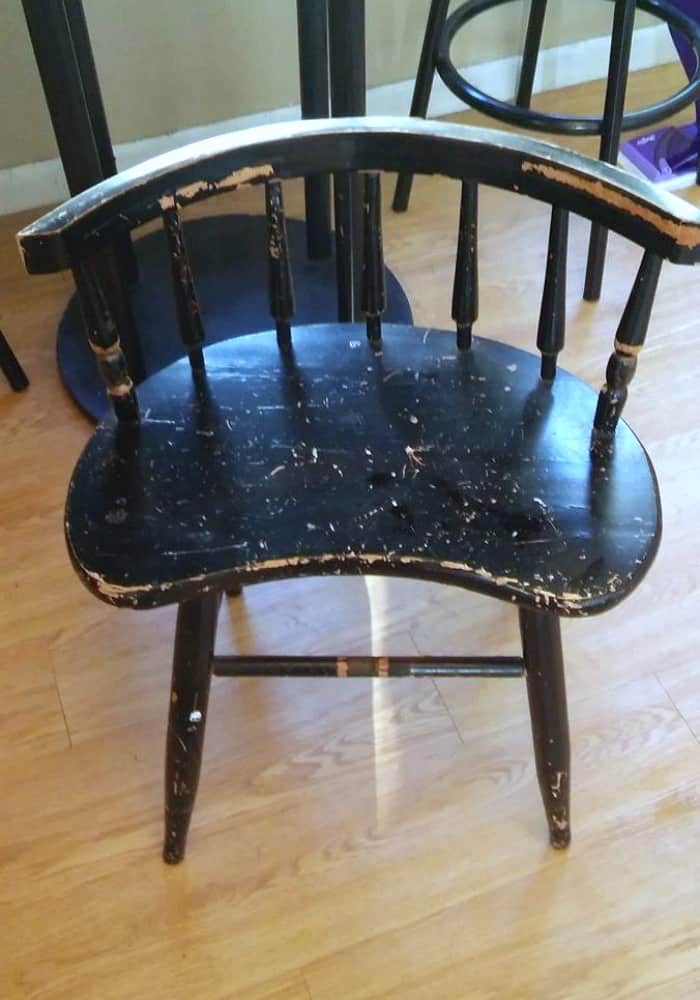
Either someone really loved it and used it every day, or they really hated it and abused it to the point the paint was just falling off. Whatever the case may be, I was now the happy owner. Excited to see the transformation, I got the make over started right away.
I just love quick and easy projects like this little stool. A quick pass with the electric hand sander and all the grooves were pretty much evened out. There were a few deeper grooves that took a little more pressure, but for the most part, there wasn’t much prep work involved at all.
I gave the seat and back of the chair two coats of my favorite off white chalk type paint. Painted the legs with two coats of Rustoleum Copper Spray paint. If you haven’t had a chance to use spray paint for your furniture projects, don’t knock it til’ you try it. I love the extra elegance it adds to the rustic country look I was going for. It’s like mixing the old with the new textures, I am digging that look for sure.
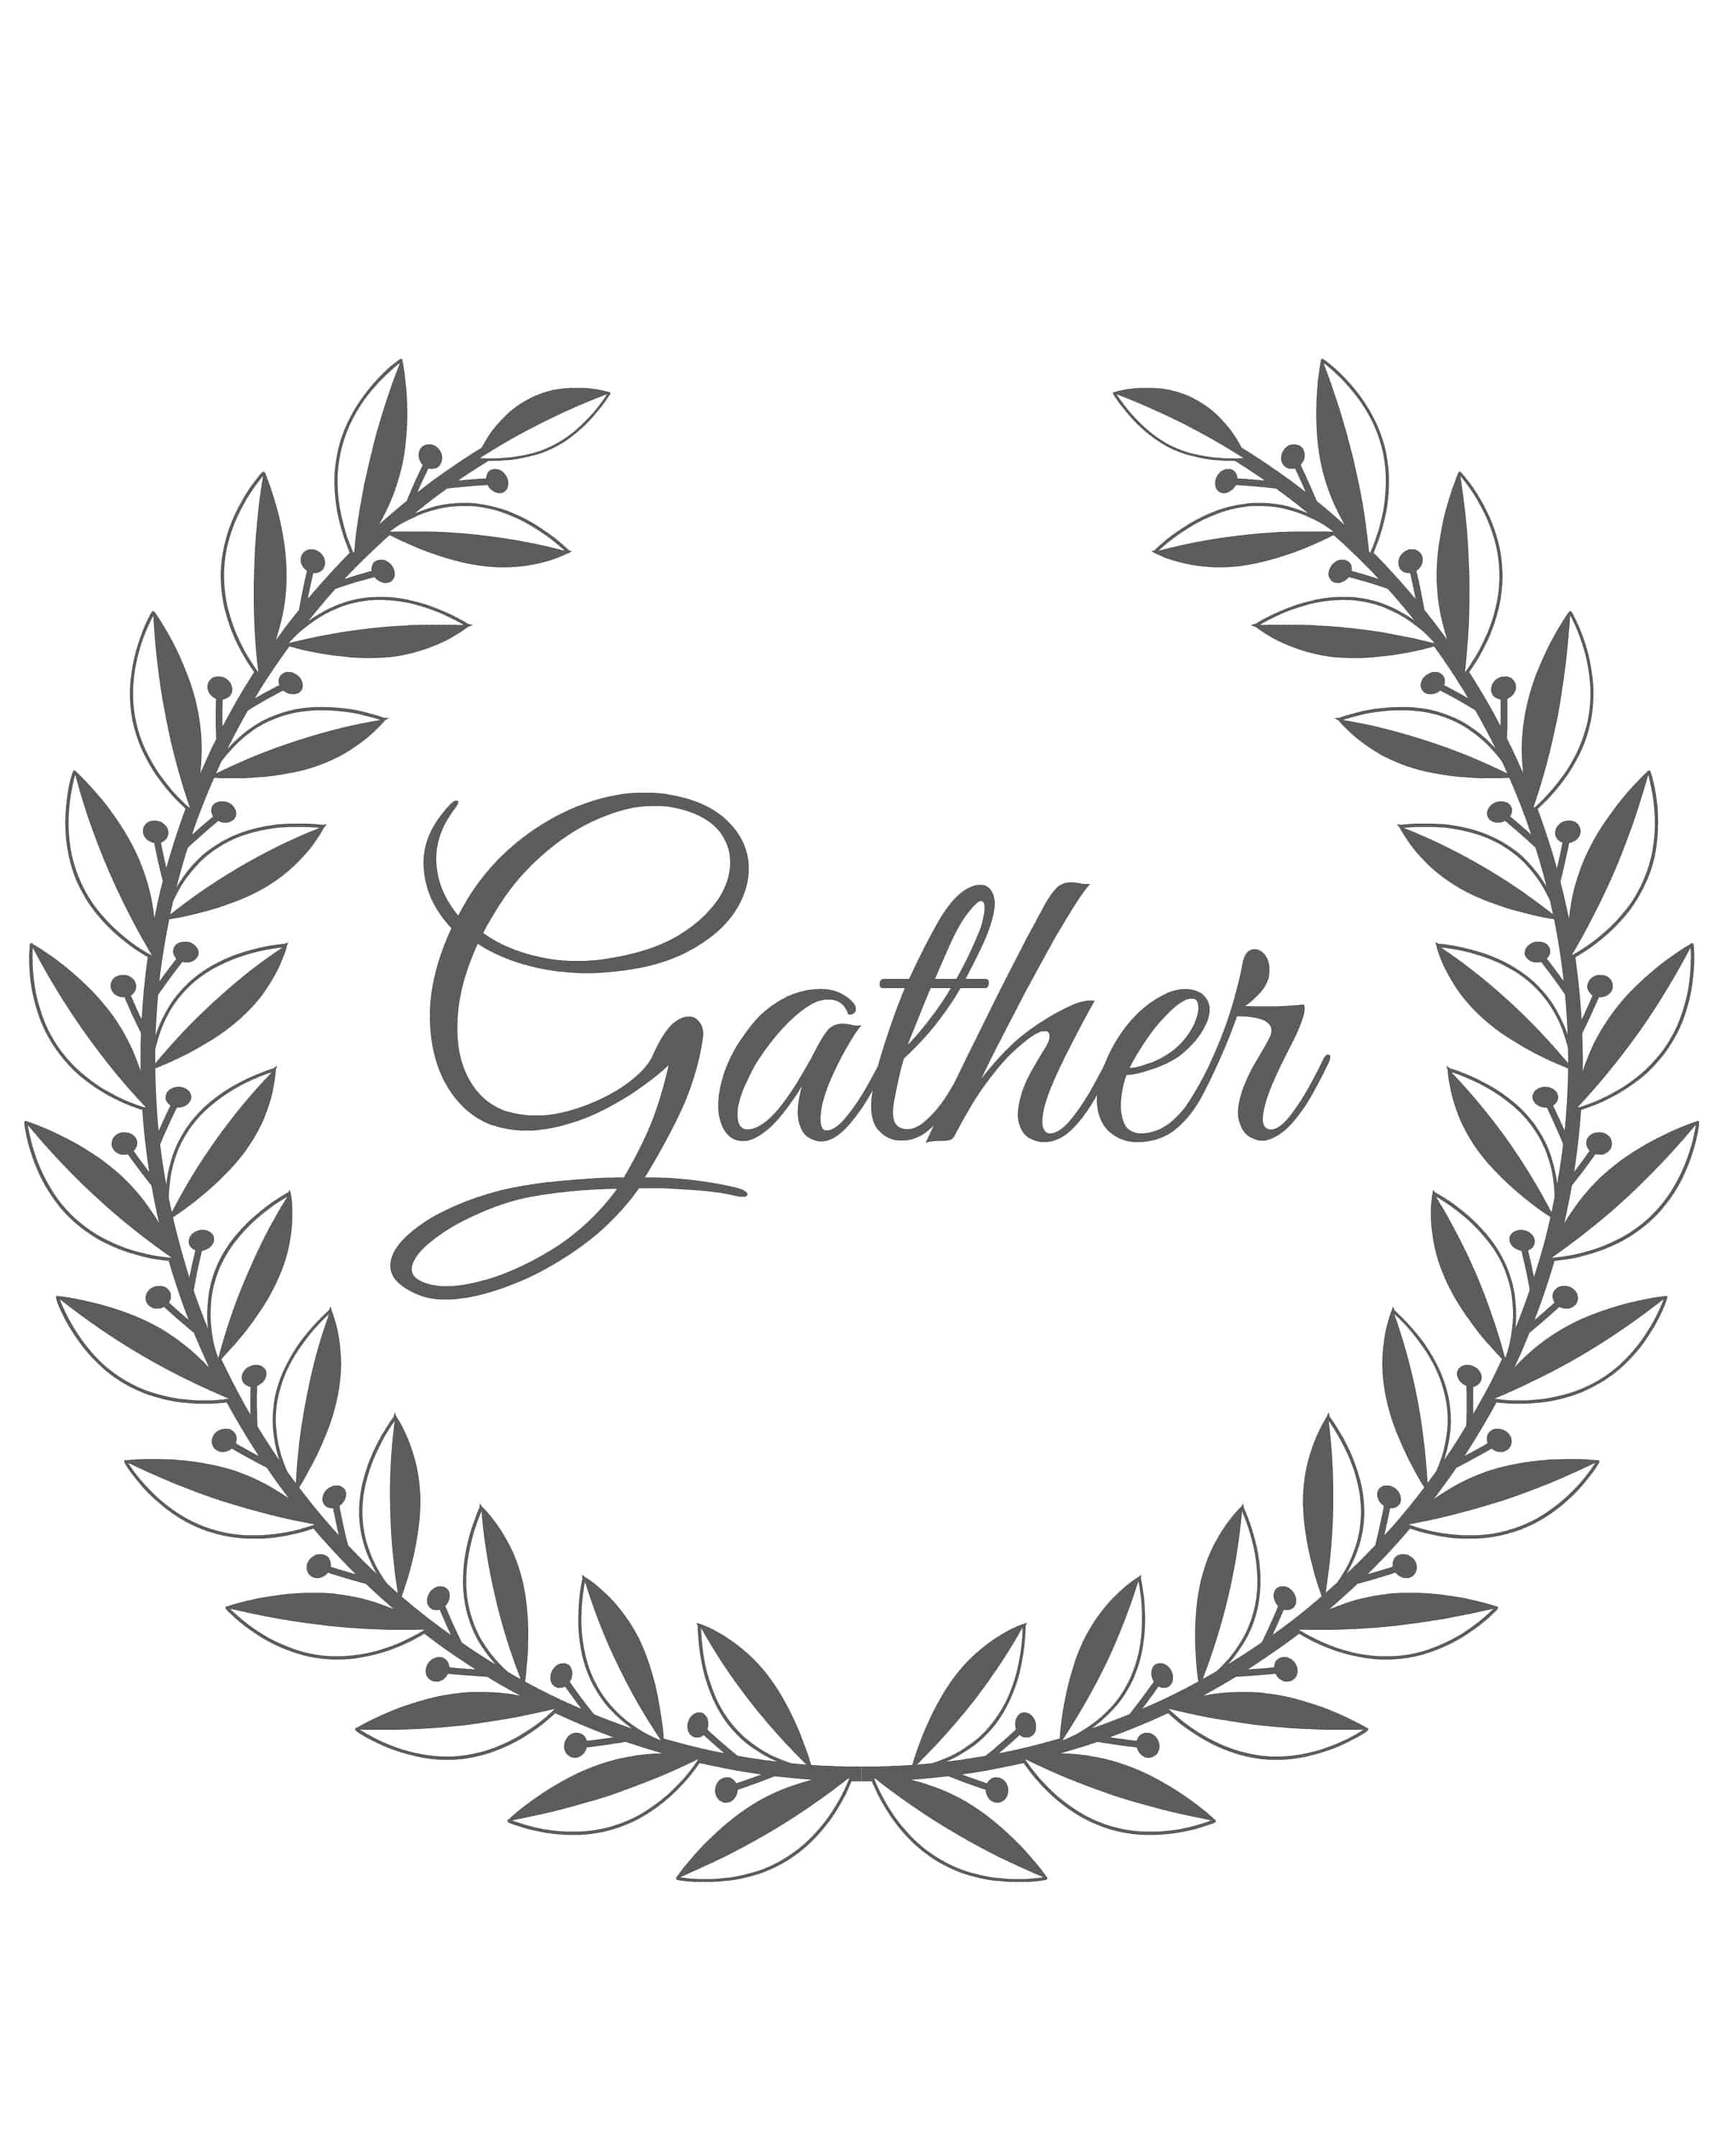 The seat base needed a little something extra, to make it unique. I wanted something simple with a farmhouse feel. None of the stencils I had in my stash had the right look to match what I was going for, so I created my own “Gather” printable using Picmonkey.com. If you like the printable, you can grab it HERE.
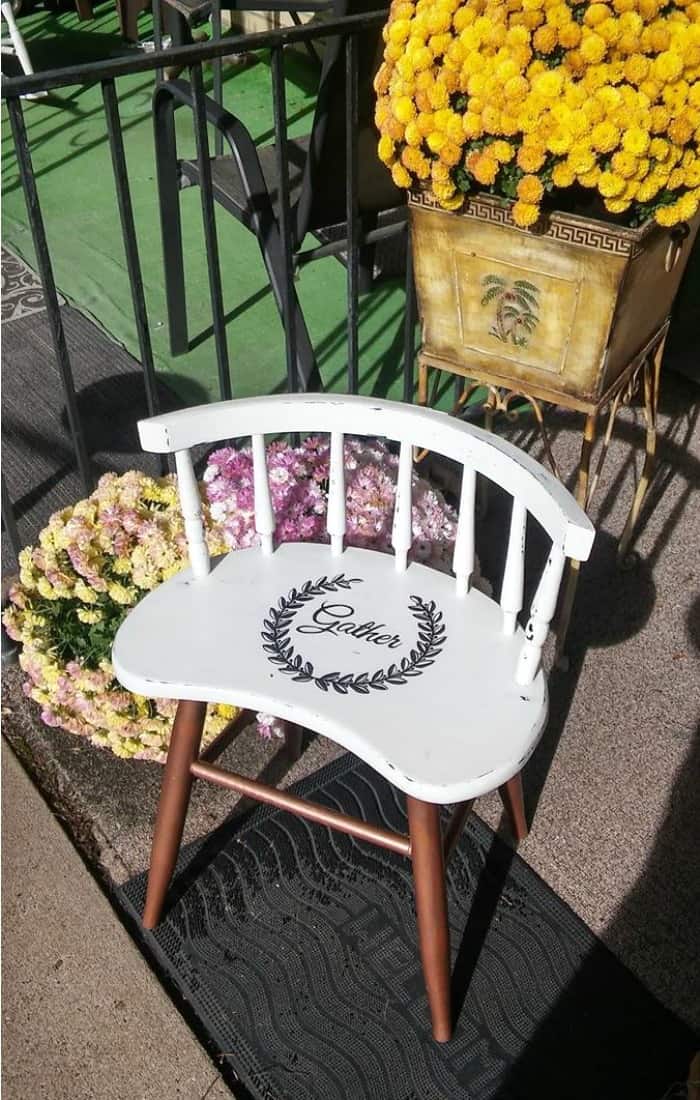
Image Transfer Made Easy Using Only A Pencil
Transfering the image from a very basic printed image to your furniture piece is actually much easier than you would think. Tools you will need for this project are:
- Ink Jet Printer

- Copy Paper
- No. 2 Pencil
- Your favorite graphic (Grab the “Gather” printable HERE)
- Painters tape
- Ballpoint pen
- Craft paint
- Polyurethane


Here is how we made it:
Step 1: Print your image using your home printer
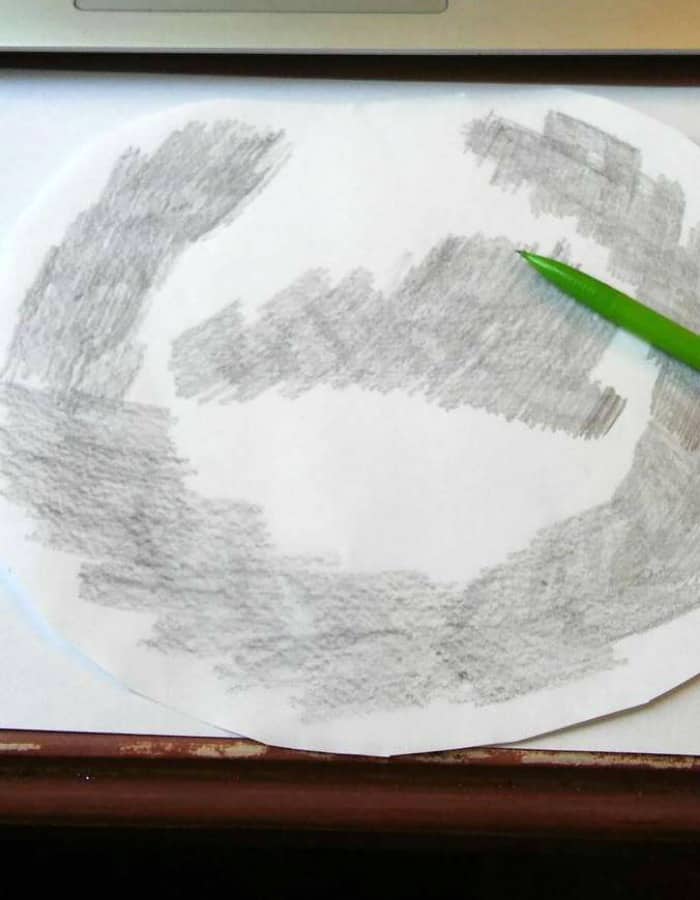
Step 2: On the back side of your image smudge the side of a sharpened pencil all over the back where the image would be.
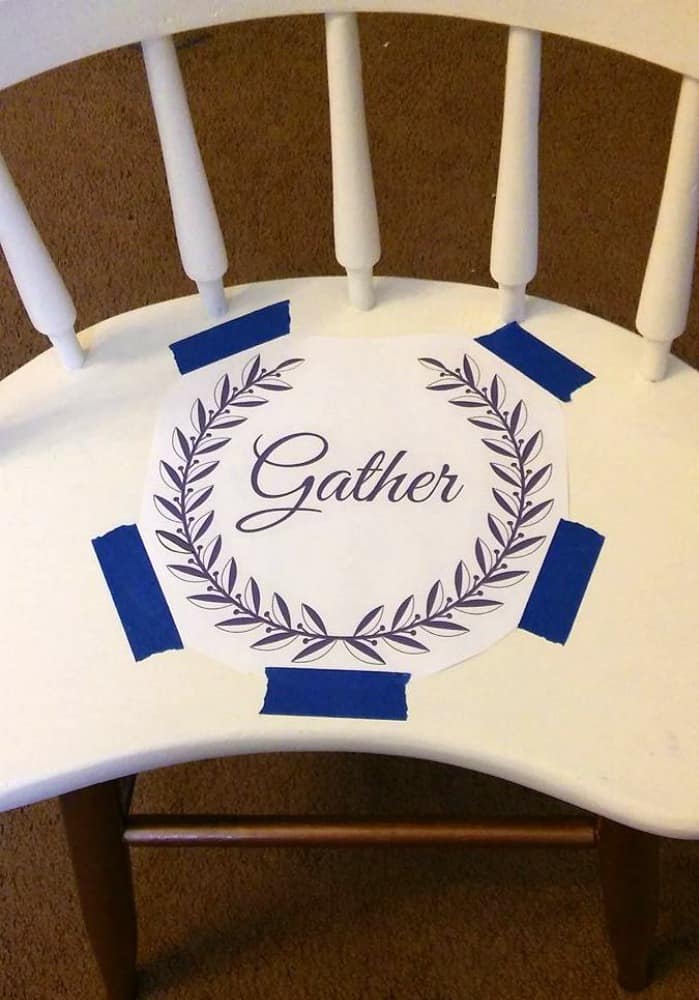
Step 3: Secure your image paper with painters tape to the surface you want the image transfer on. Pencil side down against the surface.
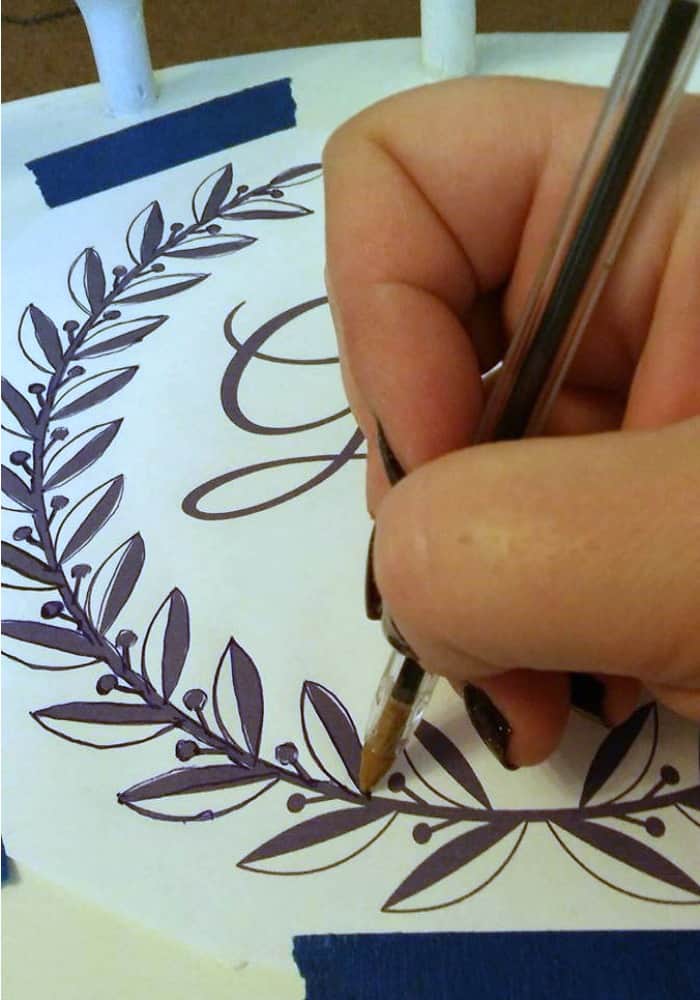
Step 4: With a ball point pen or blunt end of a craft tool, trace the lines of the image. I like to use a ball point pen so you can see the lines you have already traced. You don’t want to miss all of the beautiful details.
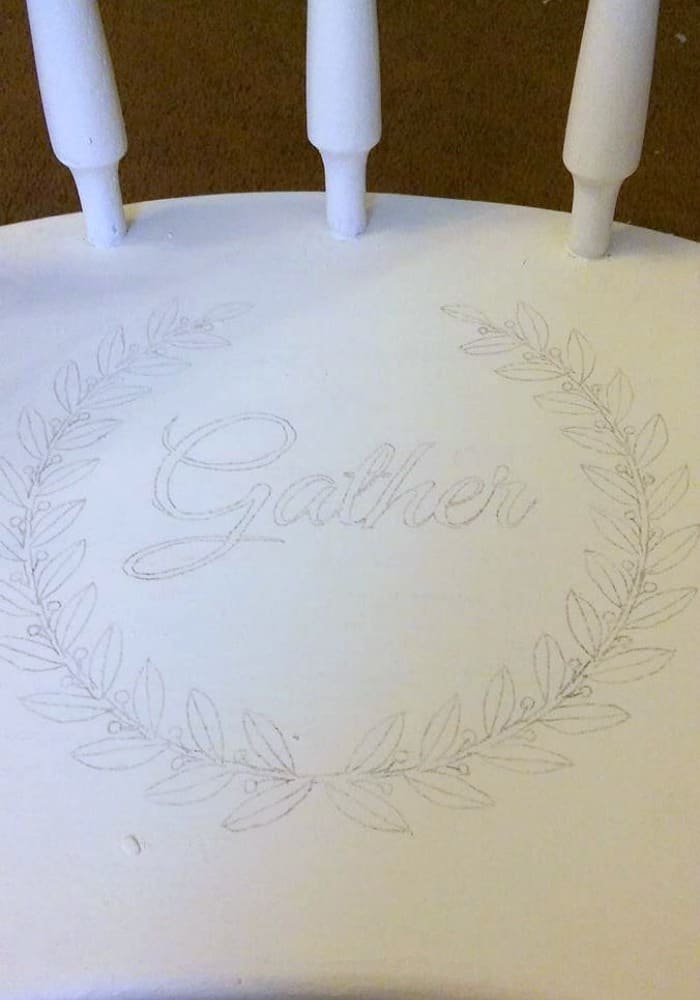
Step 5: Remove the paper to reveal your transferred image.
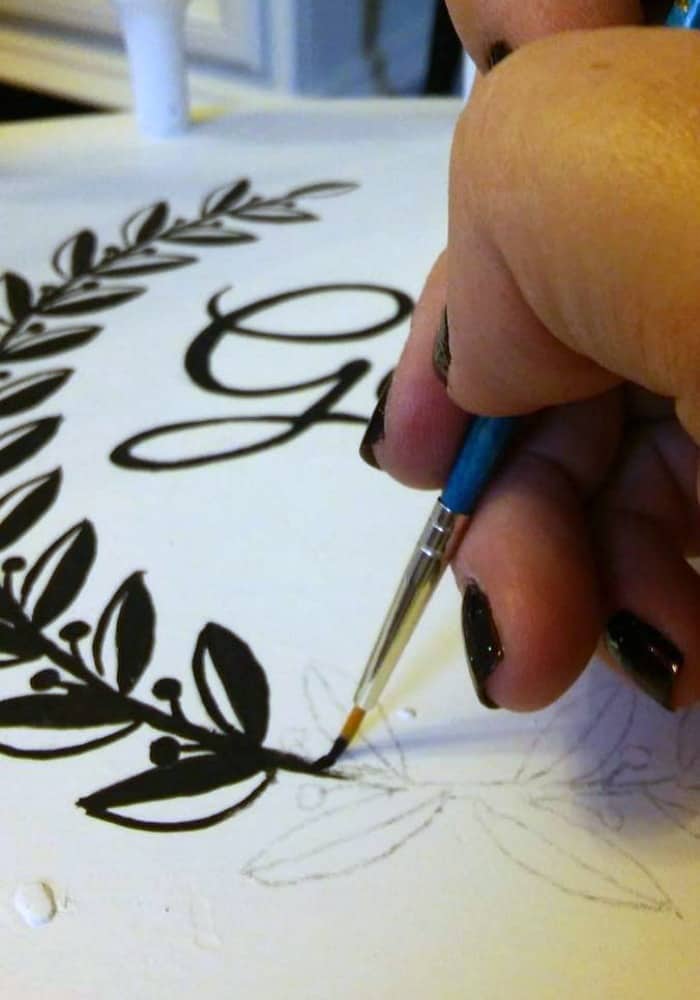
Step 6: Go over the pencil lines with your favorite craft paint. Color in areas that need to be bolder.

Step 7: Once the paint is dry, cover the entire surface with a protective coating like polyurethane or even mod podge.
There you have it! A fancy stenciled image that looks beautiful and professional.
The possibilities using this image transfer method are endless really. I would love to take an actual photo and transfer that to a wood plaque or frame. I have not gotten that brave just yet. Maybe someday!
Have you ever done an image transfer using this method before? If you use a different method, I would love to hear about it. We are always looking for new ways to make our pieces stand out.
If you like this post, be sure to Pin It using the image below!


This is way cool. Where do I even start? First of all the copper legs are gorgeous! The white seat and back are perfect and I have never transferred a design this way so I am very impressed! I love everything about it.
This is super cute, Heather! I’ve never thought to do that. I will have to give it a whirl soon. Love your chair. It’s so farmhouse charming!
I am in love with this chair so much. Plus then with the Gather stencil you made it is just a heartbreaker chair. Ingenious idea to make a stencil too Heather.
Fantastic transfer method and the difference you made to the chair is amazing. It looks wonderful. Pinning.