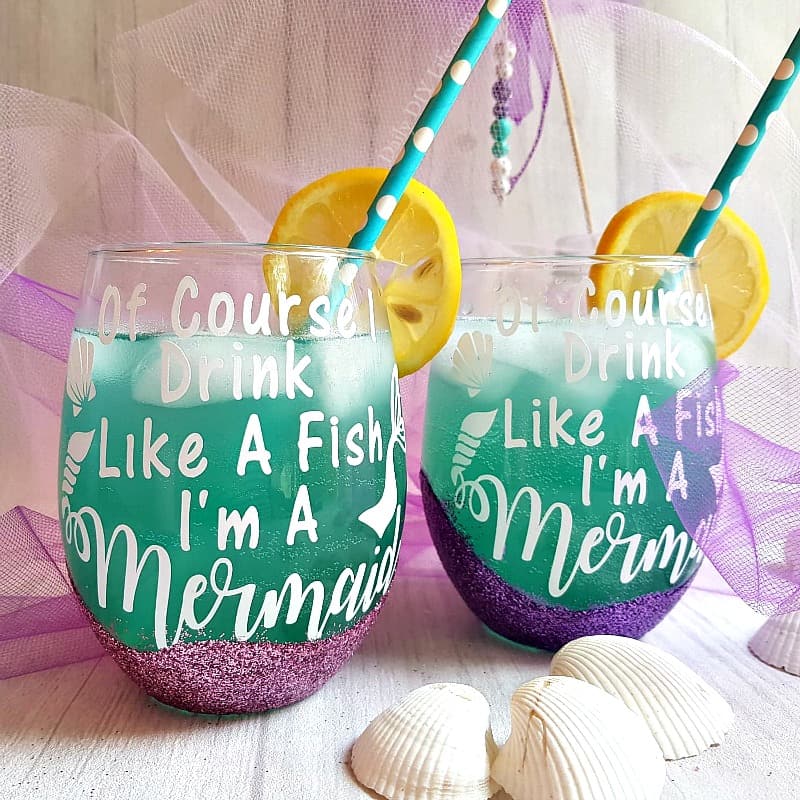
Create your own colorful and fun Glitter Wine Glasses right at home for a fraction of the cost of one in a specialty store. A fun easy DIY Cricut Project that will bring out your inner magical mermaid. Let’s face it, everything is better with glitter and mermaid magic!
This post contains affiliate links. Which means if you click on a link in this post and a purchase is made, we will receive a small commission at no extra cost to you. For more details, please see our Disclosure Policy.
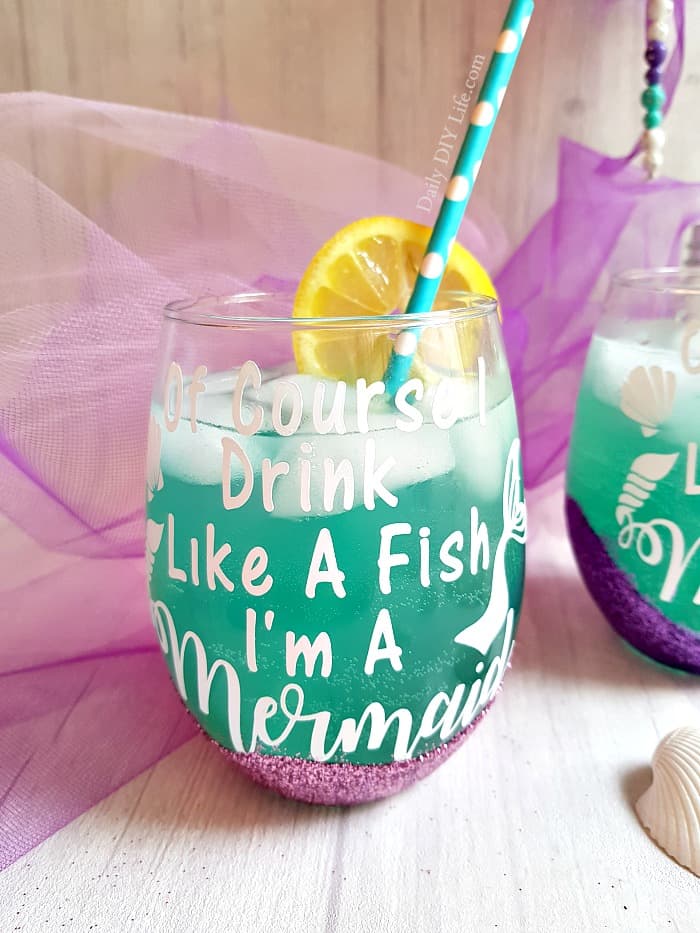
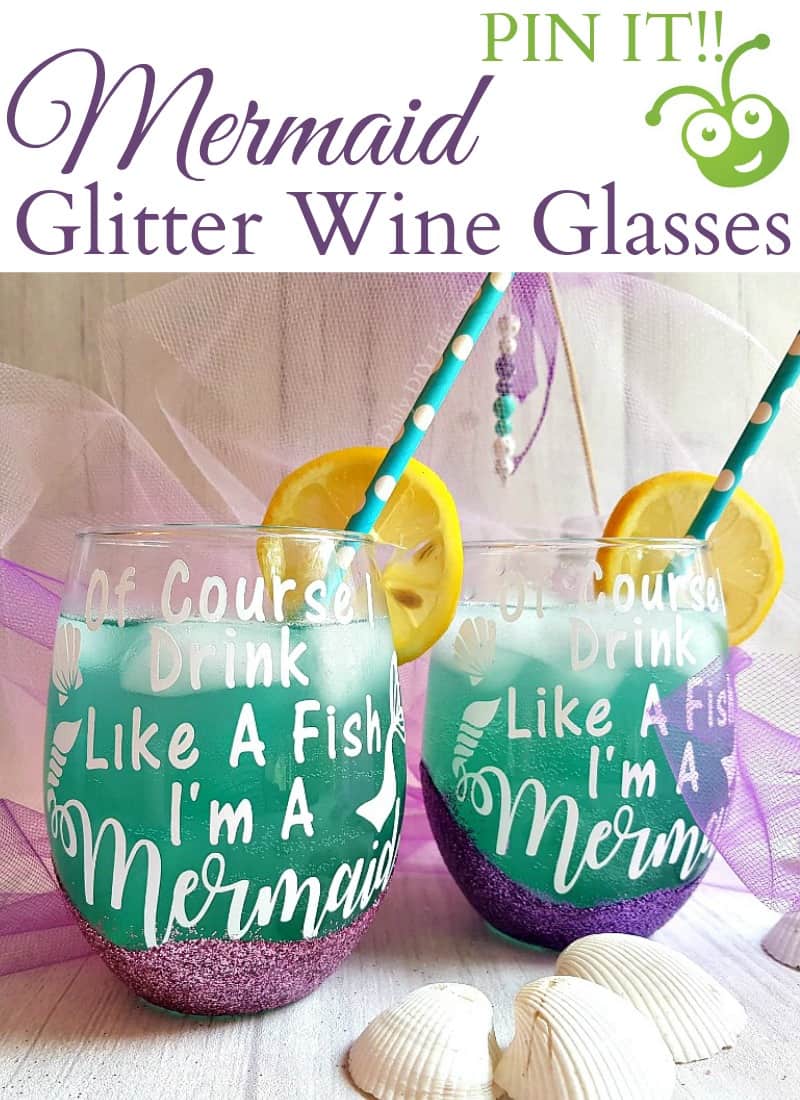
Mermaid Glitter Wine Glasses
When it comes to creating fun, whimsical DIY crafts at home, there always seems to be glitter involved. If you are a fan of all things mermaid and all things bling, you are going to love making these fun glasses. The best part is you can add any phrase, saying or image to your custom different types of wine glasses using your Cricut Cutting Machine.
Supplies You Will Need
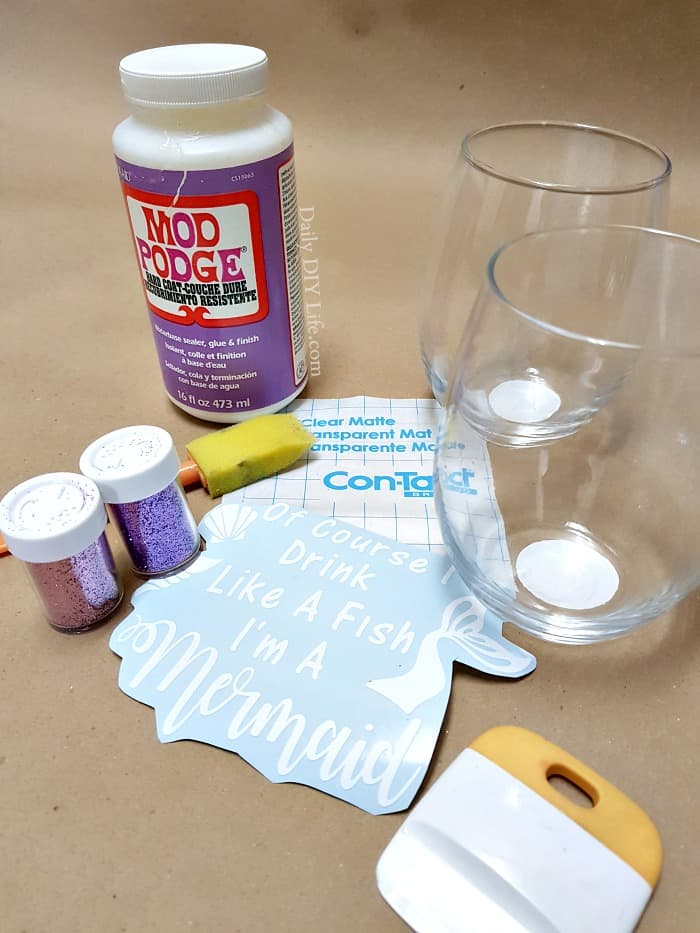
- Stemless Wine Glasses
- Mod Podge
- Extra Fine Glitter
- Cricut Cutting Machine
- 651 Vinyl
- Transfer Tape
- Cricut Accessory Kit
Directions:
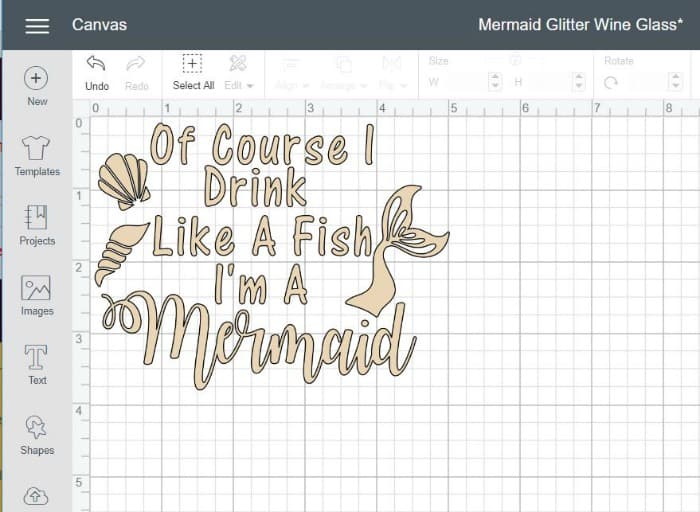
Before starting the bling glitter process, select and create the image you would like to use. I chose to combine a few images from LOVE SVG. They have a wonderful selection of FREE downloadable SVG’s that are perfect for creating your designs in Cricut Design Space. The font I used for this image is AR CENA and WATERMELON SCRIPT.
Measure the surface area of the glass and resize your design.
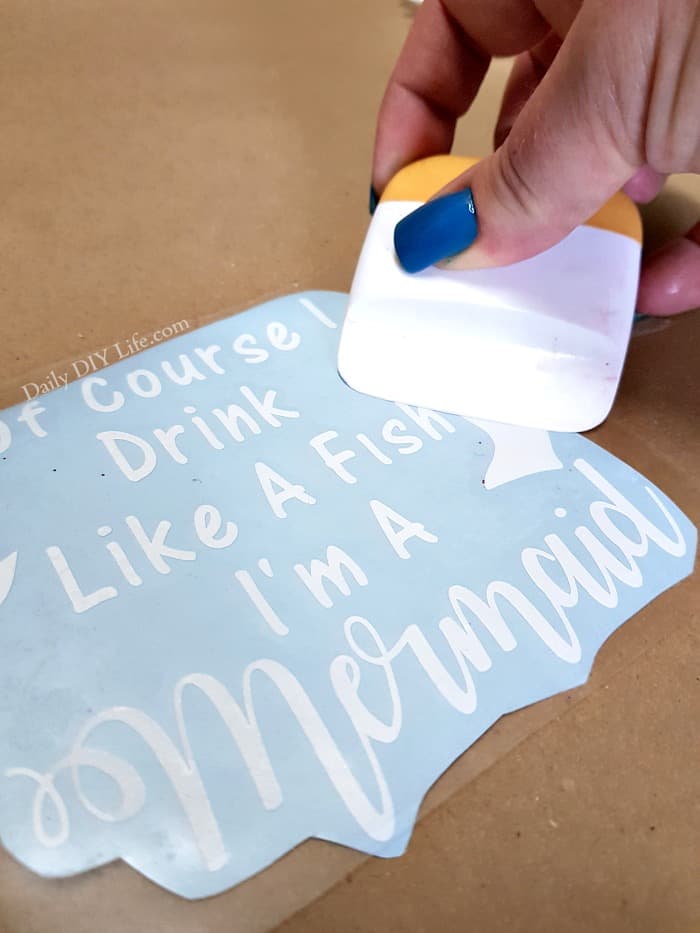
Cut, weed, and prep your vinyl design using 651 Outdoor vinyl. Apply your transfer tape and adhere you new decal to a clean wine glass.
Adhere Your Vinyl Design
Once you have your design on the glass you can then determine where and how much glitter you want. If you add glitter before putting your decal on, be sure to measure the surface area again to be sure your design will fit in the empty space
Bling It Up!
Adding glitter to glassware is not as complicated as it looks. If you use a waterproof mod podge to seal the glitter, it will not come off when wet and can be washed gently by hand.
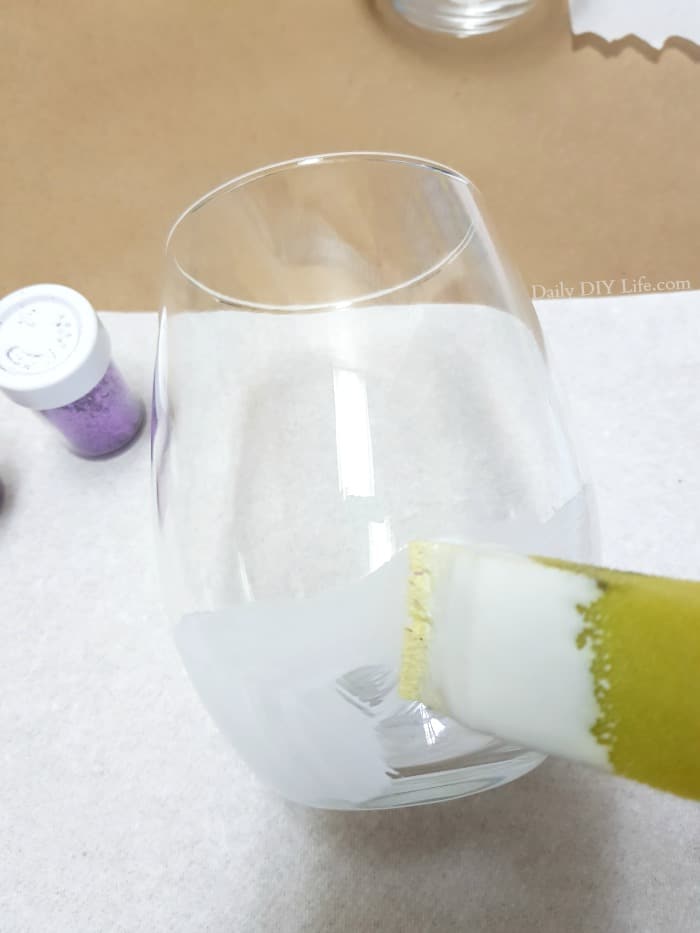
Using a foam brush, apply a generous layer of mod podge where ever you would like the glitter to be.
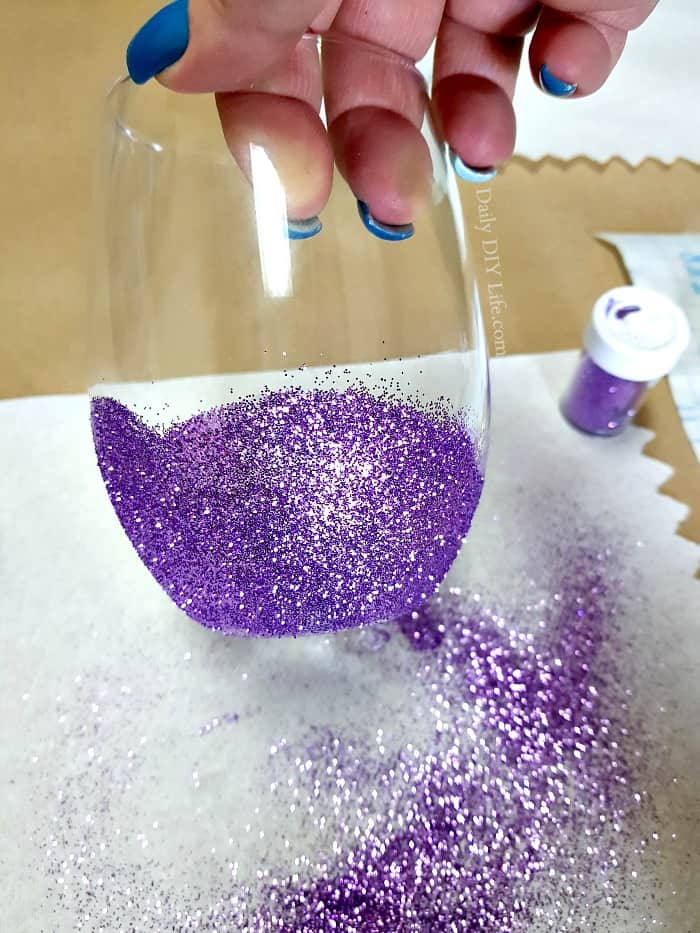
Working quickly, sprinkle extra fine glitter over the mod podge, making sure to cover all areas that are wet.
Repeat this process once more (mod podge, then glitter)
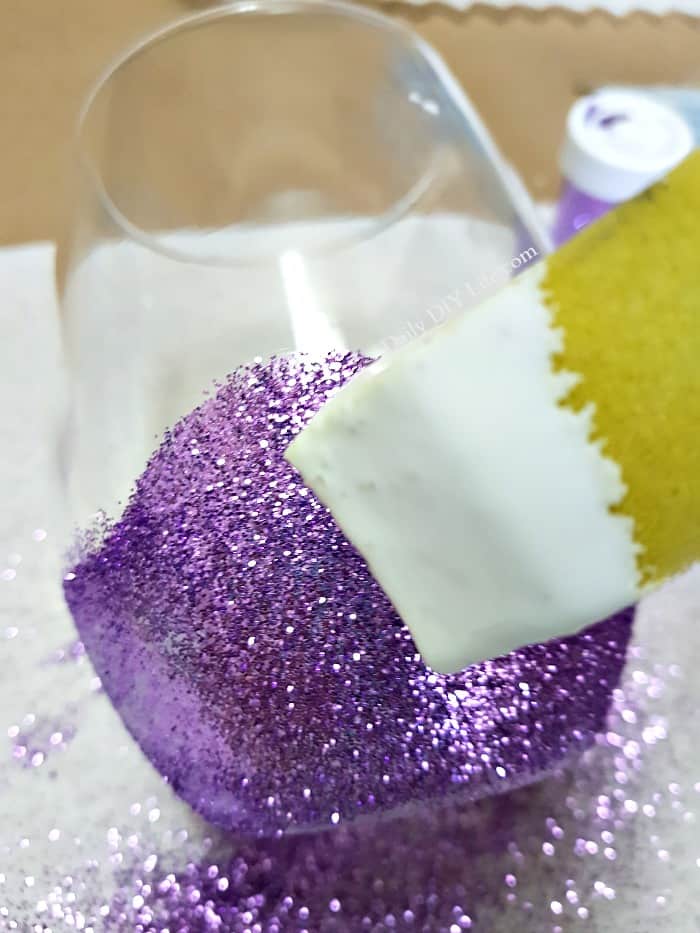
Once it has dried, cover the entire glitter area in a generous coat of mod podge.
Once that is completely dry, let it sit and cure for at least 48 hours before using or washing. This curing process also applies to your 651 vinyl.
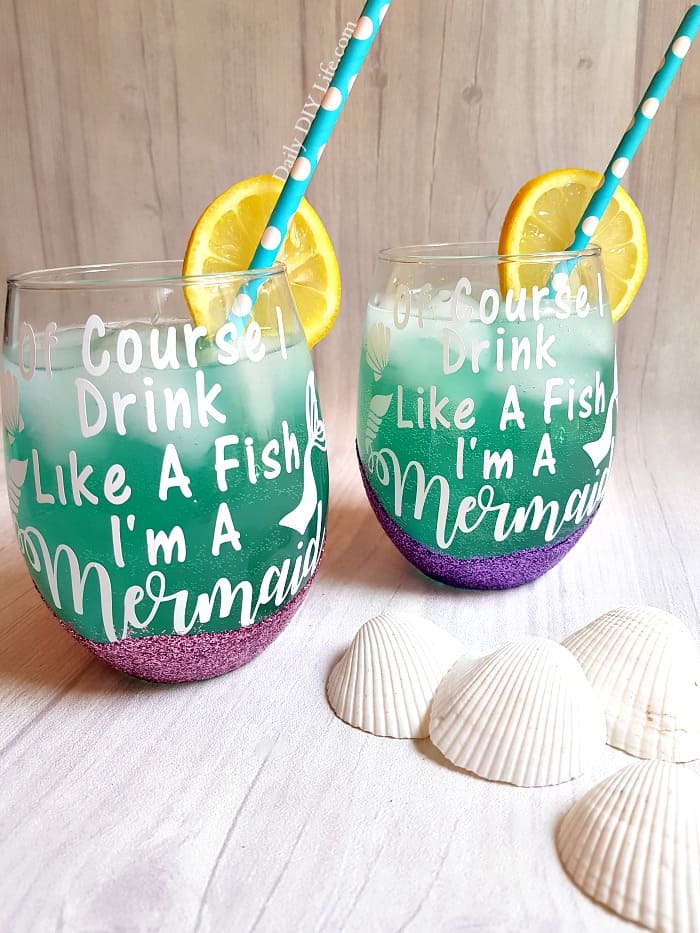
651 vinyl is permanent/outdoor vinyl and can be used and hand washed. It is not recommended that you put your finished project in the dishwasher or the microwave. The vinyl will melt, and your design will be ruined. Hand wash only with mild soap.

Enjoy Your Whimsical Mermaid Glitter Wine Glass!
Once your design has cured, enjoy a cold refreshing Summer Cocktail in your gorgeous Mermaid Glitter Wine Glass!

I have joined up with 8 other very talented bloggers for the Craft And Create With Cricut Challenge to bring you some of the coolest Cricut projects around. You can see each of their incredible projects using the links below. Be sure to check them all out. If you are a Cricut crafter, you won’t want to miss out on these fun projects!
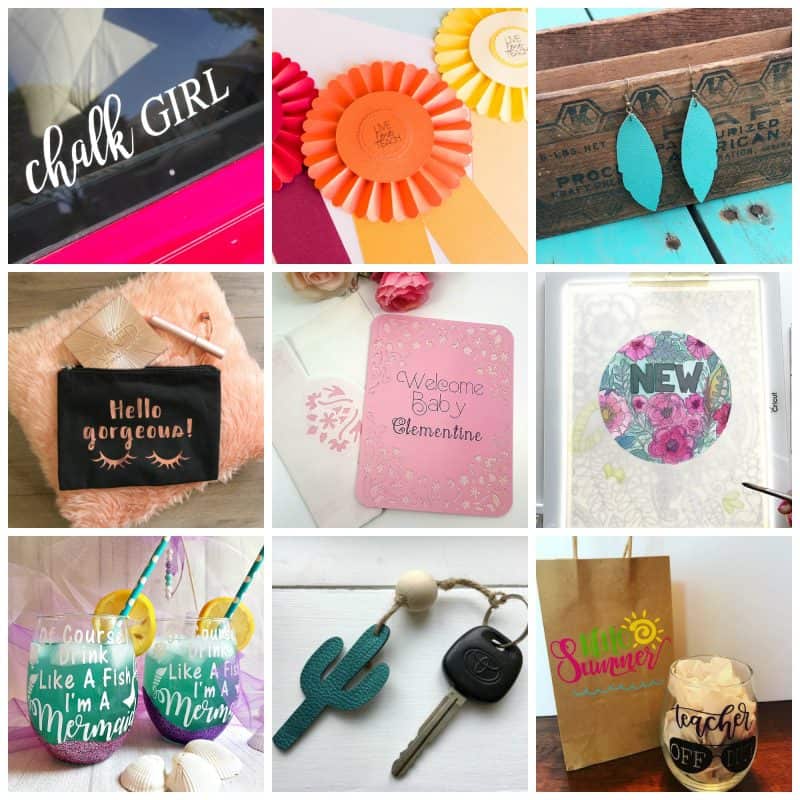
How to Use Cricut for Branding – Create & Babble ⋅ Faux Leather Cactus Key Chain – Real Girls Realm ⋅ Teacher Award Ribbons- seeLINDSAY ⋅ Decorated Gift Bags with the Cricut Maker – Cookies, Coffee and Crafts ⋅ How to Make Leather Earrings – Refresh Restyle ⋅ Hello Gorgeous Makeup Bag – The How-To Home ⋅ How to use a lightbox for tracing – Smiling Colors ⋅ Personalized Baby Girl Cricut Card – The Inspiration Vault ⋅ Mermaid Glitter Wine Glasses – Daily DIY Life
DON’T FORGET TO PIN THIS PROJECT FOR LATER!



Super cute! I love anything with glitter! What a fun wine glass for summer
I am obsessed with all things mermaid, so I am lovin these glasses, especially with the glitter!
These are so pretty and the glitter puts them right over the top!
Oh my gosh, these are too funny! These turned out so well and good call on the stemless wine glasses. They’re much easier to keep upright, lol.