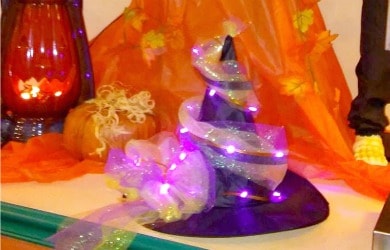
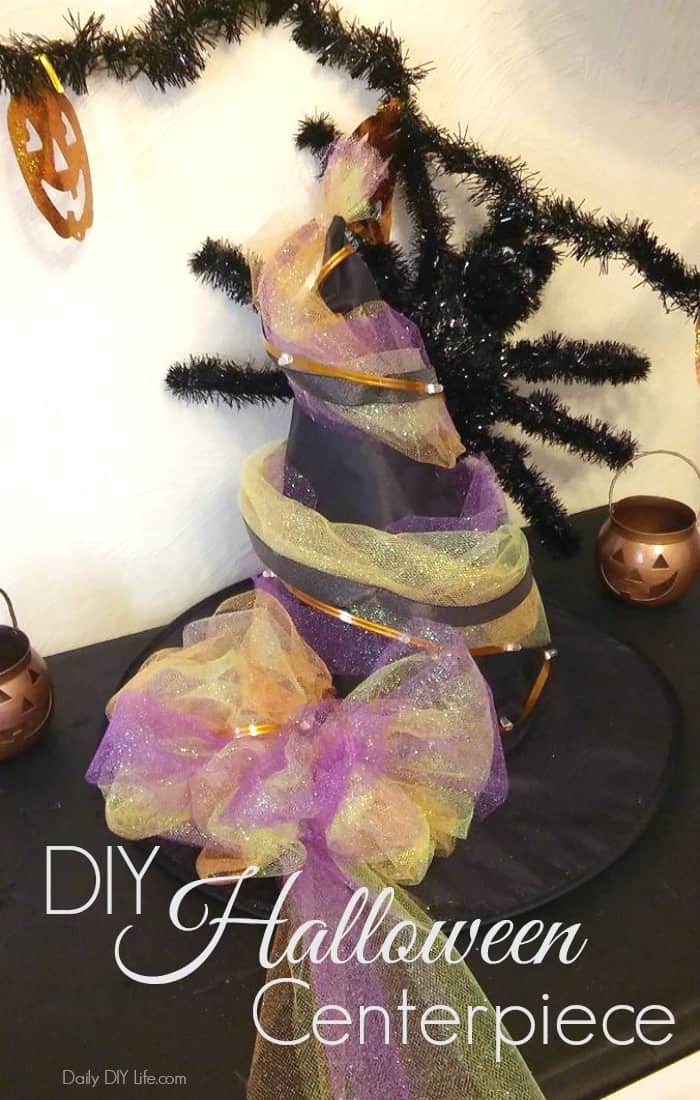
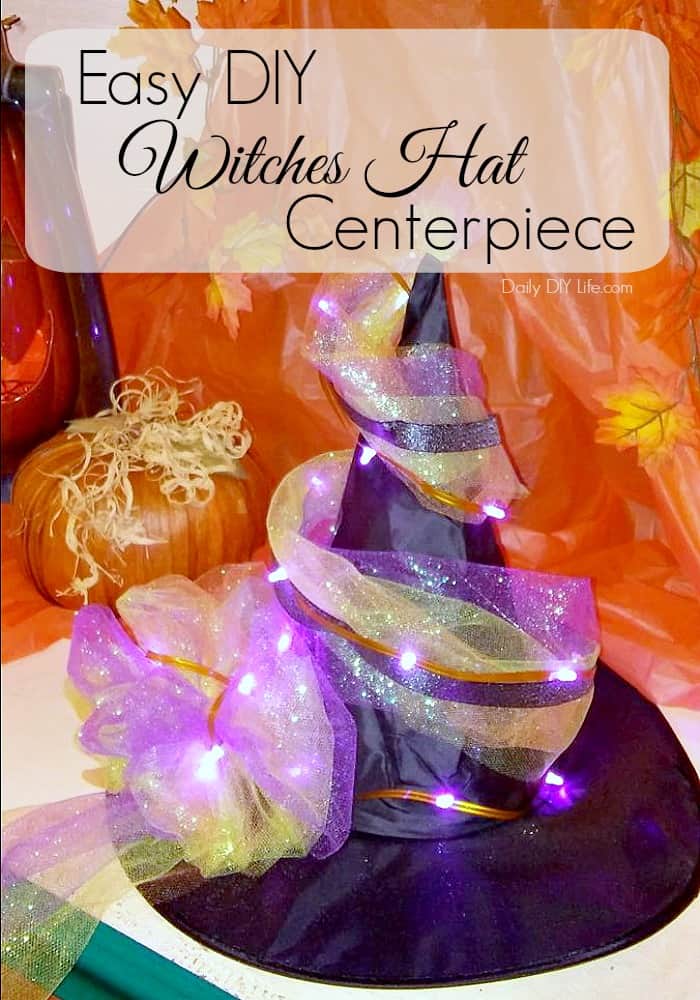
Decorating for Halloween always puts a smile on our faces. From spooky scary spiders to happy smiling jack-o-lanterns, we love to show our Halloween spirit throughout the whole house. With so many new projects for the new house lately, I was in need of a Halloween Centerpiece to fill the top of the new sewing table I redid a few weeks back. Something cute and colorful with lights is what I was looking for. After wandering around a few different stores, I decided I would just make my own instead of settling for something premade. I must say, I am so happy I did. This super cute Witches Hat Halloween Centerpiece was the perfect edition to our dining room.
DIY Witches Hat Halloween Centerpiece – Pin it for later!
Follow Daily DIY Life on Pinterest!
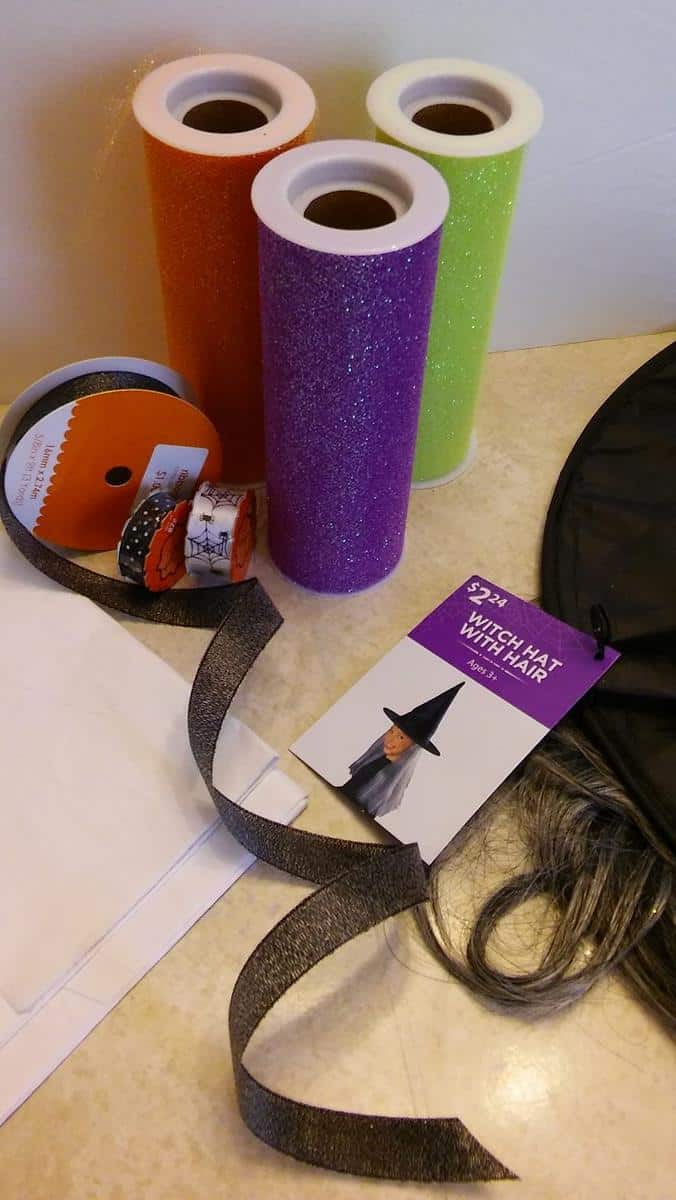
Putting this Halloween Centerpiece together was super simple. It took all of 15 minutes to make, and that also included making the bow (which always takes me 3 or 4 or 10 tries to get right). I picked up all of my supplies at Walmart since I was there already doing some shopping. I am sure you could also find very similar materials at the dollar store as well. I have included links to the products below for reference and for your convenience. These links are affiliate links through Amazon, clicking on these links simply means if you make a purchase, I will receive a small commission at no extra cost to you. For more information, please see our Disclosure Policy.
DIY Witches Hat Halloween Centerpiece
Supplies:
- Hot Glue Gun
- Scissors
- Witches Hat
- Tissue paper or newspaper
- Ribbon or Tulle
- Battery Operated Lights
Instructions:
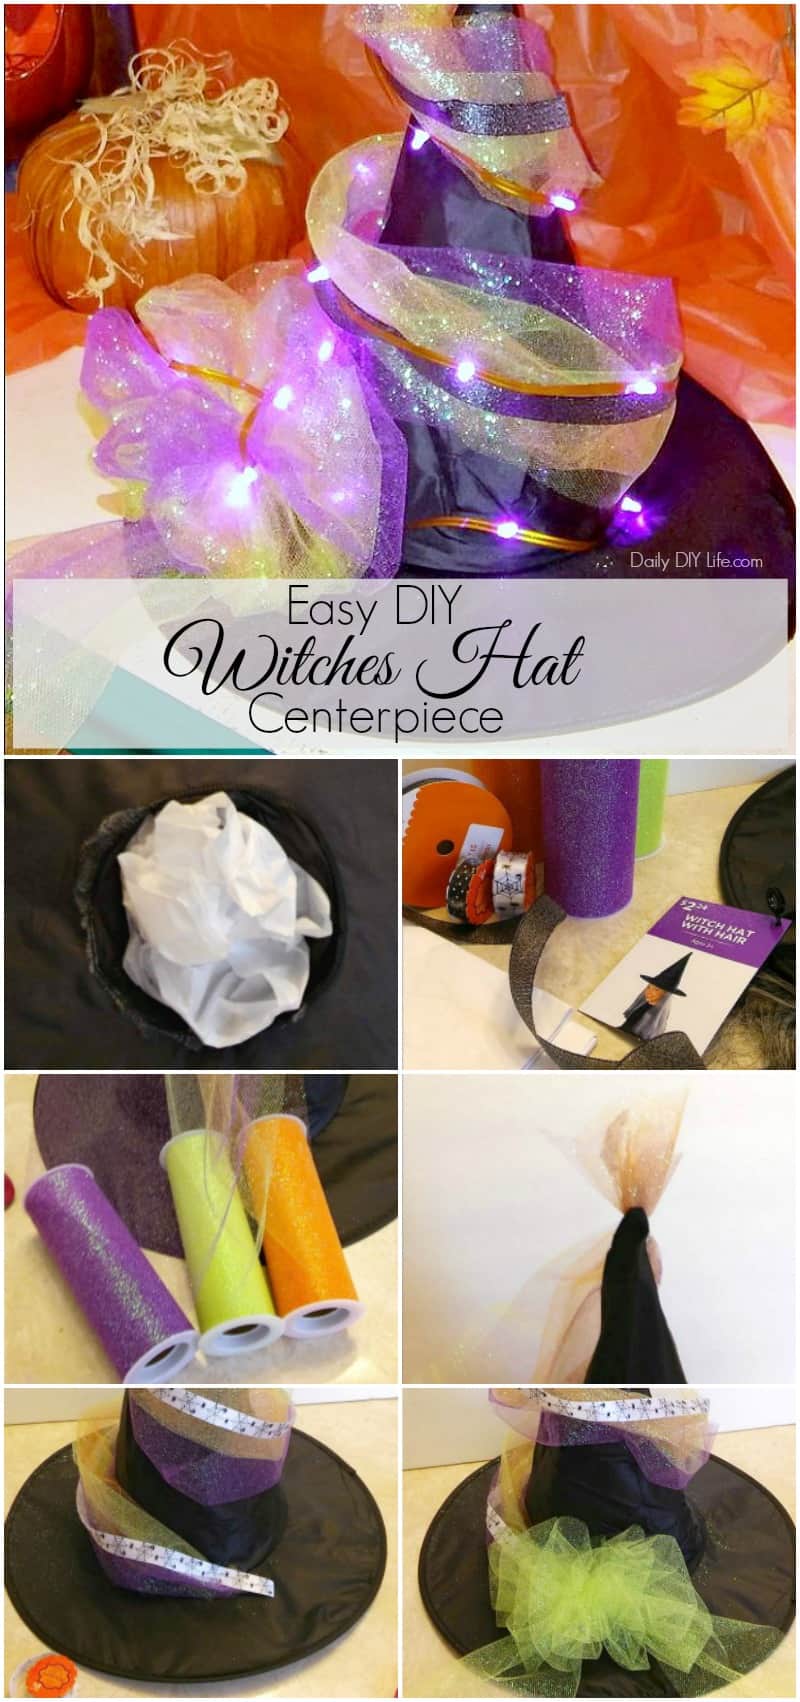
Fill the inside of the witches hat with crumpled tissue paper until the hat stands upright on its own.
Cut your ribbon or tulle long enough to wrap around the hat in a spiral. I used three different colors of tulle in the finished photo above. Purple, green and orange.
To make it easier to glue, tie the tulle together with a small string and hot glue to the tip of the hat.
Wind the ribbon around the witches hat on a diagonal, hot gluing in a few small spots just to help it hold its shape.
Attach a pretty tulle bow at the bottom.
To add a little bit of shine, drape some battery operated lights around the hat in the same way as the ribbon. I didn’t glue these down, just in case I want to use them on another project for Thanksgiving.
That is all there is to it!
I made the original centerpiece so quickly, I forgot to take photos along the way. I put together another one in the image below with step by step instructions on how I did it. You can see just how easy it was to put together….
I am not an expert on making bows, in fact, I am terrible at it! I did a quick search on YouTube for “Tulle Bow”. There are tons of instructions there that are super easy to follow.
A quick word to the wise, when using the glitter tulle you will look like a mythical creature by the time you are finished. That glitter goes everywhere!! I was shining and glimmering all over by the time I was finished with this one.
Looking for more Halloween fun? You might also love…..
The Most Popular Halloween Music of All Time!
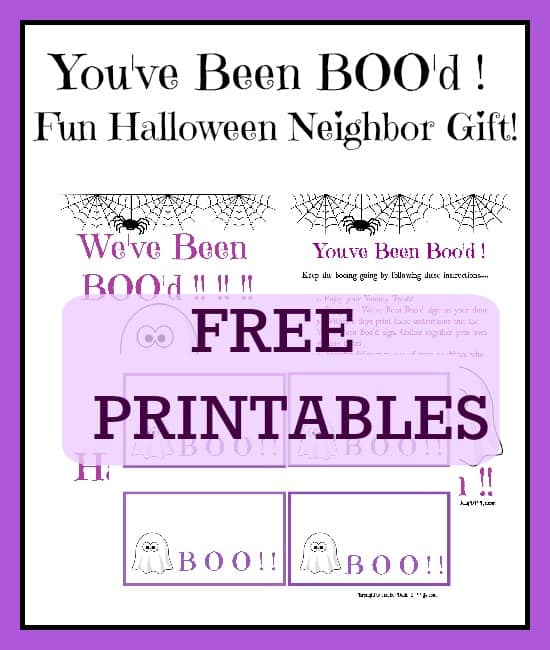
You’ve Been BOO’d – FREE Printables!








Love this centerpiece Heather! It’s so Halloween festive! What a great idea.
This is so adorable. I love this type of thing. The purple really makes it I think. Great job!