Add a little sparkle and glam to your Valentine’s day with a fun Glitter Vinyl Home Decor piece. Framed art with a little glitter, customized just in time for Valentine’s day decorating. A quick and easy ABC Valentine project that works up fast and can be finished in less than an hour.
Valentine’s Day ABC Glitter Vinyl Art – Pin It For Later!
Follow Daily DIY Life on Pinterest!
As part of the 2018/19 StyleTech Craft Design team, this post has been sponsored by StyleTech Crafts. I have been compensated and supplies have been provided for the purpose of this post. All opinions and projects are completely my own.
For more information visit the StyleTech Crafts
For project inspiration check them out on Facebook and Instagram.
This post also contains affiliate links for your convenience. That means that if you click on a link and a purchase is made, we will receive a small commission at no extra cost to you. For more details, please see our Disclosure Policy.
Decorating for Valentine’s Day
Since the end of year holidays are over, what do you do next? Do you decorate for Valentine’s day, or do you jump right into spring decorating? I like to add a few touches of Valentine’s day, but I don’t go over the top with hearts and red decor.
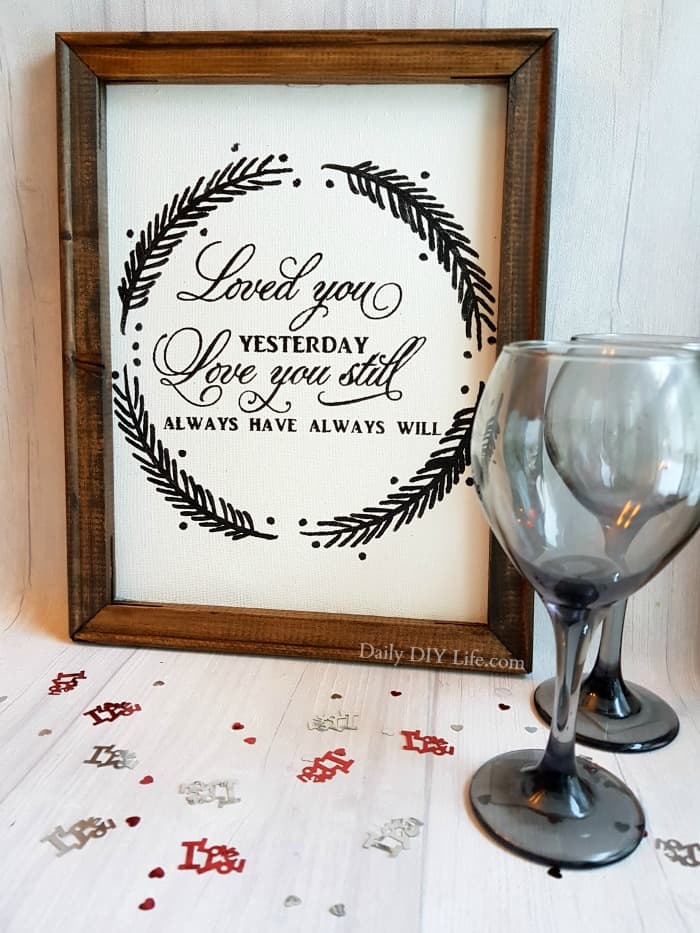
Simple projects like this cute Valentine’s Day Reverse Canvas found a spot on my buffet last year.
Valentine’s Day Glitter Vinyl Home Decor Piece
This year I still wanted to keep it simple, with a little sparkle and glam mixed in. Is there ever really enough sparkle? I think not!
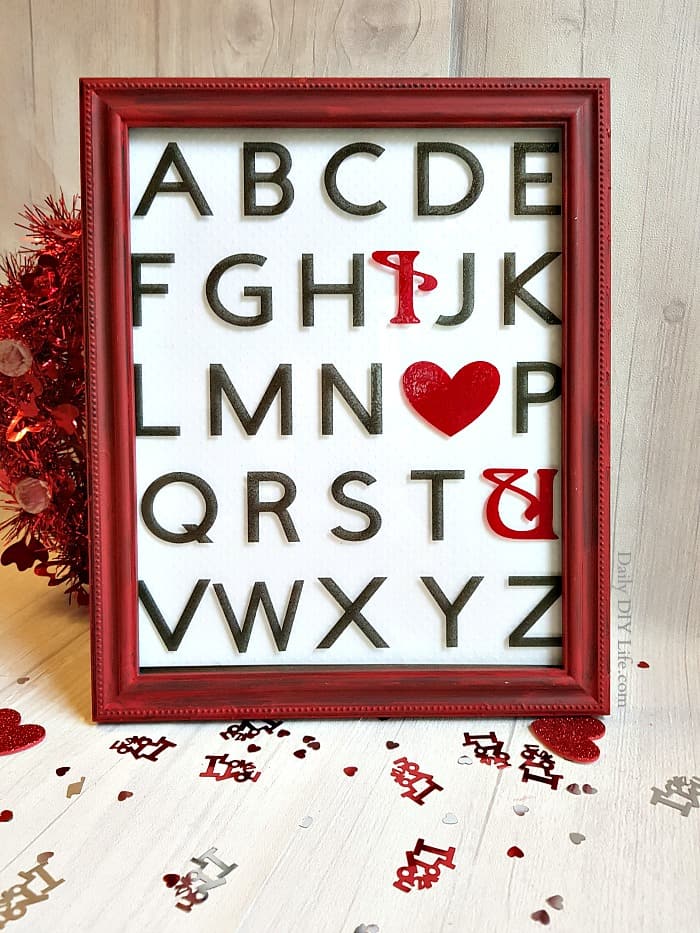
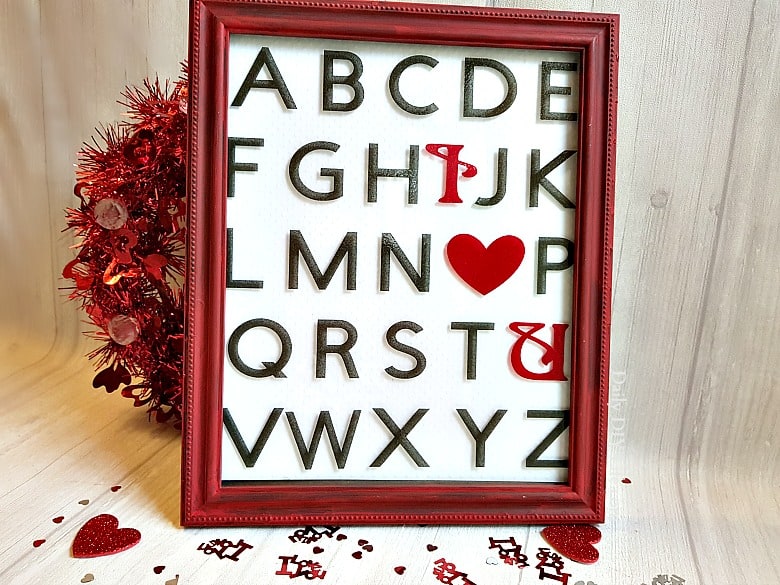
I made up this super fun Valentine’s day framed piece in Cricut Design Space. It was cut using Styletech Craft’s Transparent Glitter Vinyl. I just love the look of this vinyl. There is so much sparkle and shine. It looks perfect on glassware also, the colors show through the front and the back!
Here is how we made it!
Supplies:
8×10 Photo Frame
StyleTech Craft Transparent Glitter Vinyl – Black & Dark Red
Directions:
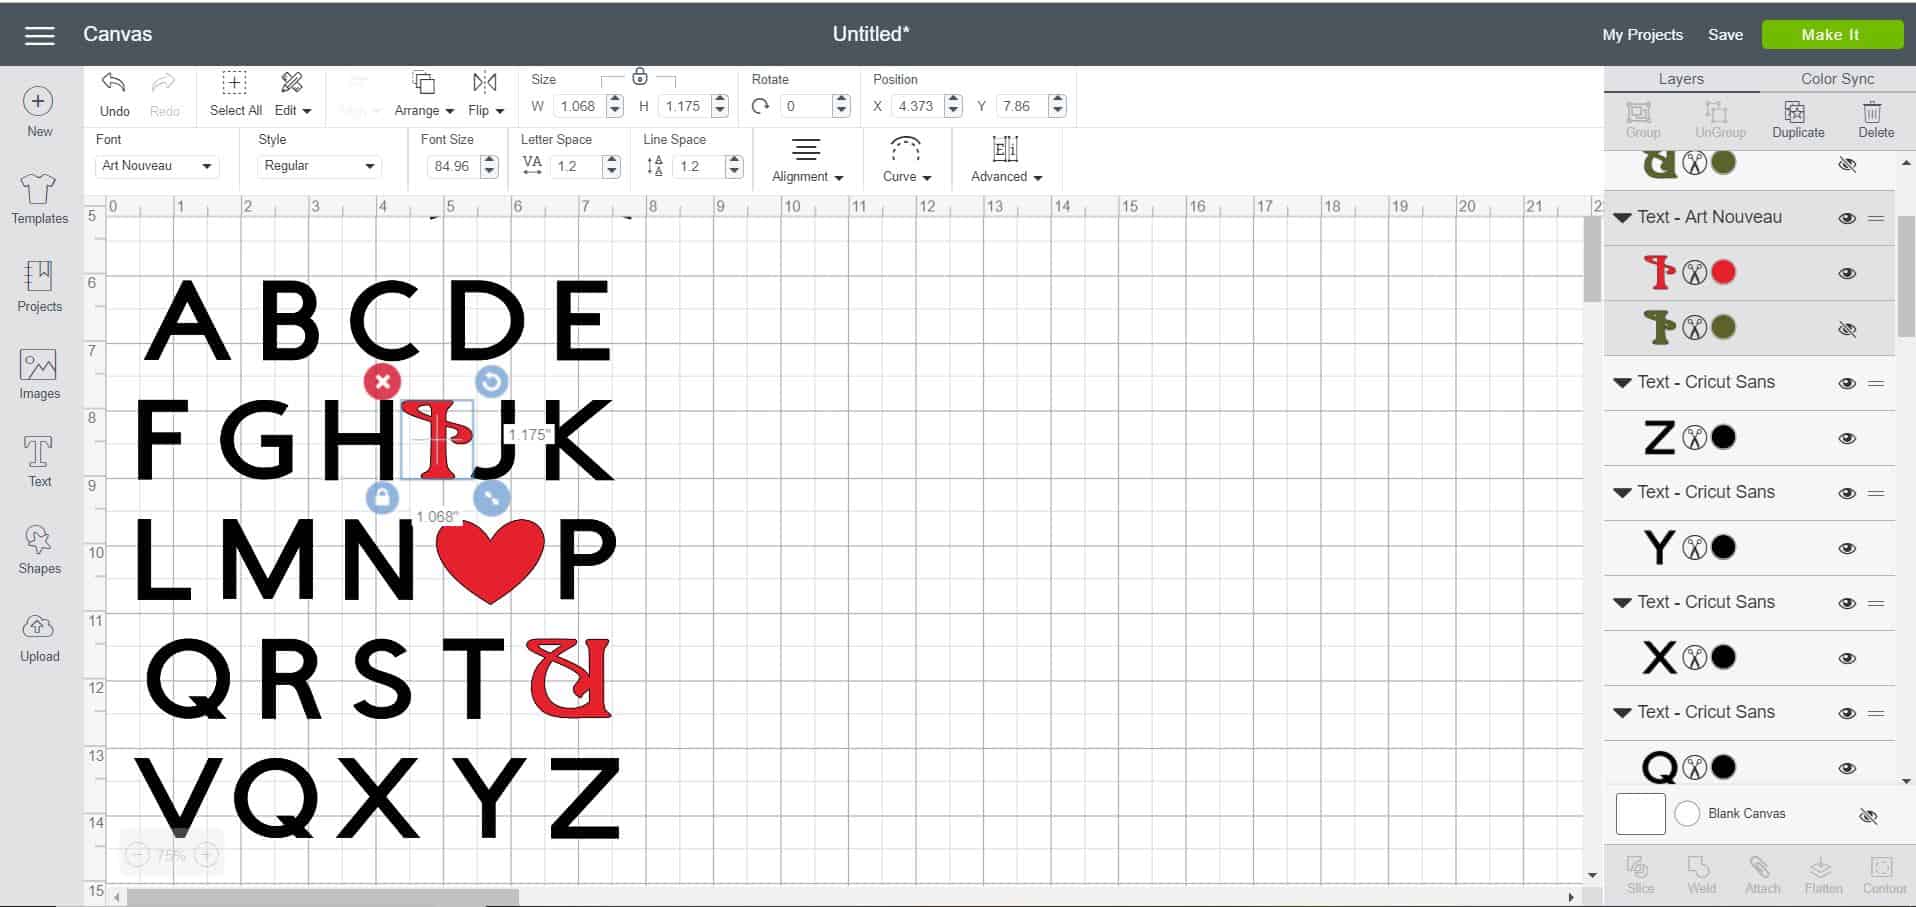
In Design Space type out the alphabet to your liking. For the black I used Cricut Sans Font, for the red I used Art Nouveau to make the I (heart) U stand out a bit more. Ignore the typo, luckily I noticed it before I sent it to cut.
*Tip: After you type out your alphabet, click the ungroup button and delete the I O U from your text. Type and position the I, heart, U where you would like them and adjust the size. Select the 3 RED letters, group, attach then hide on your design space screen.
When just the black letters are showing, select all, group and attach. Unhide the red letters and click make it. Attaching the letters in their color groups will allow them to cut exactly where they need to. There will be no guesswork when transferring the red to the black.
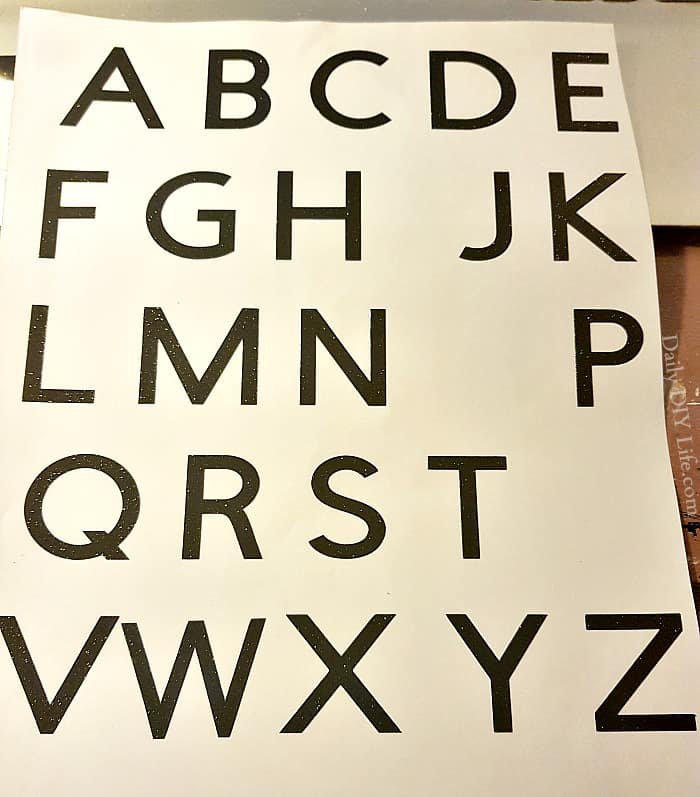
Cut the black transparent glitter vinyl. Trim and weed (remove the extra) any excess vinyl that is not needed.
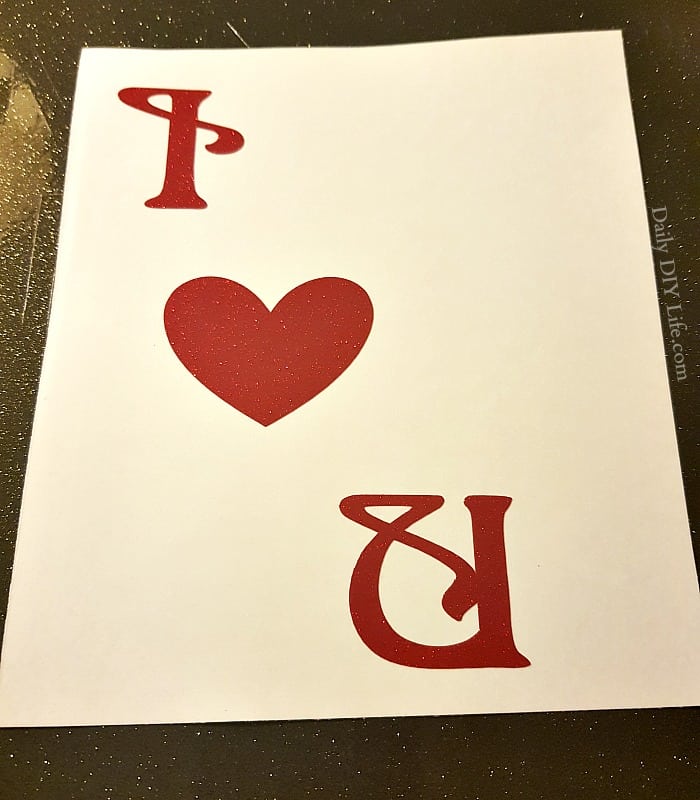
Do the same to the red glitter vinyl. See how they are still in place exactly where they need to be? That was achieved using the attach feature in design space.
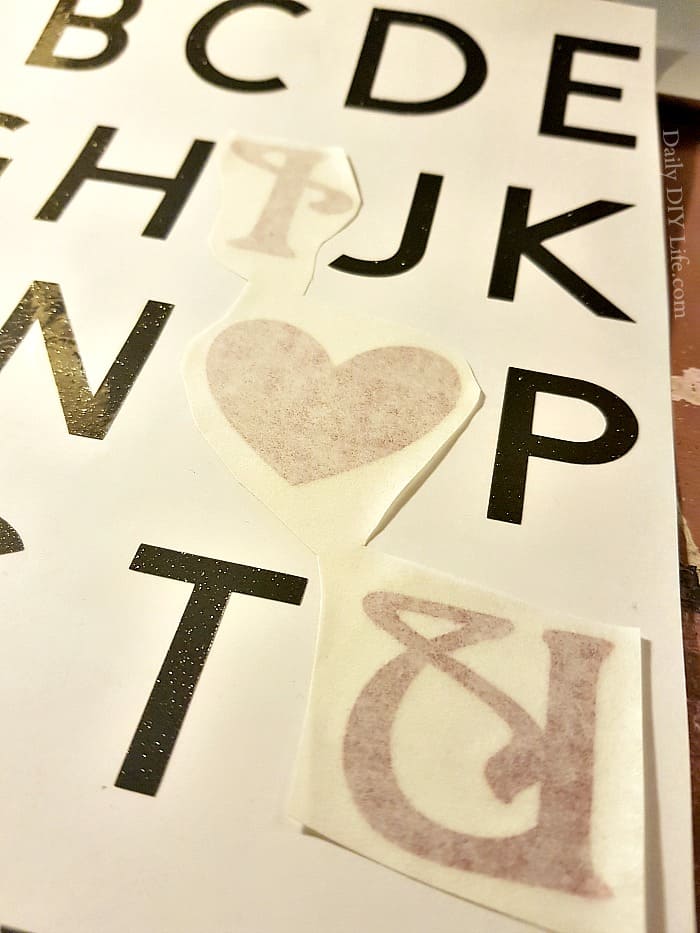
Using transfer tape, transfer the red letters onto the sheet with the black letters. Remove the transfer tape carefully. Cover the entire piece with transfer paper. Burnish with your scraper tool well.
Apply the vinyl directly to the glass of your frame. For a fun look, paint the frame with red craft paint. If you are using this in the kitchen or bathroom, you can protect your design from water or splatters by mirroring the image in design space before you cut it. Apply the vinyl to the underside of the glass before putting it into the frame.
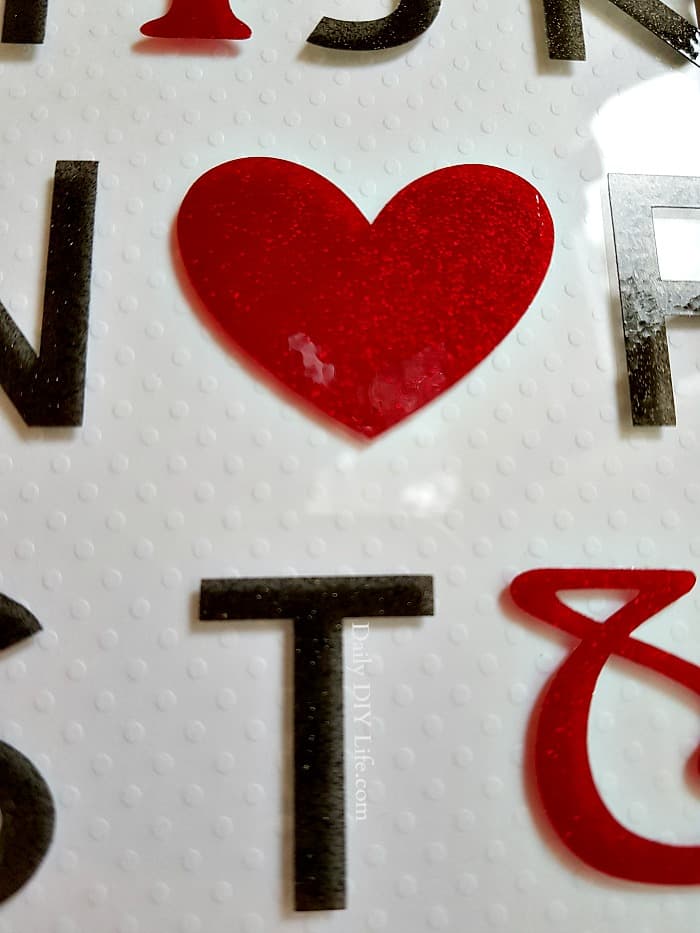
Just look at all that glitter!! It was so sparkly that it even blurred the camera shot. Honestly, the photos of this transparent glitter vinyl do not do it justice. If you like sparkle and shine, you will adore this vinyl.
Pin It For Later!
If you love this project, be sure to pin it for later!!


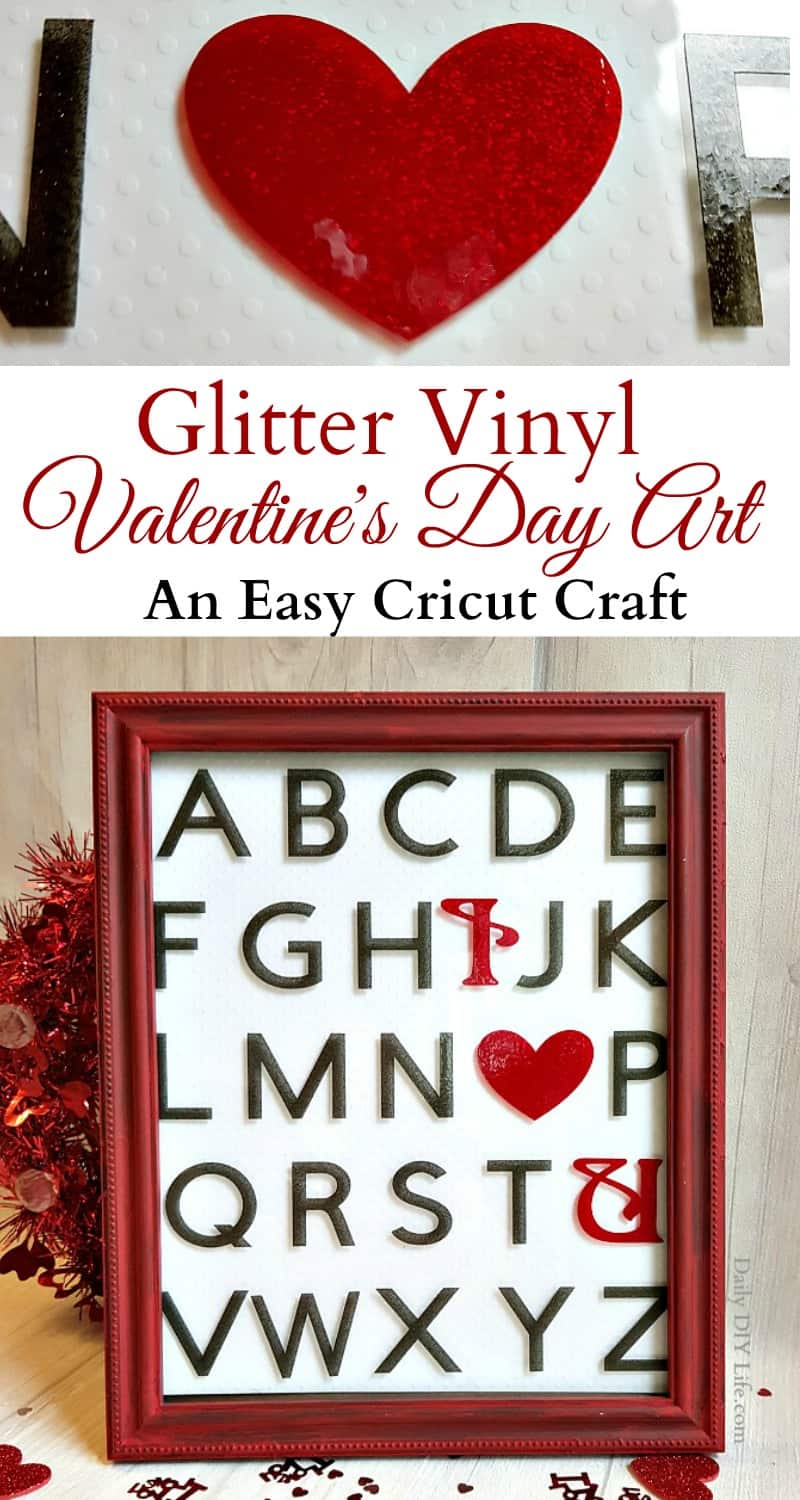






This turned out so nice. I love the red and black for Valentine’s Day. It is the perfect decor piece!