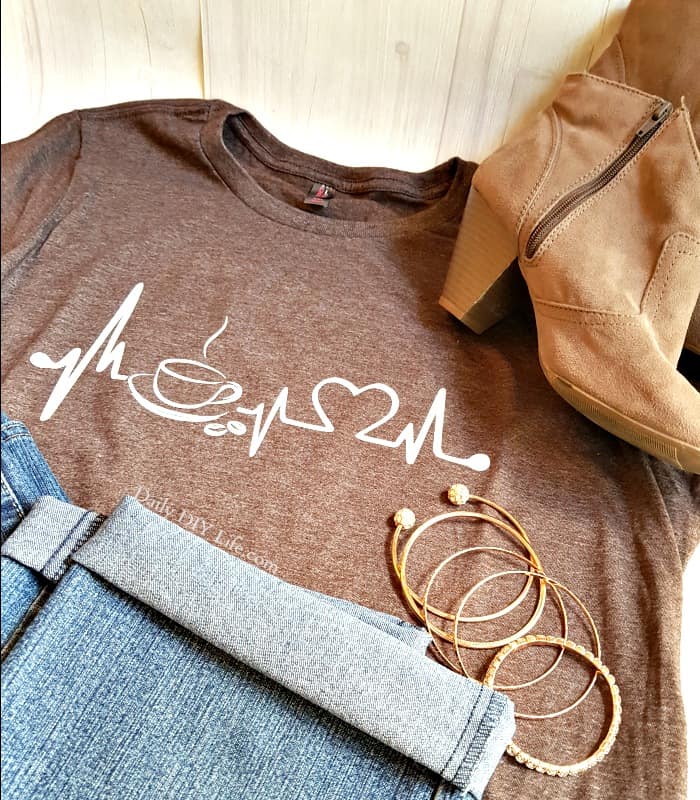
Who doesn’t love a customized, super cool Glitter T-Shirt? Making your own is not as hard as you might think. With the right tools, you can make just about any design your imagination can dream up. Since most of my days I am running on pure coffee and chaos, I decided to put together this adorable “Coffee Is My Life Support” custom Glitter T-Shirt!
Cool Glitter T-Shirt – A Cricut Craft – Pin It For Later!
Follow Daily DIY Life on Pinterest!
I am so excited to be a part of the Craft & Create With Cricut Monthly Challenge once again. This month we are teaming up with Happy Crafters to bring you some amazing DIY T-Shirt designs using heat transfer vinyl. This post has been sponsored by Happy Crafters for the purpose of this challenge. The awesome folks at Happy Crafters are also sponsoring a fabulous GIVEAWAY you don’t want to miss out on. You can enter to win an HTV Beginners Prize Pack to get you started making your own DIY Glitter T-Shirt!! See all details at the bottom of this project page.
This post contains affiliate links for your convenience. This means that is you click on a link and a purchase is made, we earn a small commission at no extra cost to you. For more details, please see our Disclosure Policy.
Creating your own iron-on design using your Cricut Cutting Machine is easier than you may think. Selecting your favorite design just might be the hardest part of the whole process. I chose a pretty simple design this time, short and sweet and to the point. Since my schedule is full and I like to say I run on coffee and chaos, this design is very fitting for a shirt for myself. When the design was ready, my son saw it and said: “Oh that’s funny, Coffee is my life support”. So, that is why I am calling it that. I thought it was pretty clever. Leave it to the teens!
Creating your own custom Glitter T-Shirt
Step 1: Upload Your Design
Select and upload your favorite design into Cricut Design Space. Adjust your size to your liking. There are even t-shirt design templates in Design Space to help ou with this step.
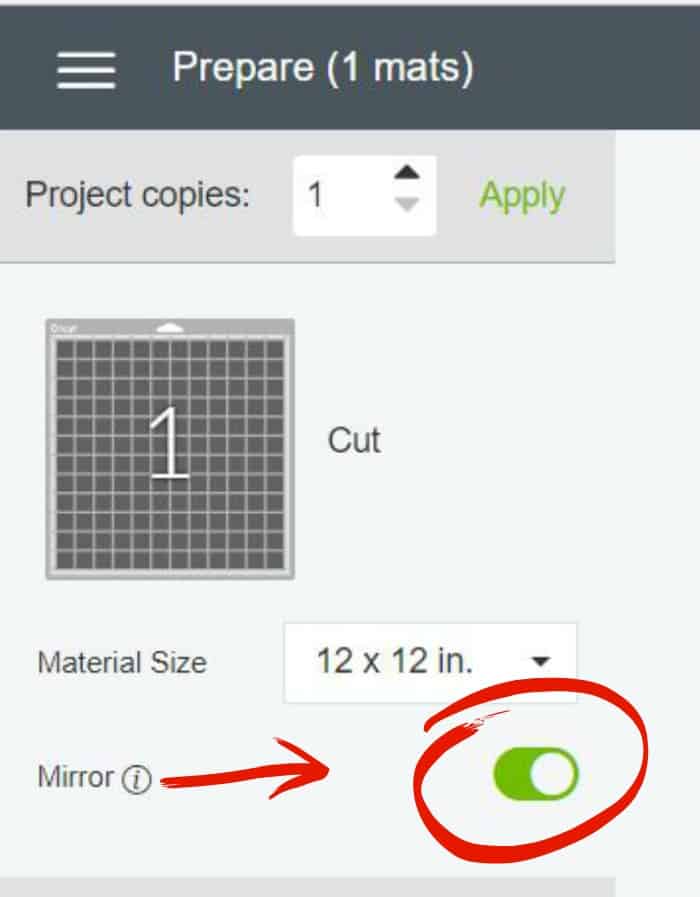
Step 2: Mirror Your Design & Set Your Material
Once your design is just the way you like it, click the “MAKE IT” button. If you are using glitter HTV (heat transfer vinyl) be sure to set your dial to CUSTOM and select the GLITTER IRON ON from the materials list.
IMPORTANT: The most important part of this step is making sure that your image is MIRRORED. You can turn on mirror right from your cutting screen.
Step 3: Load Your Mat
Load your glitter HTV on your mat with the shiny plastic coated side down against the mat. Load your mat into your machine and hit GO.
Step 4: Weed Your Design
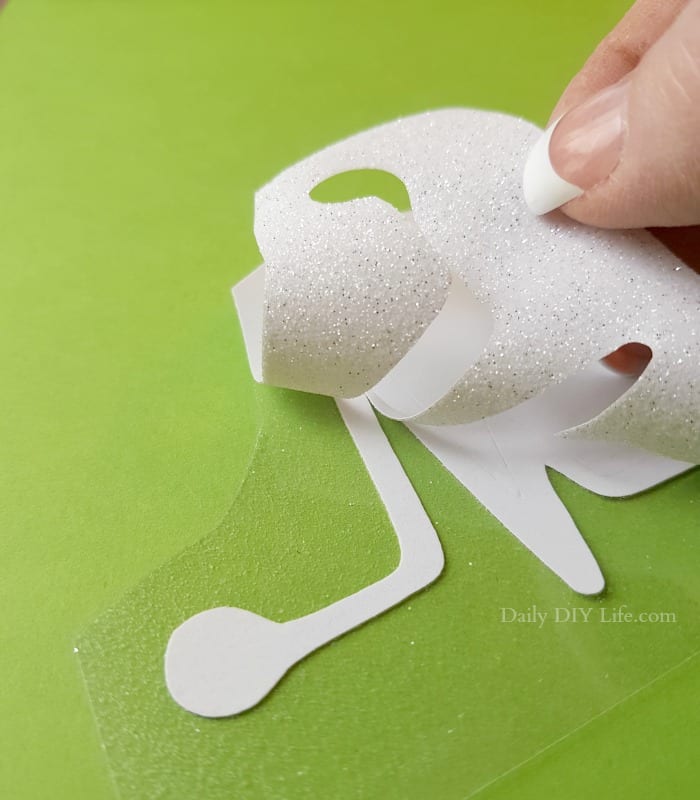
Weed the excess from around your design, don’t forget to weed out all the small pieces of the letters if you have text on your design.
Step 5: Pressing & Ironing
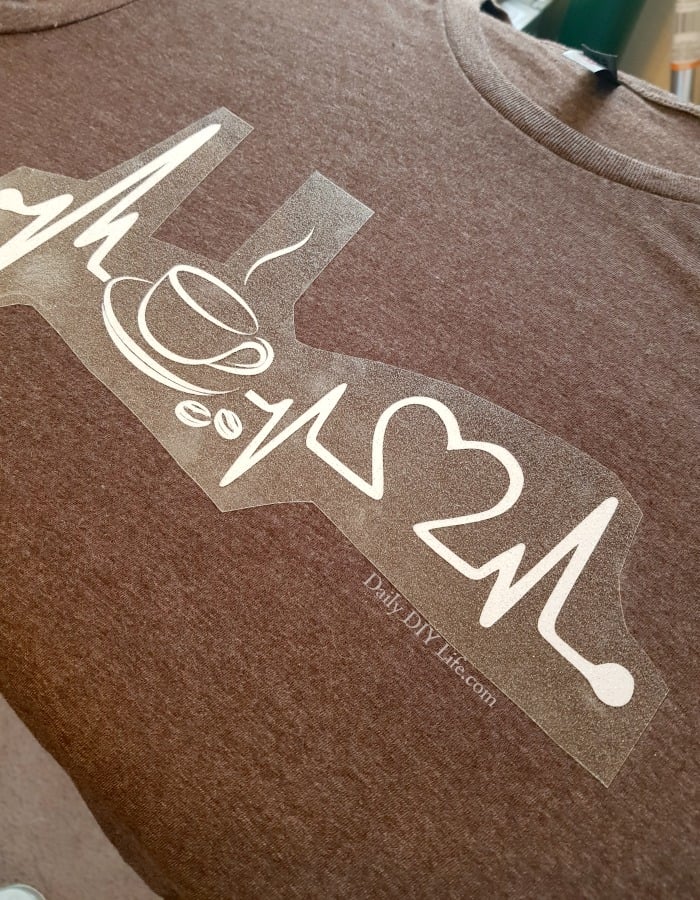
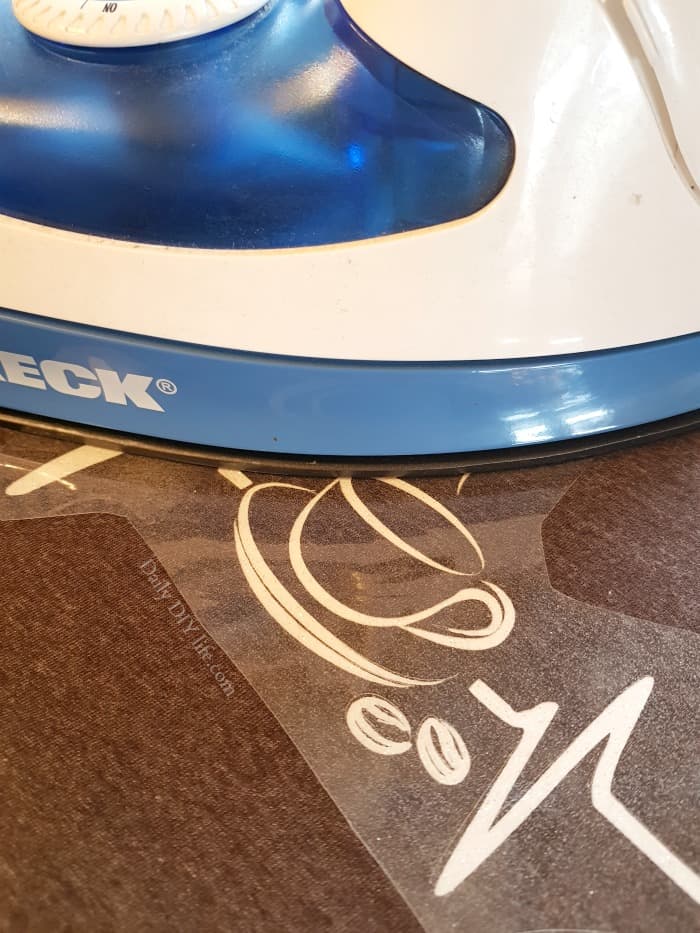
Press Your Shirt. I used my heavy Oreck iron and pre-ironed the T-shirt to remove any wrinkles. Lay your shirt on your ironing surface and find your center. Since my glitter t-shirt was one simple color and one design, I centered it to the underarm curve. I pressed my design using my iron on medium/high heat with NO steam. I highly recommend using a Teflon sheet
or parchment paper so you don’t scorch the vinyl.
If you have access to a heat press, I highly recommend using it. Follow the settings per the manufacturer.
Once the decal is pressed in place, remove the clear backing piece. Happy Crafters glitter vinyl is both hot and cool peel. Which means you can peel the backing off the shirt before or after it has cooled down.
A very special Thank You to Happy Crafters for providing the T-shirt and the Heat Transfer Vinyl for this fun project! Don’t forget to enter the amazing giveaway below. It is super easy to enter. Good Luck To You!!
See how simple that was? The sky is the limit when it comes to creating your very own custom Glitter T-shirt. Be sure to check out all of the Craft & Create With Cricut T-Shirt projects below. I just love working with all of the amazing creative minds in this group.
A Turtle’s Life for Me • Weekend Craft • Create and Babble • Happy Go Lucky • Refresh Restyle • Daily DIY Life • Happily Ever After, etc • Cookies, Coffee and Crafts • The Kim Six Fix • See Lindsay • Dragonfly & Lily Pads • PS I Love you Crafts • Our Crafty Mom • Doodle Craft Blog • Upright and Caffeinated • That Sweet Tea Life • Smiling Colors • Tastefully Frugal • The Inspiration Vault • The How-To Home • Evey’s Creations


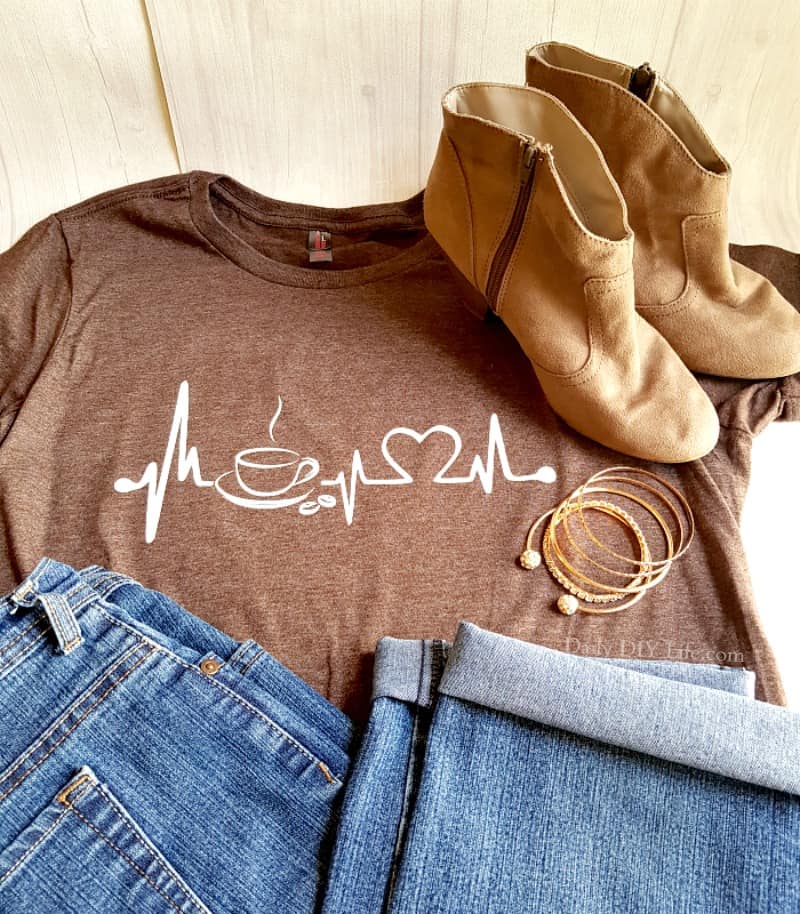





Whew, that was a lot of enters for the contest. Thank you for the opportunity. Love your T-shirt with coffee – of course! The design is really nice and I was instantly attracted with the blue jeans and boots.
Wow what a great shirt! I have always love the “life line” designs but this one with the coffee is adorable. You did such a great job. I really want to purchase one!
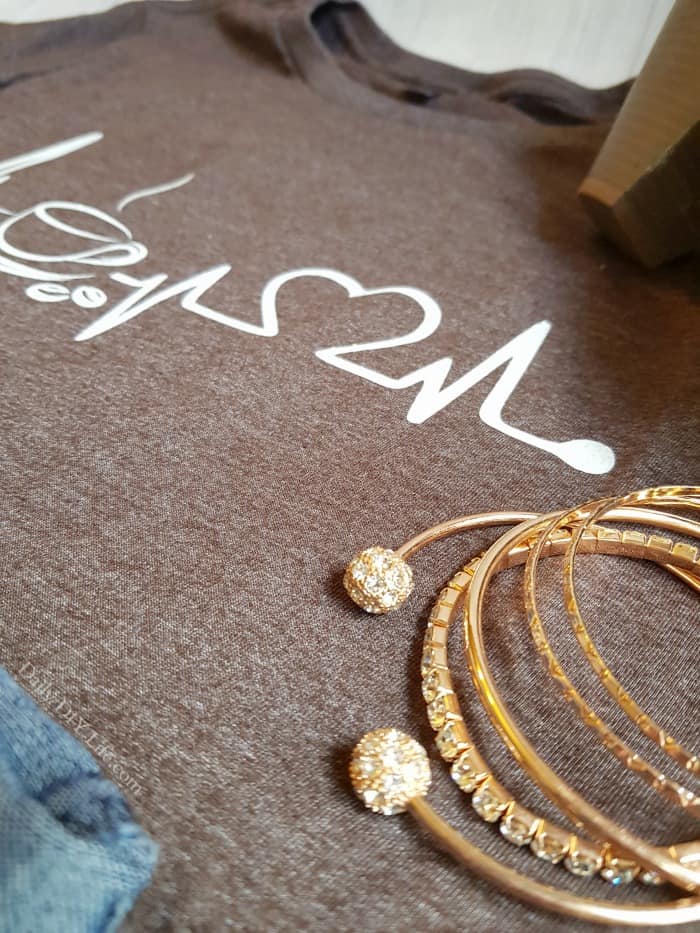
I love the design you chose! Your t-shirt turned out great and I love the bling. 🙂
I love coffee and it is my life support. Lol! I also describe my life as coffee and chaos. Super cute!
“Pure coffee and chaos” lol! That pretty much sums up my daily life. No way would I get anything done without my BFF caffeine. Love your shirt design and I think your color choice is perfect for the subject!
I need this shirt! Coffee is my life support every day.
Where did you get that color shirt? Love the brown but not too dark!
I would love to purchase the svg for the design! Do you sell it?