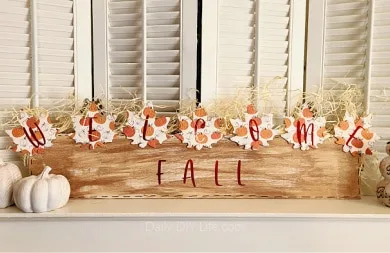
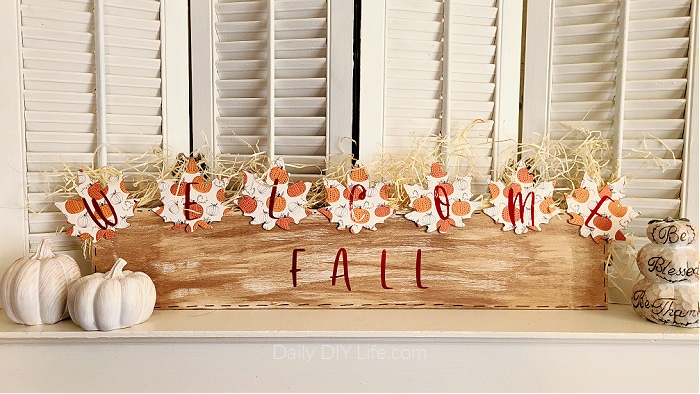
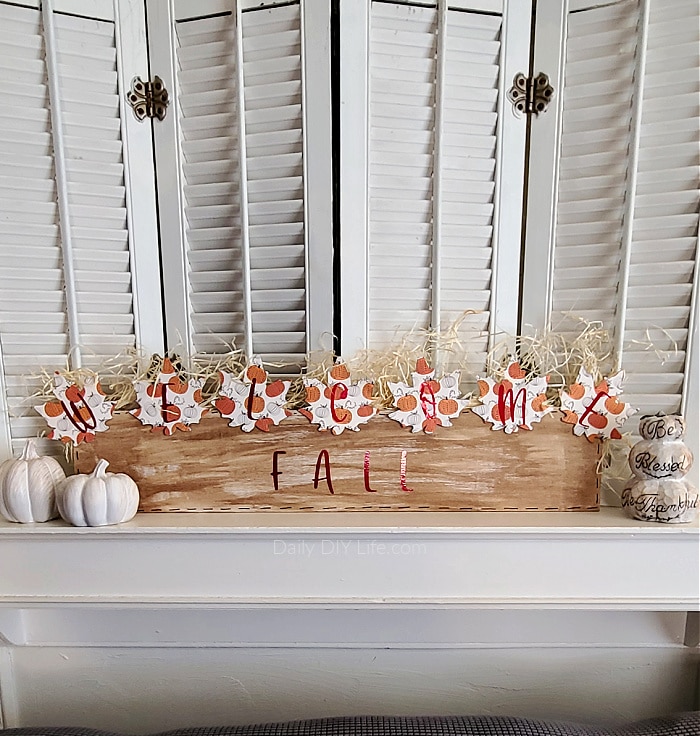
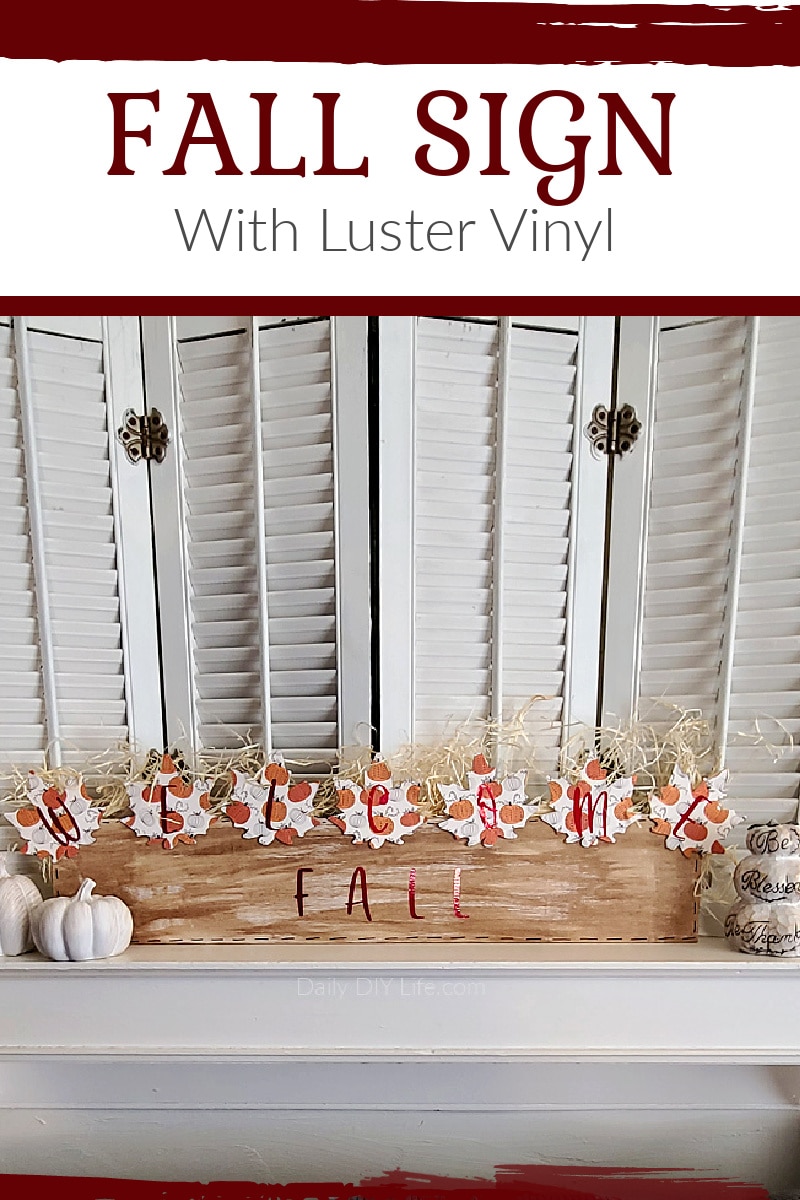
This Colorful Fall Welcome Sign can be made using rustic scrap wood and shimmering luster vinyl from StyleTech Craft. Fall decor should be comforting and cozy to match your home. The contrast of the rustic wood and the shine from the luster vinyl is the perfect pairing for the joys of the fall season. In this post, I will show you just how easy it is to put this adorable fall welcome sign together so you can display it on your mantel today. Here is how we made it.
Colorful Fall Welcome Sign – Pin It For Later!
Follow Daily DIY Life on Pinterest!
As part of the StyleTech Craft 2021 Design Team, I have received product and compensation for the purpose of this post. All ideas and opinions are 100% my own.
This post also contains affiliate links for your convenience. That means that if you click on a link within this post and a purchase is made, I will receive a small commission at no extra cost to you. For full details, please see our disclosure page.
StyleTech Craft Luster Vinyl
This month, our instructions for our project were to use our favorite StyleTech Craft Vinyl. I love all of the StyleTech Craft products so much, but one of my absolute favorites is the Luster Vinyl. Luster vinyl is based on the same film used in vehicle wraps, luster offers a satin finish that isn’t quite glossy but not quite matte. These films offer a deep, rich look to your projects and is available in 13 colors including champagne, magenta & teal.
How To Make A Colorful Fall Welcome Sign Using Scrap Wood.
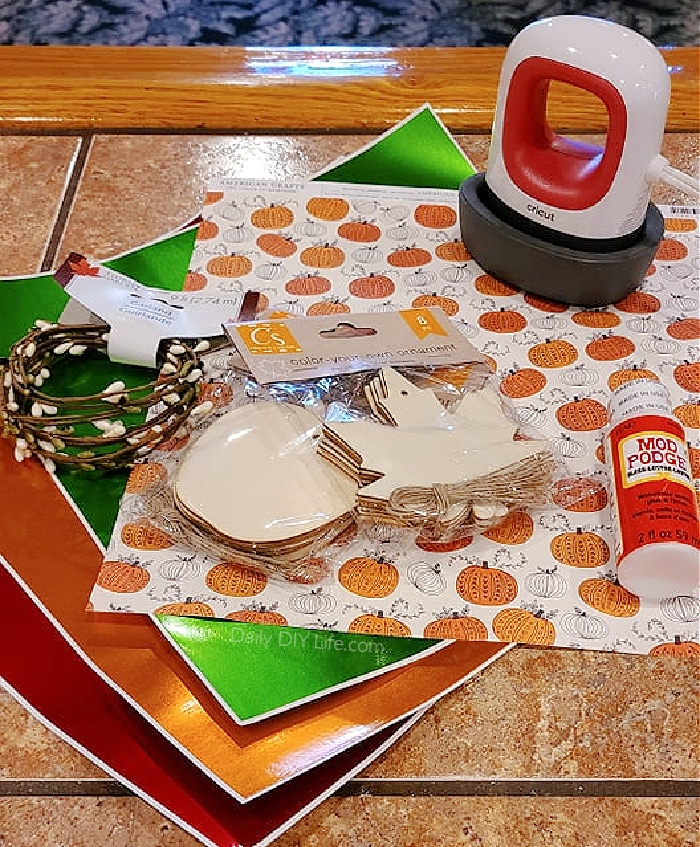
The idea for this Fall Welcome Sign started from a piece of scrap wood and some wood leaf cutouts that I found at the Dollar Tree. I knew I wanted to make a welcome sign for the mantel, with lots of color and texture. Last year, I made my fall welcome sign using a pizza pan from the dollar tree, you can see how I did it HERE.
I started by using a fun piece of scrapbook paper that was covered in fun pumpkins. Tracing the leaves on the back of the scrapbook paper was the best solution for me. This way I could see how the pumpkins would be placed on each leaf.
Mod Podge Hack!
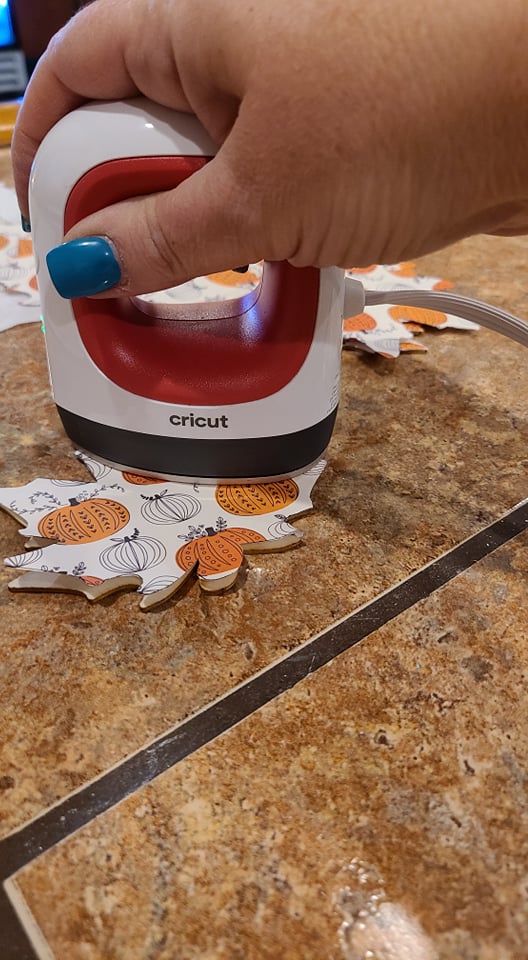
I covered each wood leaf with a coat of mod podge and let it dry completely. Once the mod podge was completely dry, I placed one of the paper cutouts on top and used my Cricut easy press mini to adhere the paper to the wood. Decoupaging paper to wood this way will decrease the wrinkles and even the drying time that you typically have with traditional decoupaging.
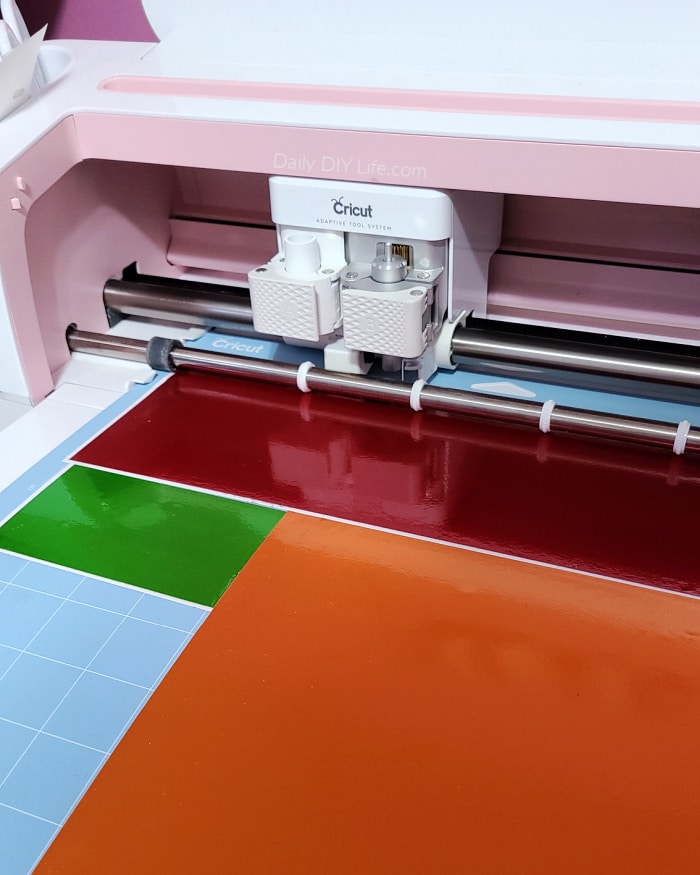
I used my Cricut Maker to cut out all of my letters, then I applied the Welcome Fall luster vinyl letters to the paper leaves using StyleTech Craft transfer tape.
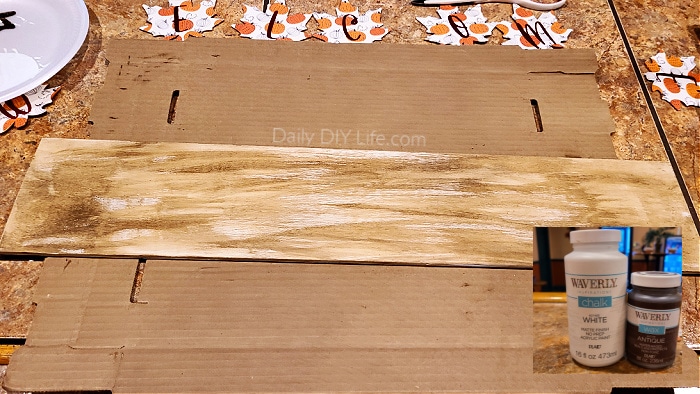
The scrap wood was painted with white chalk paint, then topped with an antique brown wax. After everything was dry, I used gorilla glue hot glue sticks to adhere the wood leaves to the scrap wood board.
Some stray pieces of rafia were also glued behind the leaves to add some texture and character to the sign.
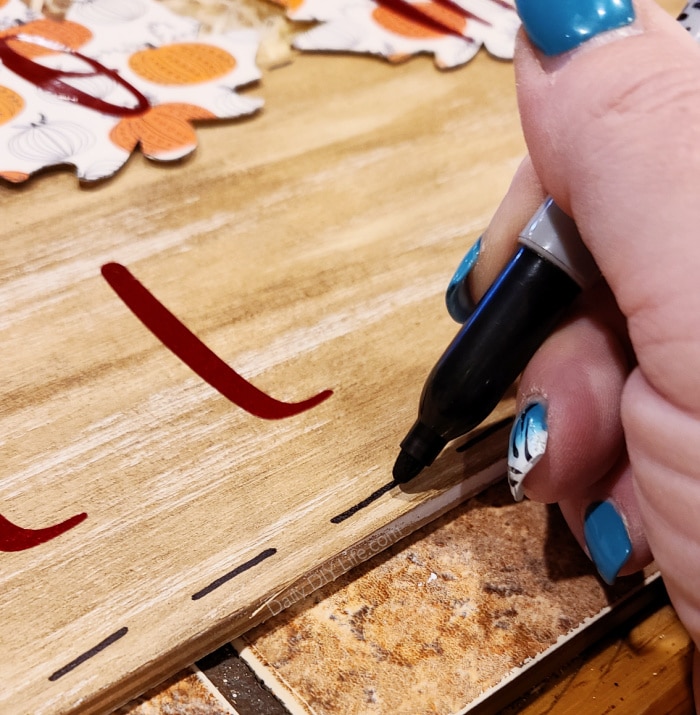
Once the sign was finished, I just felt like there was something missing. The edges were just a bit too plain for my liking. Nothing that a little sharpie border can’t fix. I evenly drew on some sharpie “stitching” to complete the look. What do you think?
I am very happy with the way it all came together. A little different style, with the same classic fall colors. It was just the right addition to my fall mantel.
If you love this post, don’t forget to Pin It For Later using the image below!

