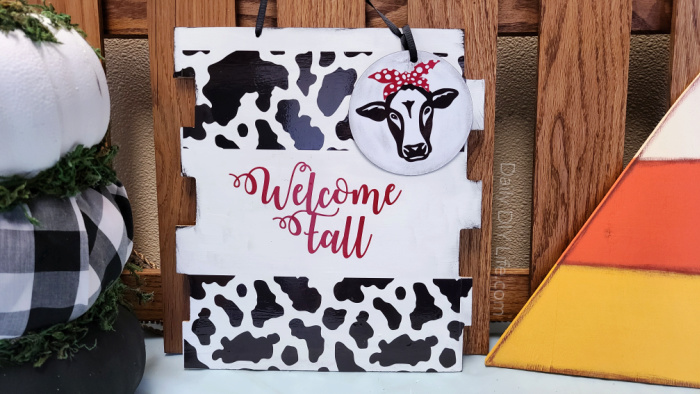
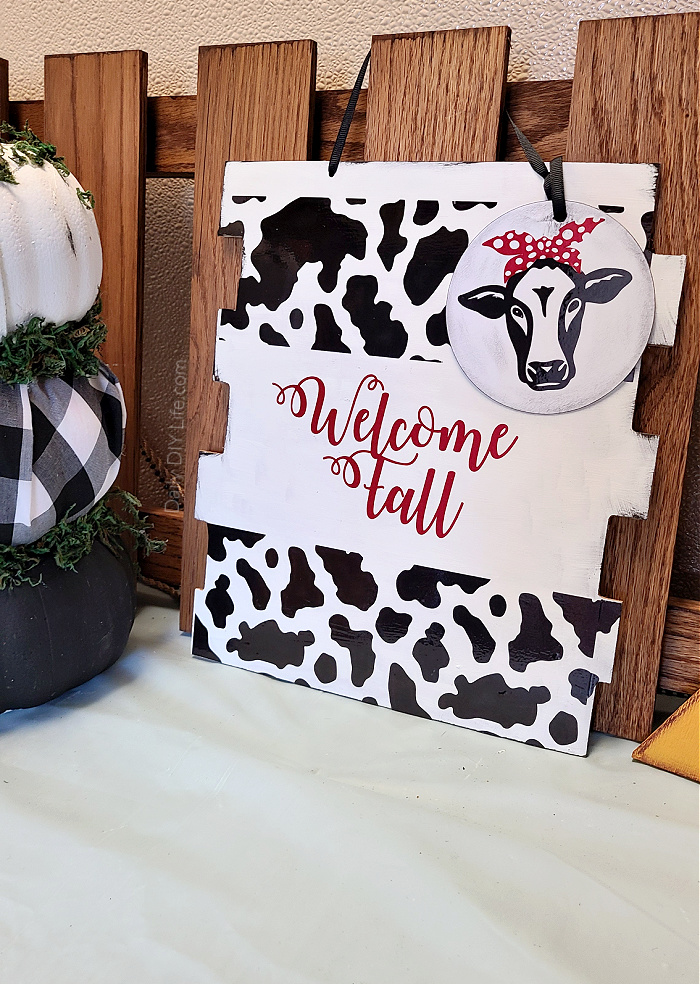
If you are looking for a fun, unique Fall Door Hanger, this adorable cow print welcome sign just may do the trick. With supplies from StyleTech Craft and the dollar tree, this cute cow print welcome sign can be put together in no time. #sponsored #StyleTechCraft #Cricutmade #cricut #MetalizedVinyl #cowprint #FallDIY #DollarTreeCrafts #FallDecor
Adorable Cow Print Door Hanger – Pin It For Later!
Follow Daily DIY Life on Pinterest!
As part of the StyleTech Craft design team, I have received product and compensation for the purpose of this post. All ideas and opinions are 100% my own.
This post also contains affiliate links for your convenience. That means that if you click on a link within this post and a purchase is made, I will receive a small commission at no extra cost to you. For more details, please see our disclosure page.
If you haven’t noticed, I am not much for a traditional wreath for my front door. Last year, I repurposed a pizza pan, also from the Dollar Tree, into a fun, farmhouse fall welcome sign. You can see how I made that HERE.
This year, I decided to pair together White Chalk Paint, Black Chalk paint
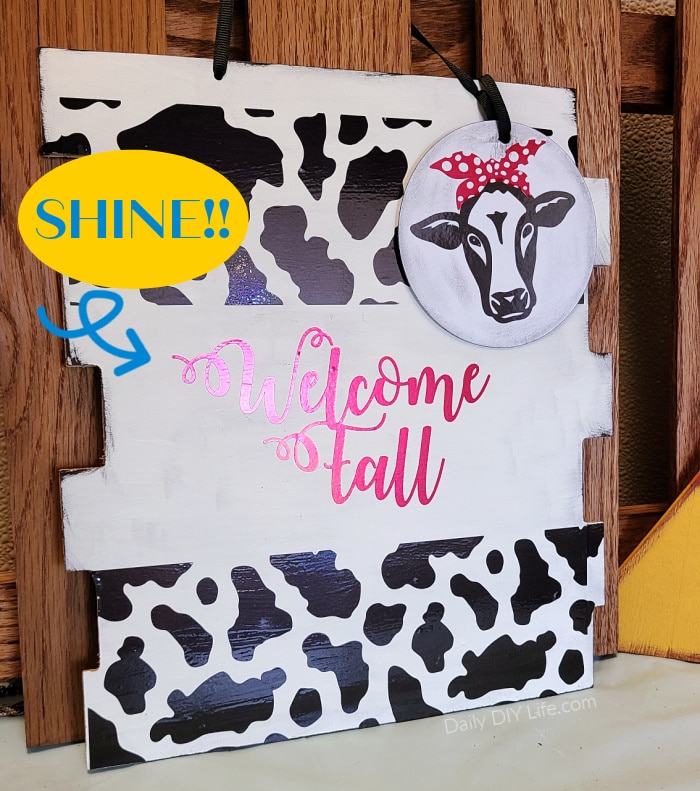
, and StyleTech Craft Polished Metal Vinyl. I absolutely adore the shiny look of the metalized vinyl up against the matte look of the chalk paint.
Polished Metal is part of StyleTech Craft’s line of Metalized Vinyl. StyleTech Craft Metalized and Chrome types of vinyl provide all the WOW you need for all your projects. This product line includes 25 colors, including Rainbow Mist, Rain Silver, Rose Gold Chrome, and Purple Mist.
You are sure to find the perfect color and texture for all of your project needs.
How To Make A Cow Print Door Hanger
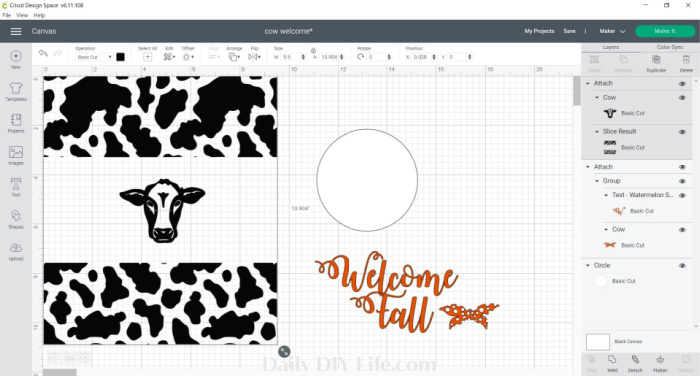
I knew I wanted to use a cow print for this year’s fall door hanger. I went into Cricut design space and found the perfect cow print pattern. Unfortunately, it was a little smaller than I wanted. I did not want to stretch the design, so I duplicated the design three times and welded them, two together for the top and two together for the bottom.
Once I measured the dollar tree sign I adjusted the size of the print, making sure to leave a space in the center for the words.
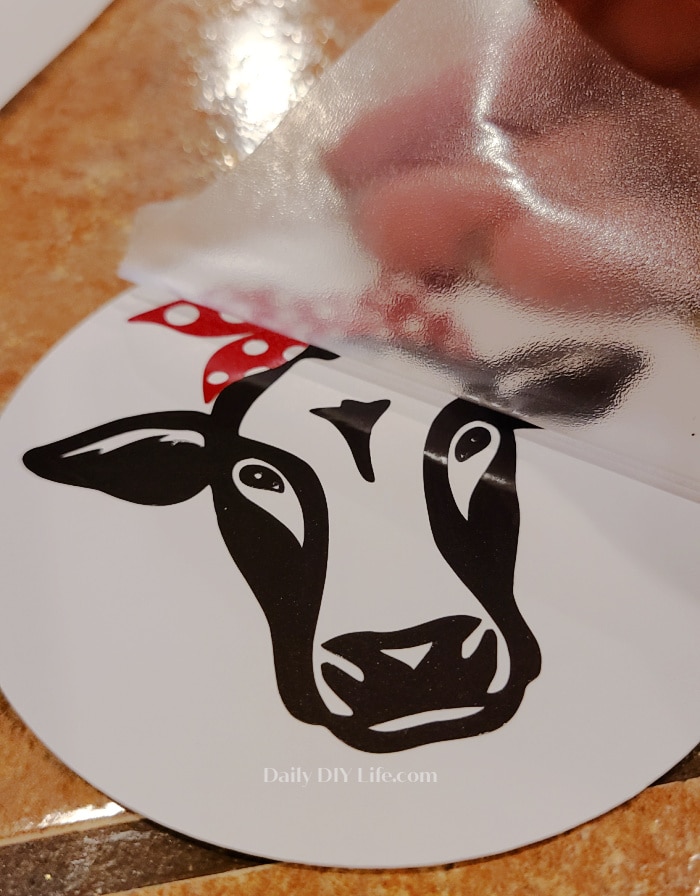
There was also a super cute cow face with a red polka dot bandana. I couldn’t resist the cuteness. The adorable cow face also added a 3-d effect by putting it on a separate cardboard tag that I also cut using my Cricut Maker.
How To Remove Paper From A Cardboard Sign
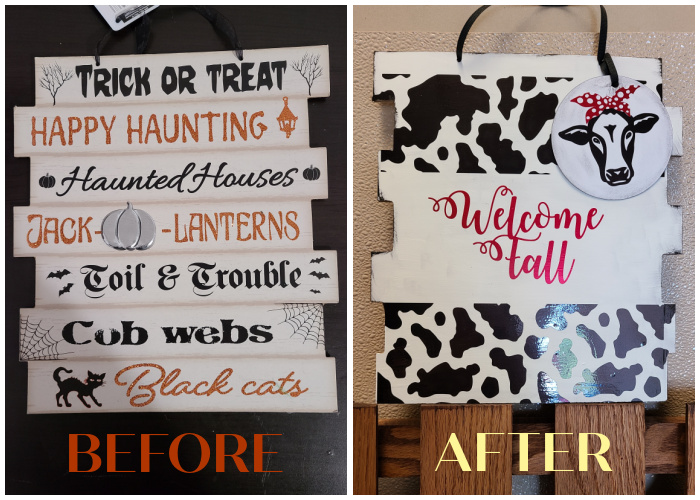
For this project, I used a sign that I picked up last year at my local Dollar Tree. The design was cute, but I really just loved the shape of the pressed cardboard. It was just the right size for my fall cow print door hanger. Removing the original image was quite easy since it is just printed paper that is glued on.
I used a washcloth that I soaked with warm water. After squeezing out almost all of the water, I placed it on top of the print for just a few seconds. While the paper was still damp, I used my Cricut craft knife and a paint scraper to remove the original image. It was actually easier than I expected.
Once the pressed board was completely dry, I applied 2 coats of white chalk paint and let it dry fully.
Using the transfer tape, I applied the cow print to the board, trimming off the excess with my Cricut craft knife. If you can’t tell, this is one of my favorite crafting tools I use it for everything.
Finishing Touches!
Once all of the vinyl has been applied, attach the cow face tag using a thin black ribbon through one of the holes. Then use the same black ribbon to create a hanger for your new masterpiece and you are done!
If you love this post, be sure to Pin It For Later using the image below!





Super Cute project. I love how you repurposed a Dollar Store sign.