Happy September!! WOW, is it really September 1st already? This year has just flown right by. Since it is September, I think it is safe to start decorating for Fall. I know Fall doesn’t officially start for a few more weeks, but I am ready! I’m ready for cool nights, comfort food, sweaters, and football!
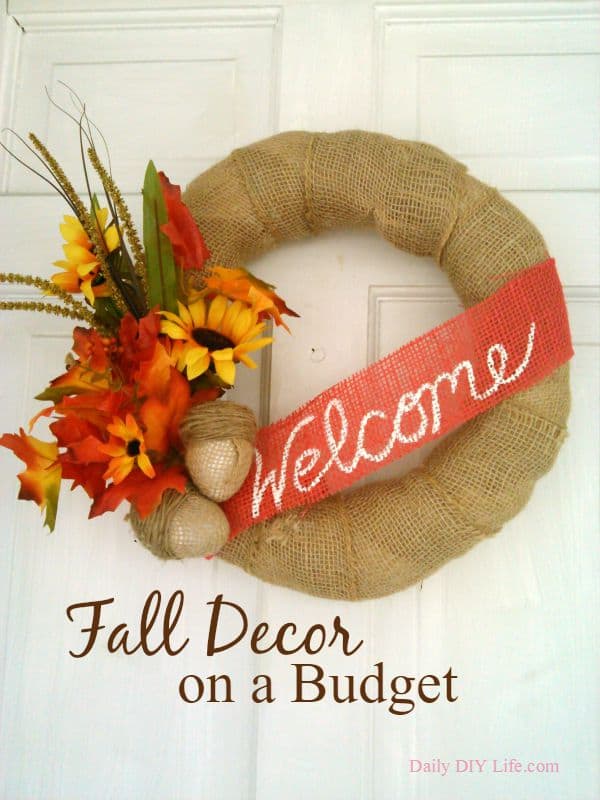
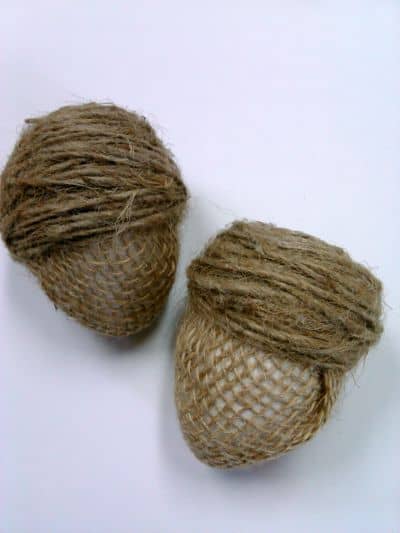
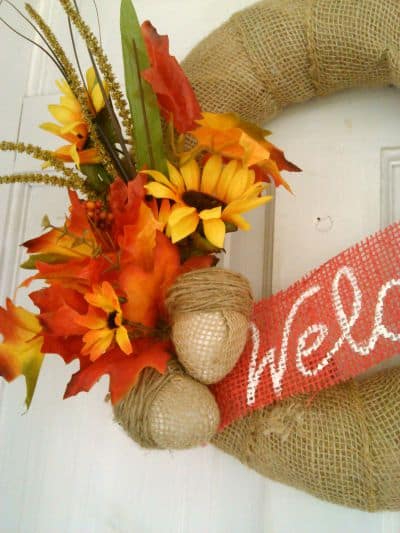
It may be 90 degrees today and I probably got a few strange looks from the neighbors while I put up the new Fall wreath on my front door, but that doesn’t bother me in the least. I was anxious to show off this festive little number to all of you. I also wanted to show you how easy it is to make these adorable Burlap Acorns, so you can add them into your Fall Decor too.
Burlap Acorns – Fall Decor on a Budget – PIN IT FOR LATER
Follow Daily DIY Life on PINTEREST for more craft ideas, recipes and around the home DIY
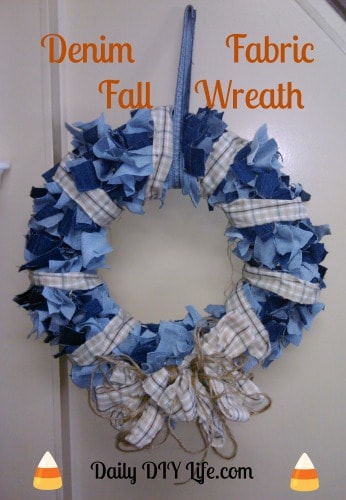
Every season/holiday I try to add something different to the front door. Sometimes it is a simple bow, but a festive wreath is my favorite thing to put up. Something about them just screams inviting to me. Last Fall we had our Denim and Flannel Wreath up. It was one of my favorites.
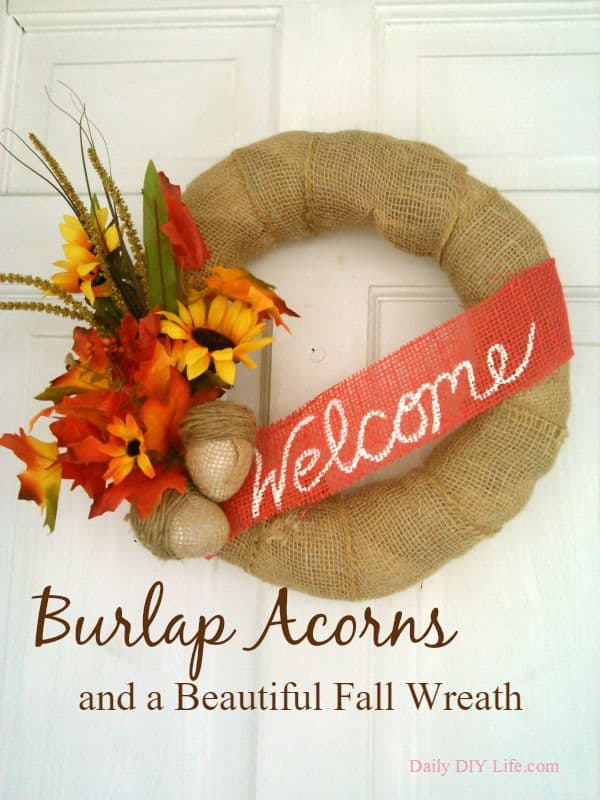
This year I wanted more fall colors. The bright orange and red flowers and leaves against the muted brown of the burlap just reminds me of Fall completely. Putting the acorns on the wreath was an added bonus. They just fit perfectly with the seasonal items. I already had the wreath form and the burlap. The flowers and the red burlap I picked up at the local Dollar Tree. All in all this wreath cost less than $10 to make, and I am very happy with the result.
*This post may contain affiliate links. Please see our Disclosure Policy for details.
What you will need:
- Plastic or cardboard easter eggs (I had plastic ones, butI found these cardboard ones on clearance for 19 cents!)
- Burlap Ribbon or scraps from a previous project
- Twine or Jute
- Hot Glue
[Tweet “Burlap Acorns add a festive charm to your #FallDecor projects! @DailyDIYLife #crafts #Fall”]
Directions:
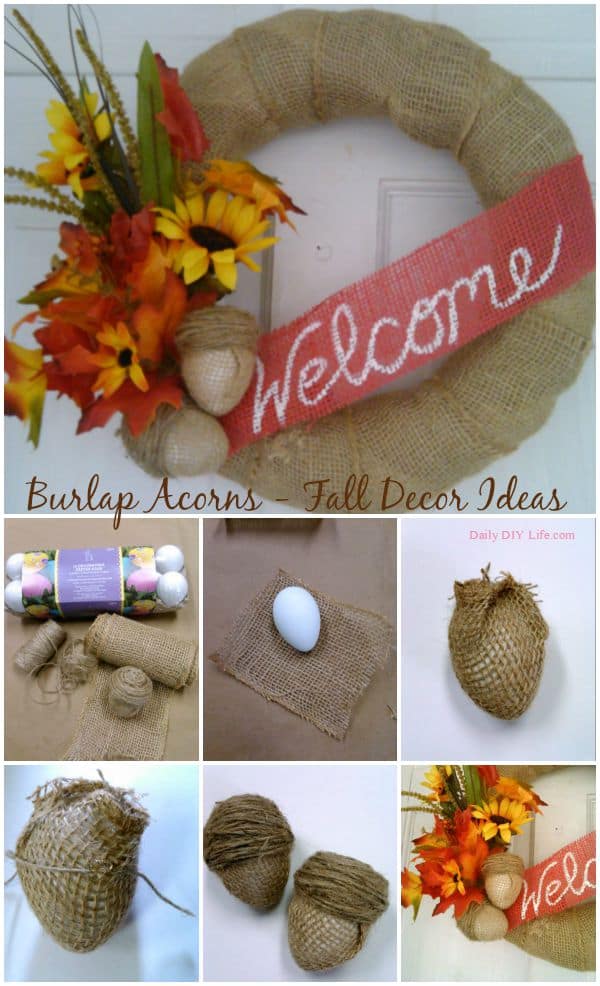
Cut a piece of burlap into a square large enough to cover your egg.
Place the point of the egg in the center of the square. The point will be the bottom of your acorn. Cover the egg in burlap and hot glue the ends to the top of the acorn (the wide end of the plastic egg)
Once your egg is covered in burlap, starting about 1/4 of the way from the top of your acorn wrap generously with twine. Dabbing a bit of hot glue here and there as you wrap to keep it secure. You want it to be thicker than the burlap so it appears to be the cap of the acorn.
That is all there is to it. Use your burlap acorns to decorate around the house. Pile them in a bowl as a centerpiece or add them as embellishments to existing Fall Decor. We chose to add them to our Fall Burlap Wreath that we put out today.
Do you love Fall as much as we do? You may also like our other Fall Inspired ideas:
Thank you so much for stopping by! I would love to hear how you decorate for the Fall. Do you have any budget-friendly ideas for decorating?
If you like this post, be sure to sign up for our newsletter. You are only notified when we have something wonderful and new to share.



Yes, I am ready for fall. I am amazed the nuts are made out of eggs. At first glance I did not think the nuts were that large, but oh wow, they are awesome how you made them and seems easy-peasy. All our tables and floors are full of tools from our house projects or I would make some of these. Oh and your wreath is wonderful.
Thank you Sue! I love your house projects… so very interesting and well done. Just think of all the fresh new places you can add decorations next year! 🙂
Luff the look of your wreath. Your acorns are awesome what a smart idea. I’m holding onto summer with everything I’ve got. But love when fall does arrive. 😉
Thanks Anj! I am just the opposite … trying to push summer out the door 🙂