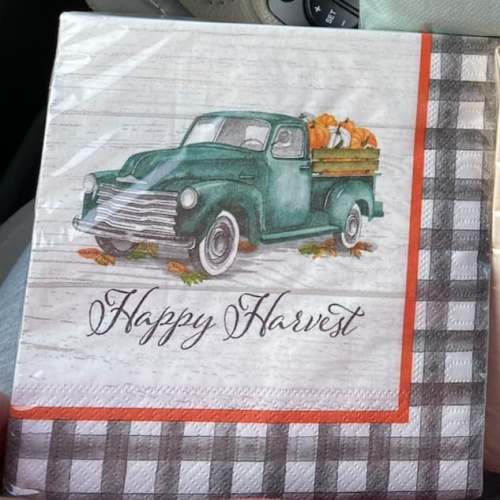
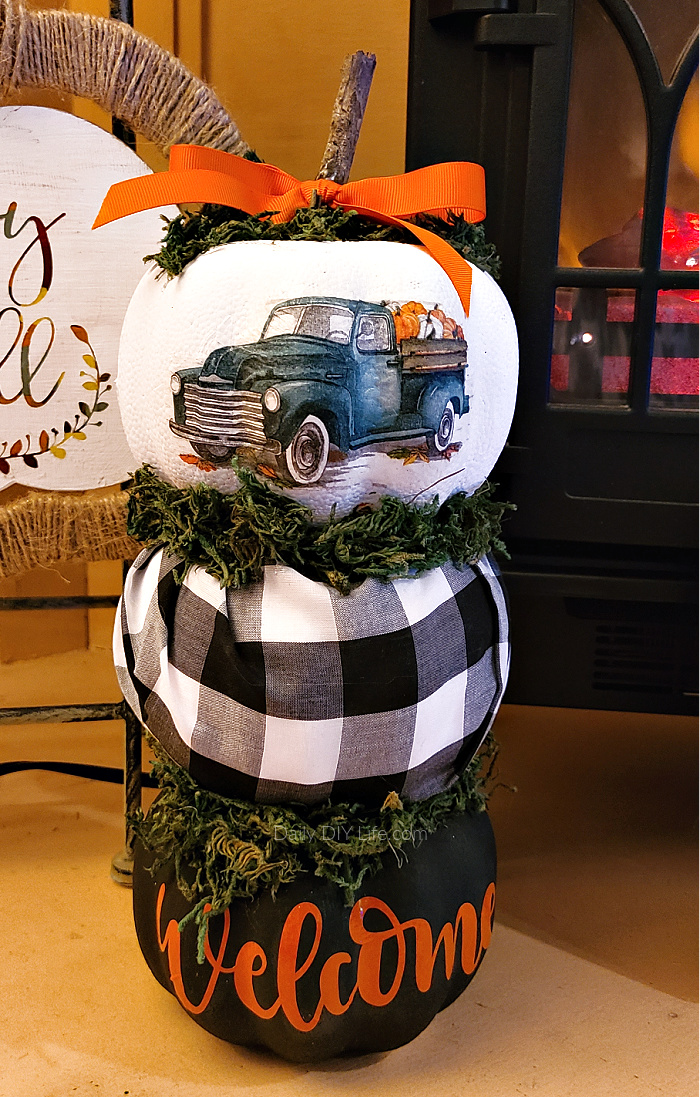
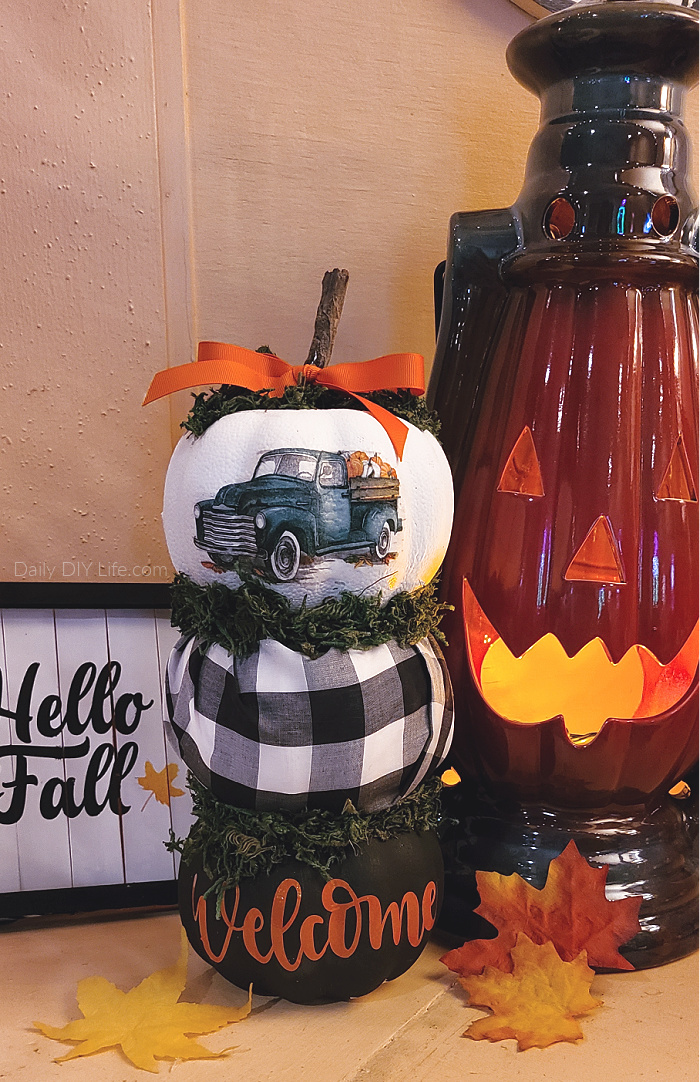
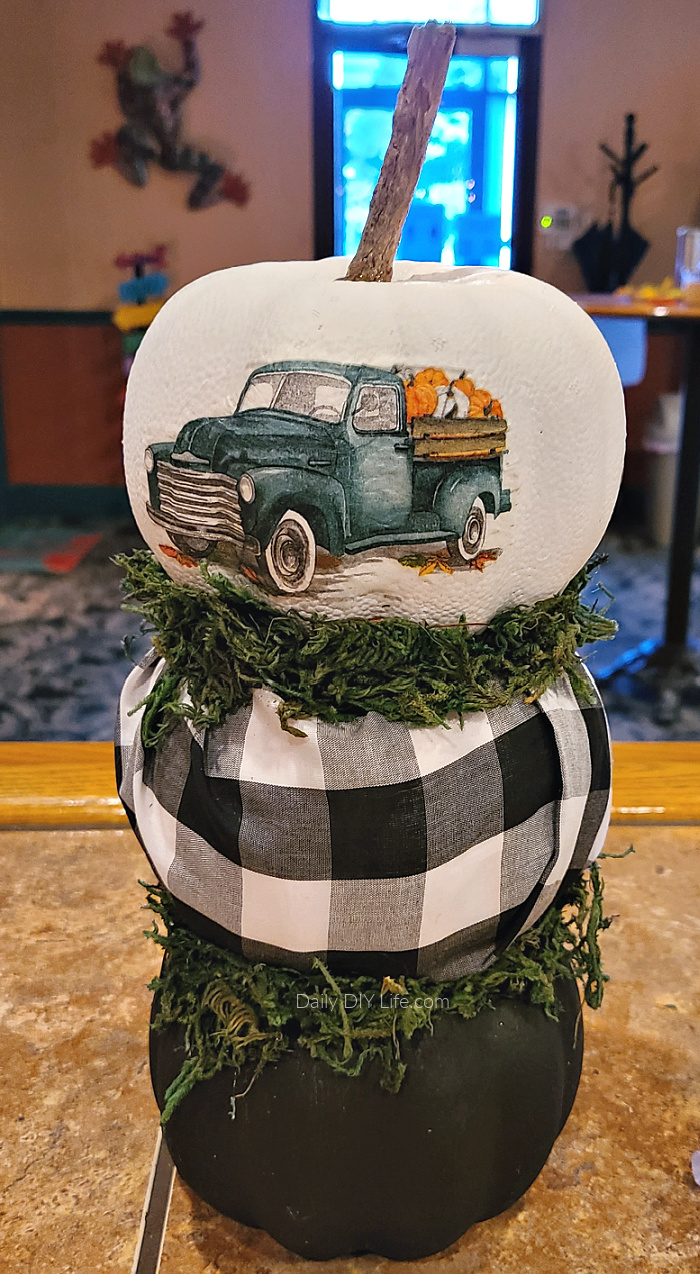
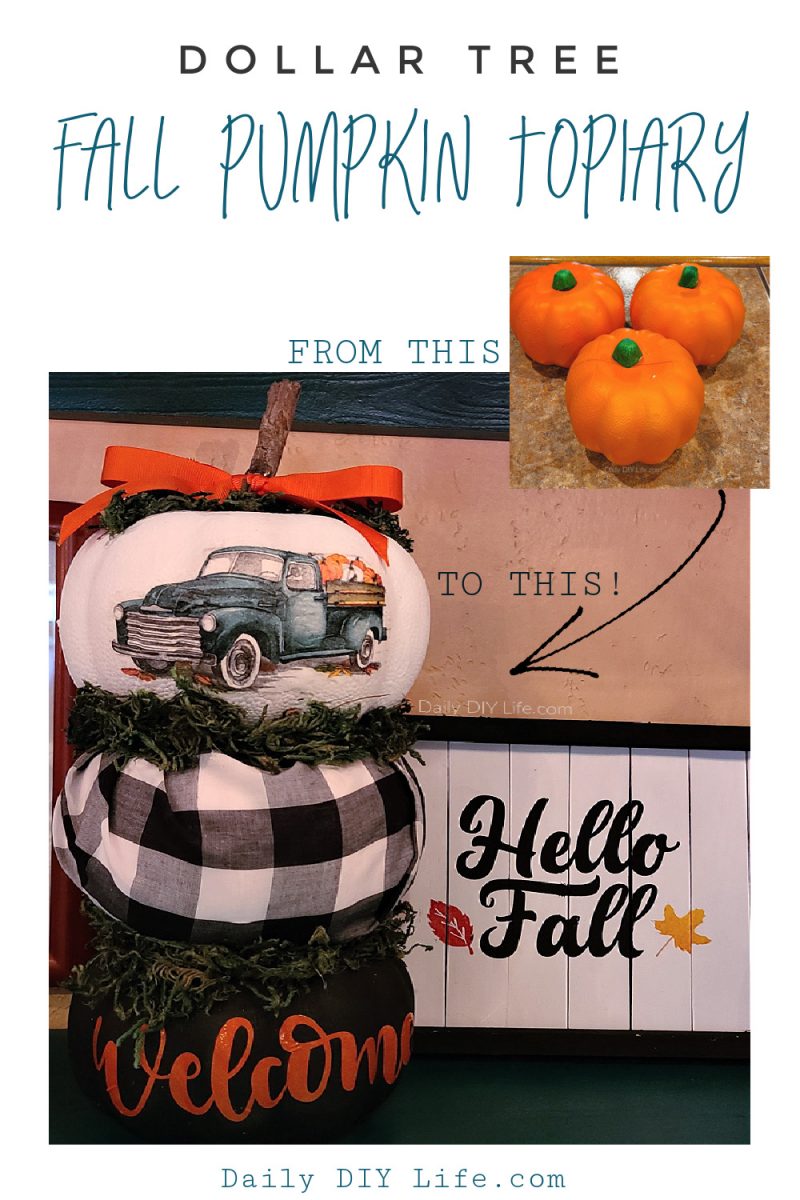
A touch of farmhouse for your decor with this beautiful Buffalo Check Fall Pumpkin Topiary. An easy DIY using foam pumpkins from the Dollar Tree, stunning glossy craft vinyl from StyleTech Craft, and a gorgeous harvest vintage truck decoupaged napkin. A simple fall decor DIY with stunning results.
Buffalo Check Fall Pumpkin Topiary – Pin It For Later!
Follow Daily DIY Life on Pinterest!
As part of the StyleTech Craft 2020 – 21 design team, this post has been sponsored by StyleTech Craft. I have received product and compensation for the purpose of this post. All ideas and opinions are 100% my own.
This post also contains affiliate links for your convenience. That means that if you click on a link within this post and a purchase is made, I will receive a small commission at no extra cost to you. For more details, please see our disclosure page.
Beautiful Buffalo Check Fall Pumpkin Topiary
Fall decorating is in full swing around our house. The weather has cooled down, the leaves are falling, and the buffalo check decor has taken over my entire house! This very simple DIY pumpkin topiary can be put together pretty quickly. The longest step in the whole project is waiting for the paint and the glue to dry.
Here is what you need to make this Buffalo Check Fall Pumpkin Topiary.
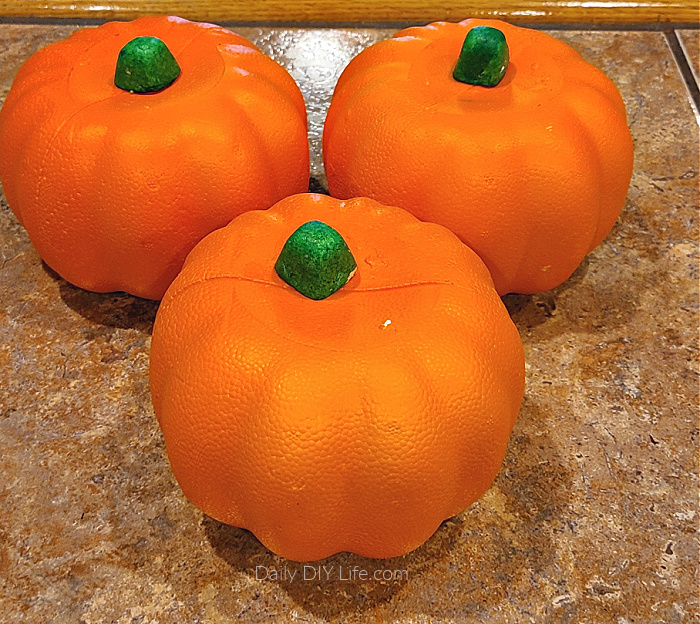
- Foam Pumpkins (I got mine at Dollar Tree, you can order them HERE)
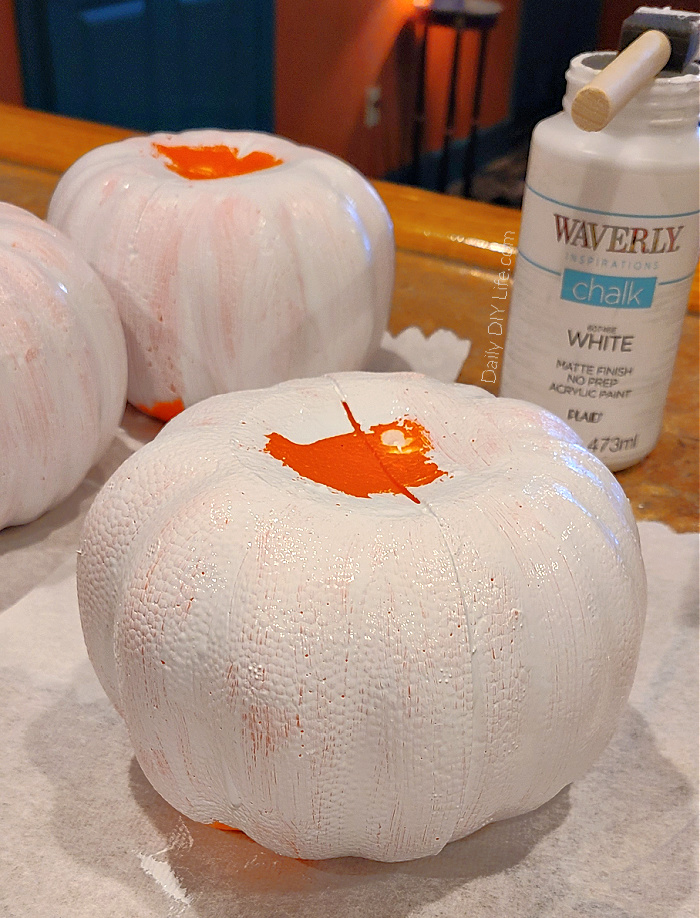
- Craft Chalk Paint
- Buffalo Check Cotton Fabric
- Glossy Craft Vinyl from StyleTech Craft
- Decorative Napkin – Vintage Truck
- Mod Podge
- Faux Moss
- Orange Grosgrain Ribbon
How To Assemble A Pumpkin Topiary!
Assembling your DIY Pumpkin Topiary is not very difficult. You can have your fall topiary put together in just an afternoon. Here is how we did ours.
Begin by removing the green stems from your foam pumpkins. This is just attached with a toothpick and will pull right out of the pumpkin.
Give your foam pumpkins a good coat of craft paint. I used chalk paint.
Paint 2 of them white, and one of them black. Set them all aside to dry.
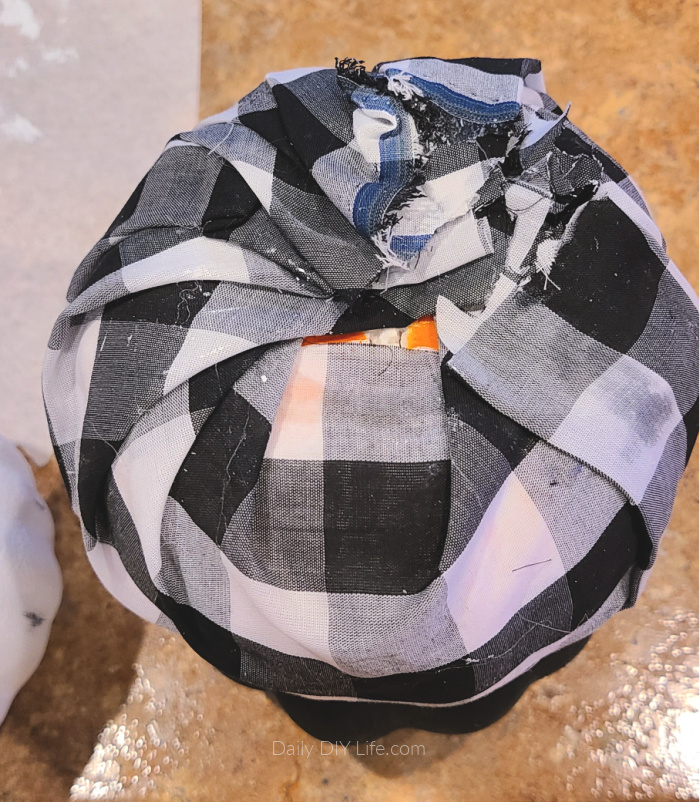
Once your pumpkins are completely dry, cut a square out of the buffalo check cotton fabric. You want your square large enough that all four corners will reach the center of the top of your pumpkin.
Using hot glue or tacky glue, pull all of the fabric up and around the pumpkin. Securing it at the top. Try to get this as tight as you can to avoid bulging along the sides. Set that aside to dry.
You can use whatever you like to decorate the other two pumpkins. I chose to cut a simple “Welcome” cut out using my Cricut maker and StyleTech Craft Glossy Craft Vinyl. Glossy craft vinyl is a permanent vinyl with a cray good shine. With over 45 colors to chose from, you can add perfect detailing to any of your cutting machine crafts.
The final step is to stack the pumpkins on top of each other. You can use regular hot glue for this step, it will secure nicely.
A real tree branch for a stem, a cute orange bow, and some green moss around where each pumpkin meets will only add to the charm of this already adorable pumpkin.
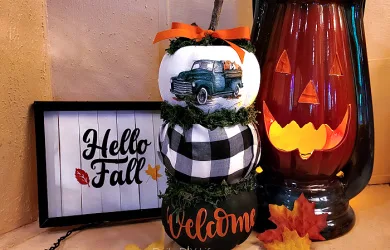
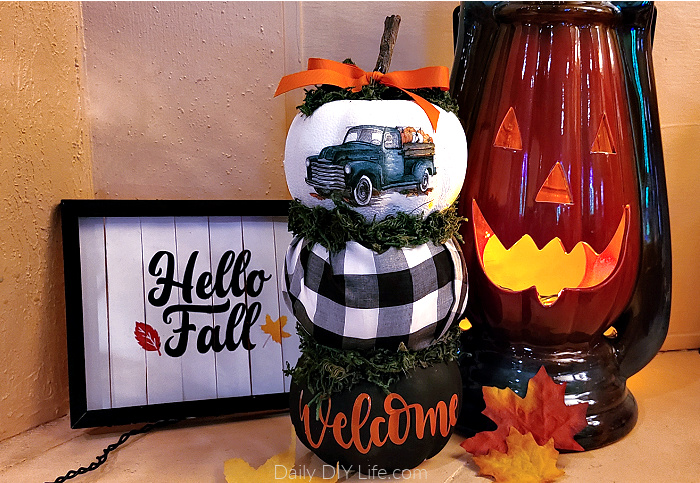
This Beautiful DIY Buffalo Check Fall Pumpkin Topiary will look so nice alongside the Pumpkin Patch Sign I made also using Dollar Tree Foam Pumpkins. Of course, the buffalo check ties everything all together. I am loving all of the fall decor this year. How are you decorating for fall? Do you skip fall and go straight to Halloween?
If you love this post, don’t forget to PIN IT FOR LATER using the image below!





So cute and creative. Thank you for sharing.