
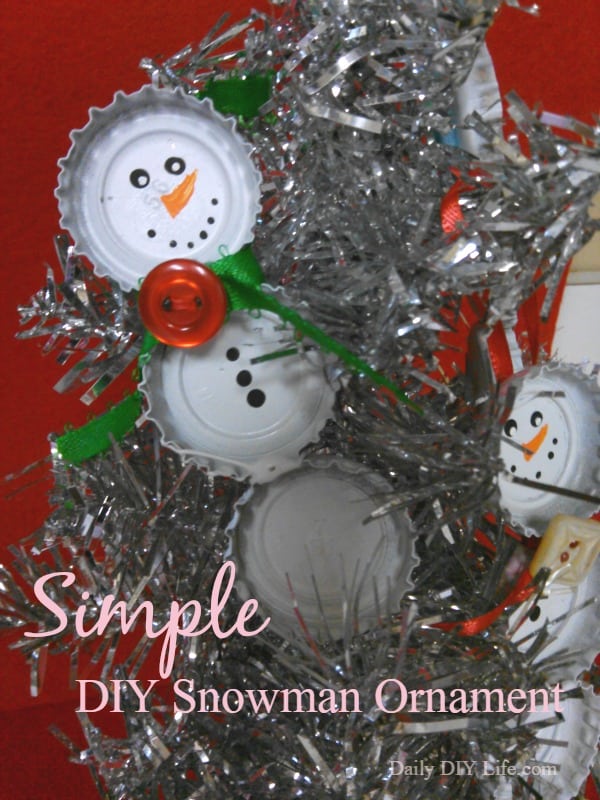
If you are looking for a fun, simple holiday craft that is simply adorable, I have just the one for you. These Simple and Adorable DIY Snowman Ornaments are a great way to recycle and use up any bottle caps you may have. I had a bucket full of bottle caps in all the craft supplies I had donated to me. If you didn’t read about that earlier this year take a look at all the wonderful supplies my neighbor passed on to us Right Here.

Simple DIY Snowman Ornaments – Pin It For Later
For more awesome crafts and recipe ideas
Follow Daily DIY Life on Pinterest!
As some of you know, I have a small obsession with handmade ornaments. Last year we share with you these super cool Polish Star Ornaments and Wooden Sled Ornaments were also a ton of fun to make too. This year, with the abundance of craft supplies and odds and ends in the boxes, I knew I had to come up with something cute and adorable. An affordable can of plain white spray paint from Walmart and these sweet little frosty’s were born! Here is how we made them…
[Tweet “DIY Snowman Ornaments just in time for the #Holidays! #crafts #holidays @DailyDIYLife”]
Supplies:
- Bottle caps (3 for each snowman) – Clean and dry
- White spray paint
- Acrylic paint – black, white and orange
- ribbon
- buttons or embellishments
- Hot glue
Directions:
Hot glue 3 clean and dry bottle caps together evenly.
Cover the bottle caps with 2 or 3 coats of white spray paint on both sides. Let them dry in between each coat of paint.
Using a toothpick or the end of a paint brush, add black dots for the eyes, mouth and belly buttons.
With the white paint add smaller dots on top of the black dots for the eyes.
With orange paint, add a triangle shape for the nose.
Cut a piece of ribbon about 4 or 5 inches long. Glue the ribbon between the first 2 bottle caps for a scarf. Embellish with a button or gem.
Cut another 4-inch ribbon of the same color and hot glue that to the back of the head for a hanger.
We took a few pictures of the process, if you have any questions please feel free to ask in the comments below!
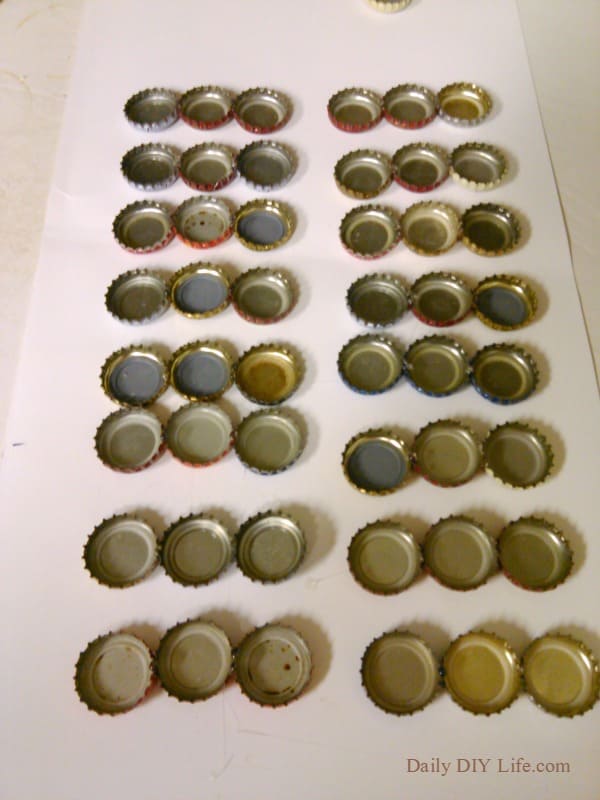
Clean (almost) bottle caps ready for the paint!
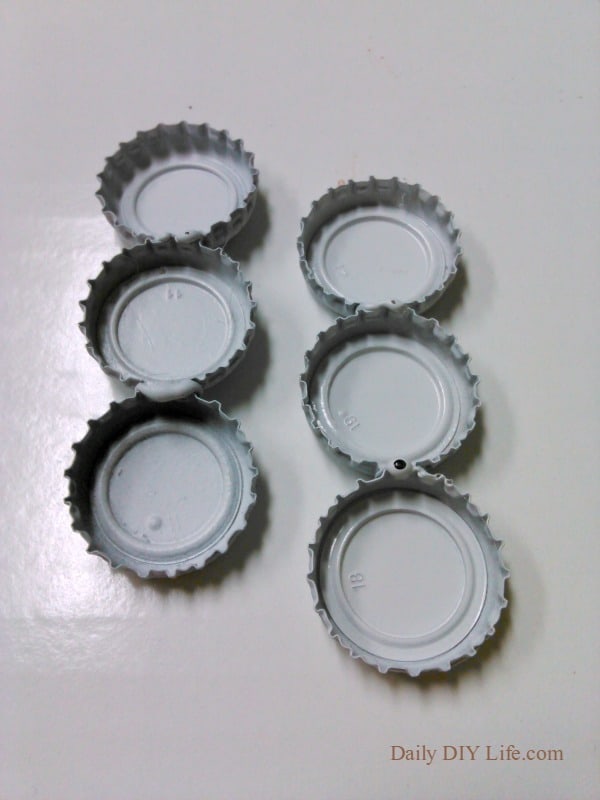
3 coats of white paint! (The red label on the lid was stubborn to cover)
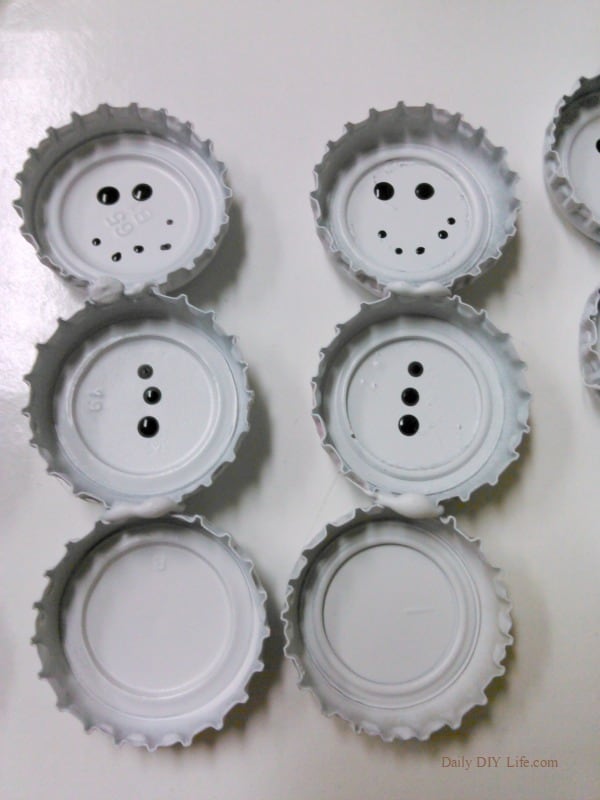
Dots!! Eyes, mouth, and belly buttons complete!
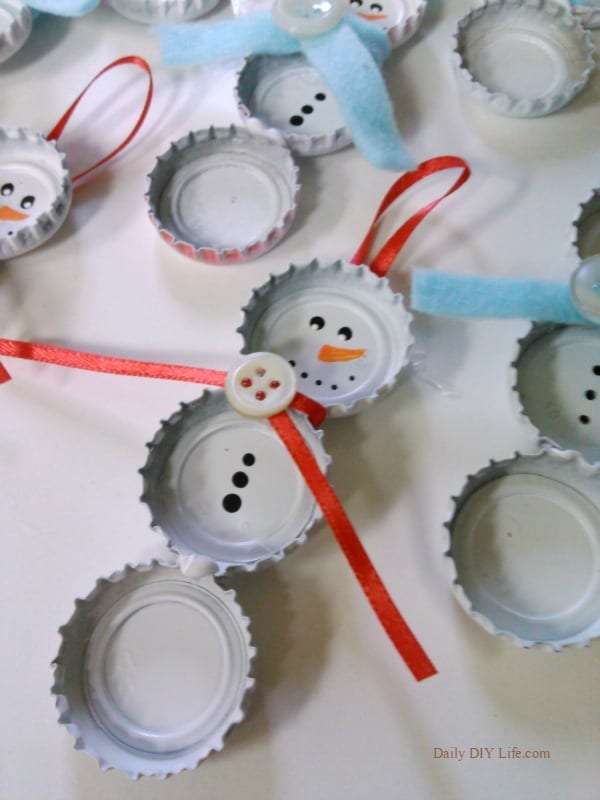
Complete with nose, eyes, scarf and hanger! Super simple and so much fun to do.
You could even make one for each member of the family, customized to everyone’s favorite activity or color. We had a blast making these handmade ornaments this year. I plan to add them to the gift wrapping for family and friends.
If you like these DIY Snowman Ornaments, you will also love ….

Holiday Decorating: Homemade Ornaments – Polish Star
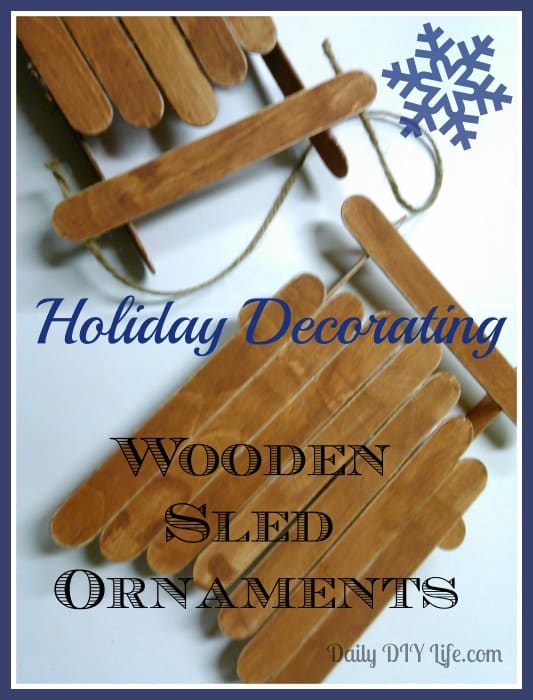
Holiday Decorating – Wooden Sled Ornaments
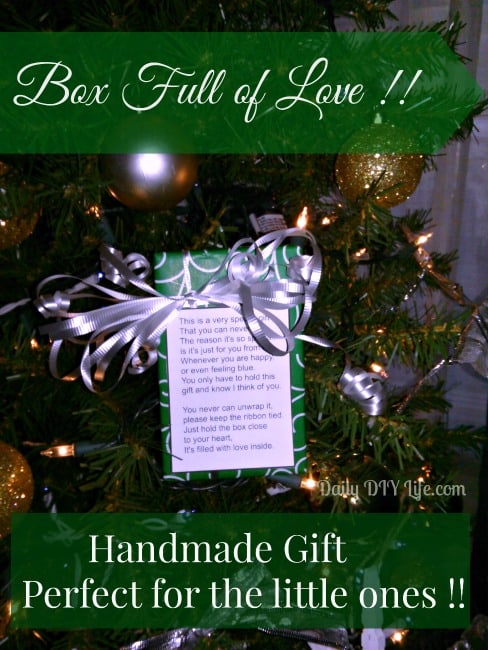
A Box of Love! Adorable Christmas Crafts for Kids


They are adorable and look easy to make too! What a great idea.
The snowmen are so clever. I am surprised Hometalk did not pick them up for feature. They would look so great on presents or on top of cookie gifts. It would be fun to put each family members name on one and hang as a banner too.