

This personalized shadow box adds just the right touch to any decor or table setting. You can customize your shadow box for any occasion or holiday with just a few simple steps. Using an inexpensive shadow box from your local dollar store, some fabulous transparent glitter viny from StyleTech Craft, and your Cricut cutting machine, you can have this easy DIY Cricut project done in just an afternoon. Here is how we made it.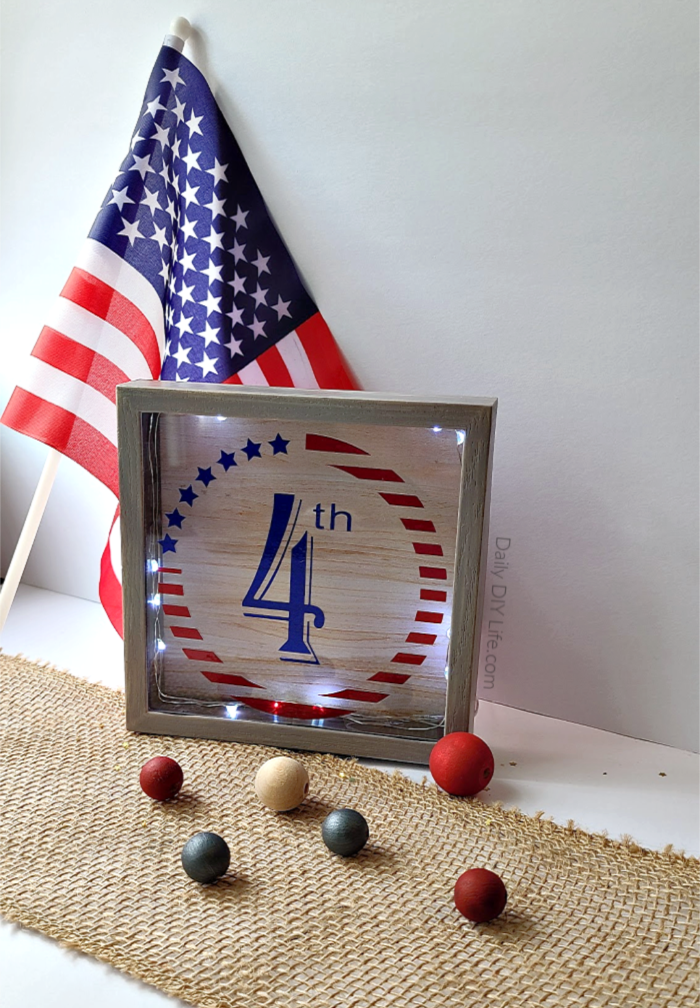
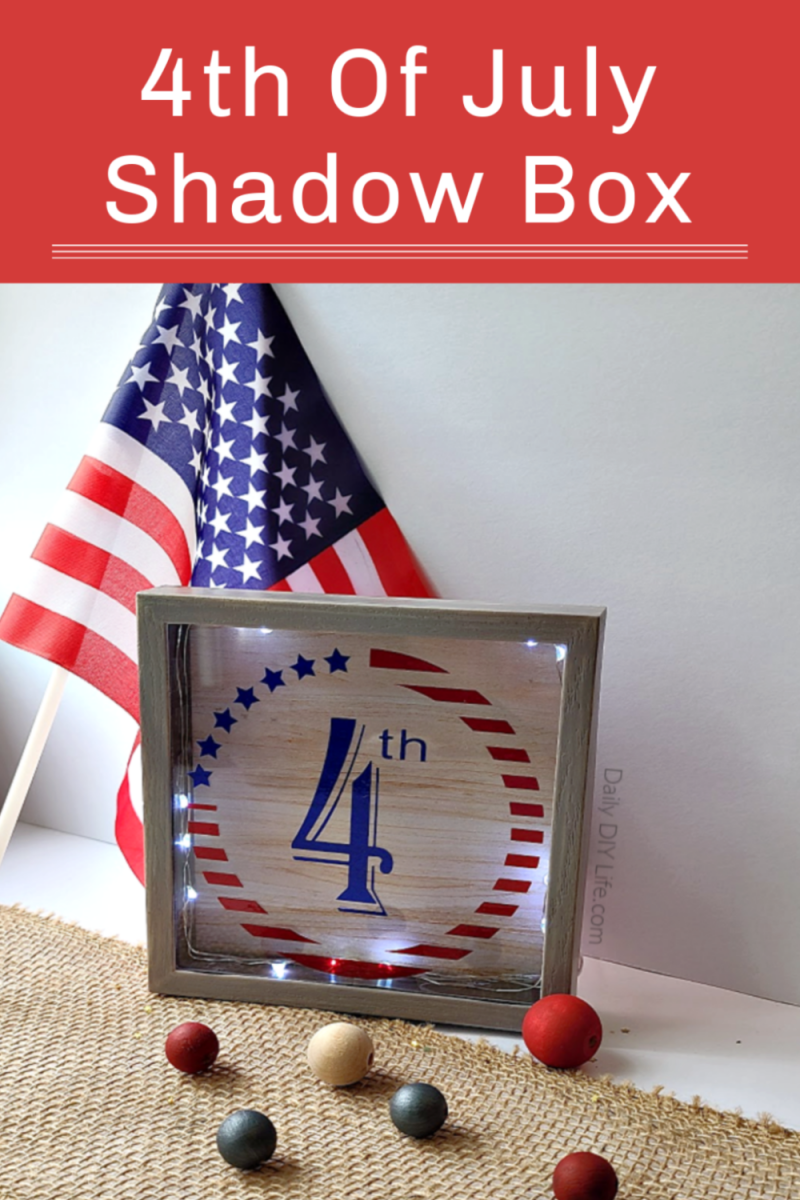
Patriotic Shadow Box – Pin It For Later!
Follow Daily DIY Life on Pinterest!

As part of the StyleTech Craft 2020 Design team, this post has been sponsored by StyleTech Craft Vinyl. Compensation and materials have been provided for the purpose of this post. All ideas and opinions are 100% my own.
This post contains affiliate links for your convenience. That means that if you click on a link within this post and a purchase is made, I will receive a small commission at no extra cost to you. For details, see our disclosure policy.
Patriotic Shadow Box – An Easy Cricut Craft!
We found these adorable shadow boxes while we were out shopping a few weeks ago. I love the idea of the small shadow box, however, I just wasn’t crazy about the wording on the glass. I decided to remove the manufactured lettering, and customize the shadow box using my Cricut cutting machine and StyleTech Craft Transparent Glitter Vinyl.
Since Memorial Day and the 4th of July are right around the corner, it was the perfect time to start my summer holiday decorating. Here is what you will need to make this mini shadow box, and personalize it just how you like it.
![]()
Supplies Needed:
- StyleTech Craft Transparent Glitter Vinyl
 (I used red and royal blue)
 - Small Shadow Box (I found mine at Dollar tree, THIS ONE on Amazon is very similar)
- Battery Operated Moon Lights
- Cricut Explore Air 2 or another cutting machine.
- StyleTech Craft Gridded Transfer Tape
 (I used red and royal blue)
  (I found mine at Dollar tree,
  on Amazon is very similar)
 or another cutting machine.
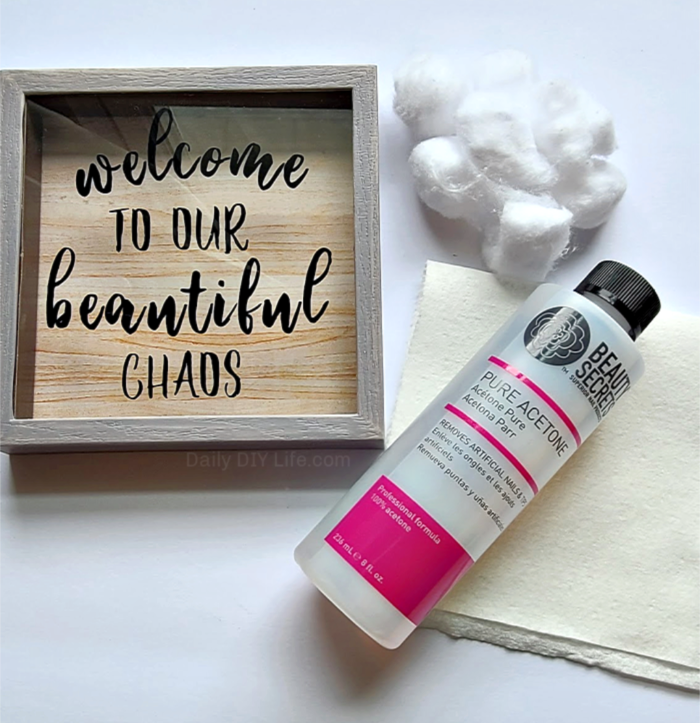
To Remove the wording from the shadow box you will need:
- Nail polish remover – WITH acetone
- Cotton balls
- Paper towel
Watch this short video below to see how to remove the wording from your store-bought shadow box in just seconds!
….. Video To Come Soon! …..
Can’t access the video? Follow the instructions below.
- Remove the cardboard backing from the shadow box.
- Pour a small amount of nail polish remover onto a cotton ball.
- Rub over the preprinted image/wording until it has been removed.
- Wipe off any residue with a paper towel.
- Replace the cardboard backing to your shadow box.
Assemble Your Patriotic Personalized Shadow Box
Once your shadow box is clean and free of all previous lettering or ink, you can design and decorate it any way you like.
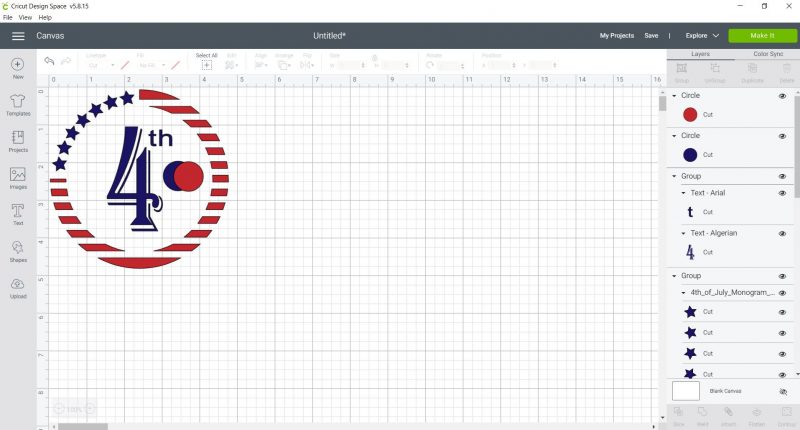
I did a quick Pinterest search for “patriotic wreath SVG” and found one that I really liked. It was just the stars and stripes, so I added the “4th” for the center.
Cut the stars and the 4th from the same color and the stripes from red transparent glitter vinyl. Using your gridded transfer tape from StyleTech Craft Vinyl, transfer the stripes onto the shadow box first so you can make sure it is centered. Once it is where you would like it, remove your transfer tape and apply the blue stars and 4th.
Cricut Tip For Layering Vinyl:
When I am layering 2 or more colors, I like to add a simple shape on each layer in the same spot. Place each colored shape on top of the previous layer, your layers will match up perfectly.
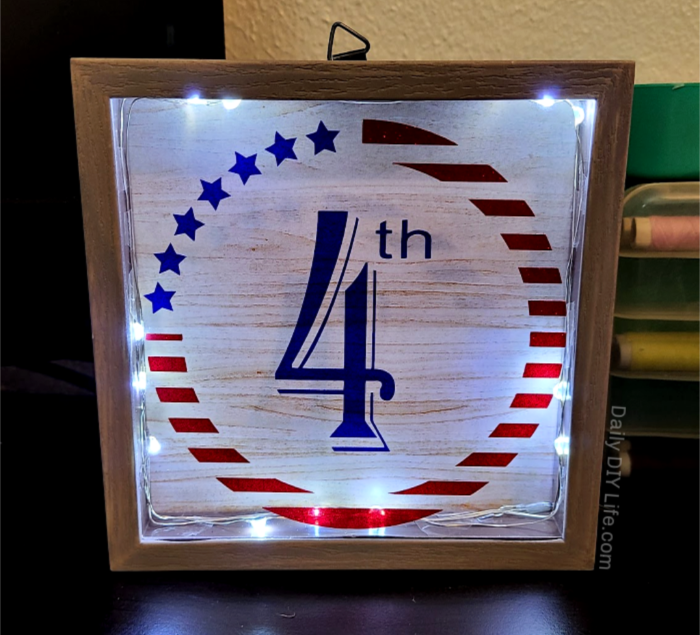
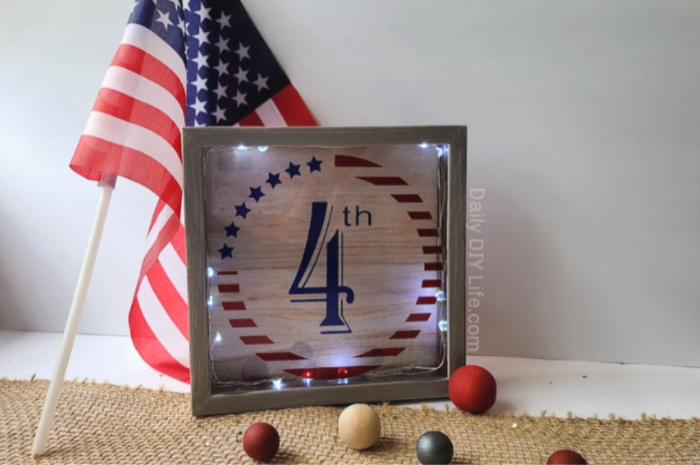
Once your design has been transferred, add in some sparkling moon lights for a bit of a glow. I took this picture in my office in the evening. I love the glow that the lights give off. Not too bright, just enough shine.
This personalized shadow box may be simple and very easy to make, but the possibilities are endless. You could even add in some confetti, family photos, or tiny trinkets inside the shadow box instead of or with the lights.
If you like this project, you may also like these other fun glitter projects!
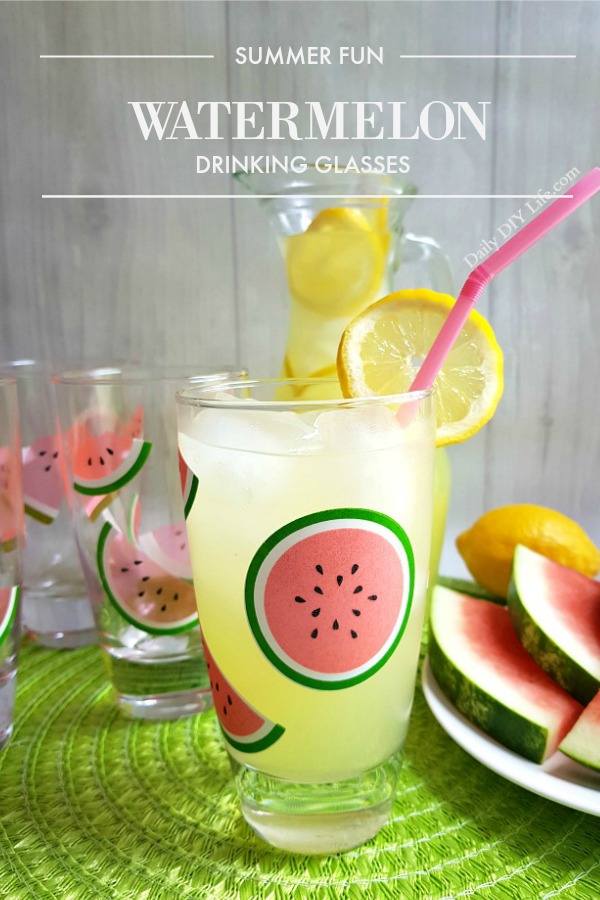
Summer fun Watermelon Drinking Glasses!
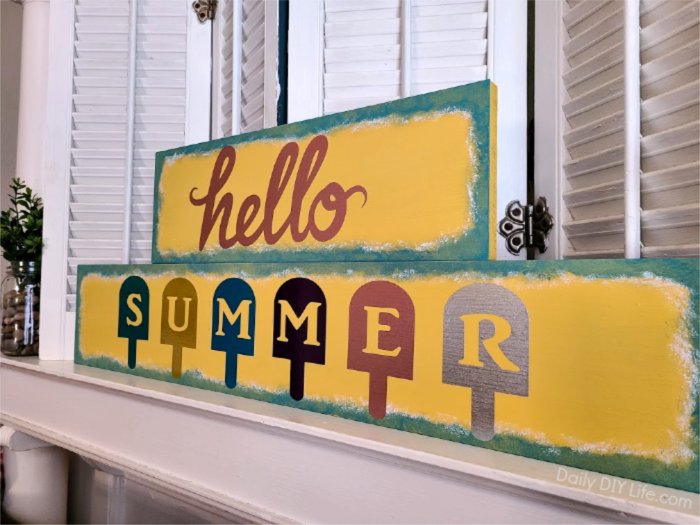
Hello Summer! A Scrap Wood Project
Don’t Forget To Pin It For Later!


This really is wonderful and I am absolutely going to make one for myself! I have a mini shadow box and I am going to try the acetone tip. Thanks!