
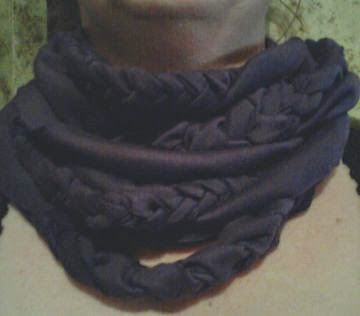
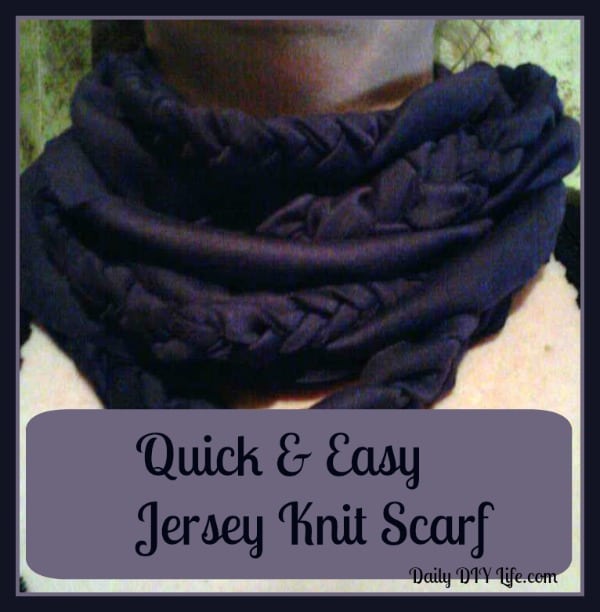
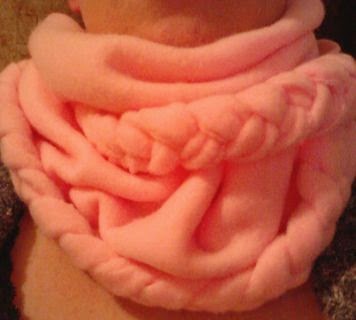
I know it is only the end of June, but this year is flying by so fast, the cooler weather will be here before you know it. Don’t be mad at me! It’s a simple fact LOL We are just about half way through this entire year already. I guess it is true what they say .. The older you get the faster it goes by. Back on topic here … Last winter I made this super cute Infinity scarf that I just adored. Fashionable? yes! Warm? They are super warm. And perfect for the fall nights. (The fleece one at the bottom is one of my favorites! So snuggly warm!)
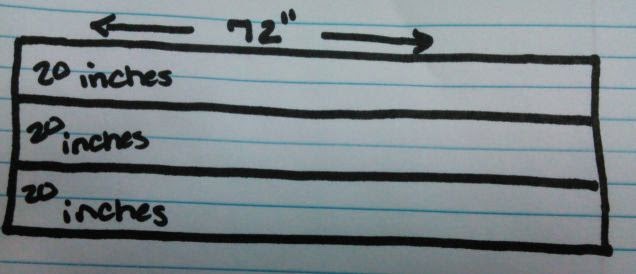
They are pretty simple to make and you can get 3 scarfs out of a 2 inch YARD (silly typo I had to leave it in there) length of fabric. A standard bolt of fabric is 60 inches wide. If you cut this into thirds you will have (3) 20 inch pieces. One scarf uses ONE 20 inch x 72 inch panel of fabric.
I do prefer the jersey knit fabric for these lovely scarfs because of its stretchiness and durability.

Supplies:
Jersey Knit fabric in your choice of color (20 inches x 72 inches)
Matching thread
Scissors
Needle (You can use your sewing machine also to make this easier. I don’t have one so I did this by hand.)
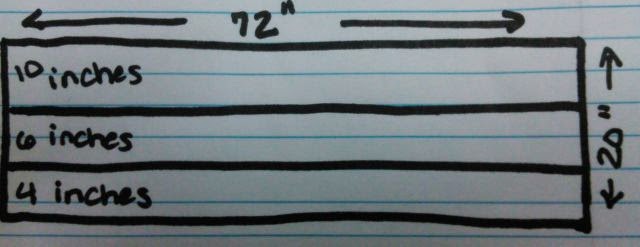
Cut your 20×72 inch piece of fabric into 3 sections : 10×72 inch, 6×72 inch, and 4×72 inch
*you should now have 3 strips of fabric

The 10 inch piece will remain solid.
The 6 inch and the 4 inch piece are the 2 you are going to braid. Make 2 cuts in each but DO NOT CUT ALL THE WAY ACROSS leave about 1 – 1 1/2 inches on the end. It’s easier to braid if you havent cut all the way through to the other end.
Braid your 2 strips, just as you would your hair. once you get to the end you can tie a rubber band around them just so they don’t unravel, or a paper clip works too.
Your 10 inch solid piece should now be longer than the 2 braided pieces. Just trim off the excess so they are equal in length. Set that trimming aside you can use it later to cover your stitches.
Time to lay out the pieces and get ready to sew.
Just stack them on top of each other 1. braid 2. flat panel 3. braid so the edge of the ends are flush together. There is no real inside or outside to jersey fabric. I don’t recommend using a fabric with a wrong side as it will show both side when your wearing it.
Sew all 3 pieces together with a sewing machine or a needle and thread.
Do the same thing to the other end so both ends are sewn together. Don’t forget to remove the rubber bands if you used them to keep your braid together.
You now just need to sew the 2 ends together. Lay one of the ends slightly on top of the other so your scarf forms a loop. Careful not to twist your pieces. Sew the 2 together.
Finally, take the extra piece you cut from the solid piece of fabric earlier, and use it to cover the sewn ends. I rolled my ends a little as I was pulling this piece of fabric around them. Just pin the fabric and stitch it by hand to cover all your stitches and finish off your scarf.
You can wear your infinity scarf just hanging around your neck, or loop it around twice as seen in the photos to give it a bulkier wrapped look.
You May Also Like :
Quick & Easy Way to Make Pom Poms
I hope you have enjoyed todays CRAFT project! If you would like to see more Daily DIY Life CRAFTS be sure to visit the CRAFTS PAGE HERE!
You can get Daily DIY Life updates right to your E-mail box every week! Sign up for our NEWSLETTER HERE!
We are also onLIKE US ON FACEBOOK and TWITTER! Never miss a project or recipe again!